Ingredients
Method
- Place parchment paper on the cookie sheet.
- Using a silicone spatula, spread the Sourdough starter very thin onto the cookie sheet. Keep spreading it out until it’s thin. If it’s too thick, it will take longer to dry.
- Place another sheet of parchment paper on top of the Sourdough starter. Gently press.
- Allow to dry until the starter is no longer wet. When it snaps like a cracker, it’s done drying. It might be roughly 24 hours. Check periodically by lifting the top layer of parchment paper.
- Break up the dried starter into small pieces.
- If you want it more into a powder form, place your starter pieces in a blender and hit “blend” until it has a powder consistency.
- Store it all in a clear jar with a sealed tight lid. It will last for a very long time.
How to Rehydrate a Sourdough Starter
- Day 1: Put 1 tablespoon in a clean jar. Add 3 tablespoons of warm water. Give it a good stir. Let it sit on the counter for 15 minutes.
- Next, add 2 tablespoons of flour in the jar. Give it a good stir. The starter should be a little runny, so water isn’t necessary for this step.
- Set on the counter with a loose fitting lid. I usually check it in 8- 12 hours.
- Day 2-4: Next, add 2 tablespoons of flour and 1 tablespoon of water. Give it a good stir and let sit for 12 hours.
- Your starter should be thicker by now. You might see some bubbles on these days. If you don’t, it’s ok.
- Day 5: At this point, transfer this to a bigger jar. I like the clear jars that have the smooth straight sides. They make it easier to scrape down the sides.Next, add 1 cup of flour and 1/2 cup of water. We are going to let it sit for 24 hours now.Keep an eye on your starter at this step. If you start seeing the “black hooch”liquid on top, you’ll need to feed your starter more often. If this happens, remove the black liquid and a few tablespoons of the starter. You can transfer to a clean jar at this point and then continue your feedings.
- Your new starter should be ready to go! Depending on where you live, your Sourdough starter may take 5-7 days to rehydrate it. If your kitchen is pretty warm, you may see it re-activated in as little as 2 days.
Notes
Notes:
- If you have a dehydrator, set the temperature to the lowest setting and dry for 8-10 hours.
- You can also use your oven to dry. Don’t turn it on, but just set your tray in the oven and check it periodically. Adhere to the guidelines above on how long to dry for long-term storage.
- If you have too much moisture in the home, you might find mold growing on your starter while in the drying process. THROW IT AWAY and start over.
- As you get more comfortable with feeding and discarding your starter, you won’t need to measure anymore. You’ll figure out the flow of the mixture. What I do now is remove my discard, add a little bit of flour and give it a good stir. I then will add water gradually. You’ll want it to look like pancake batter.
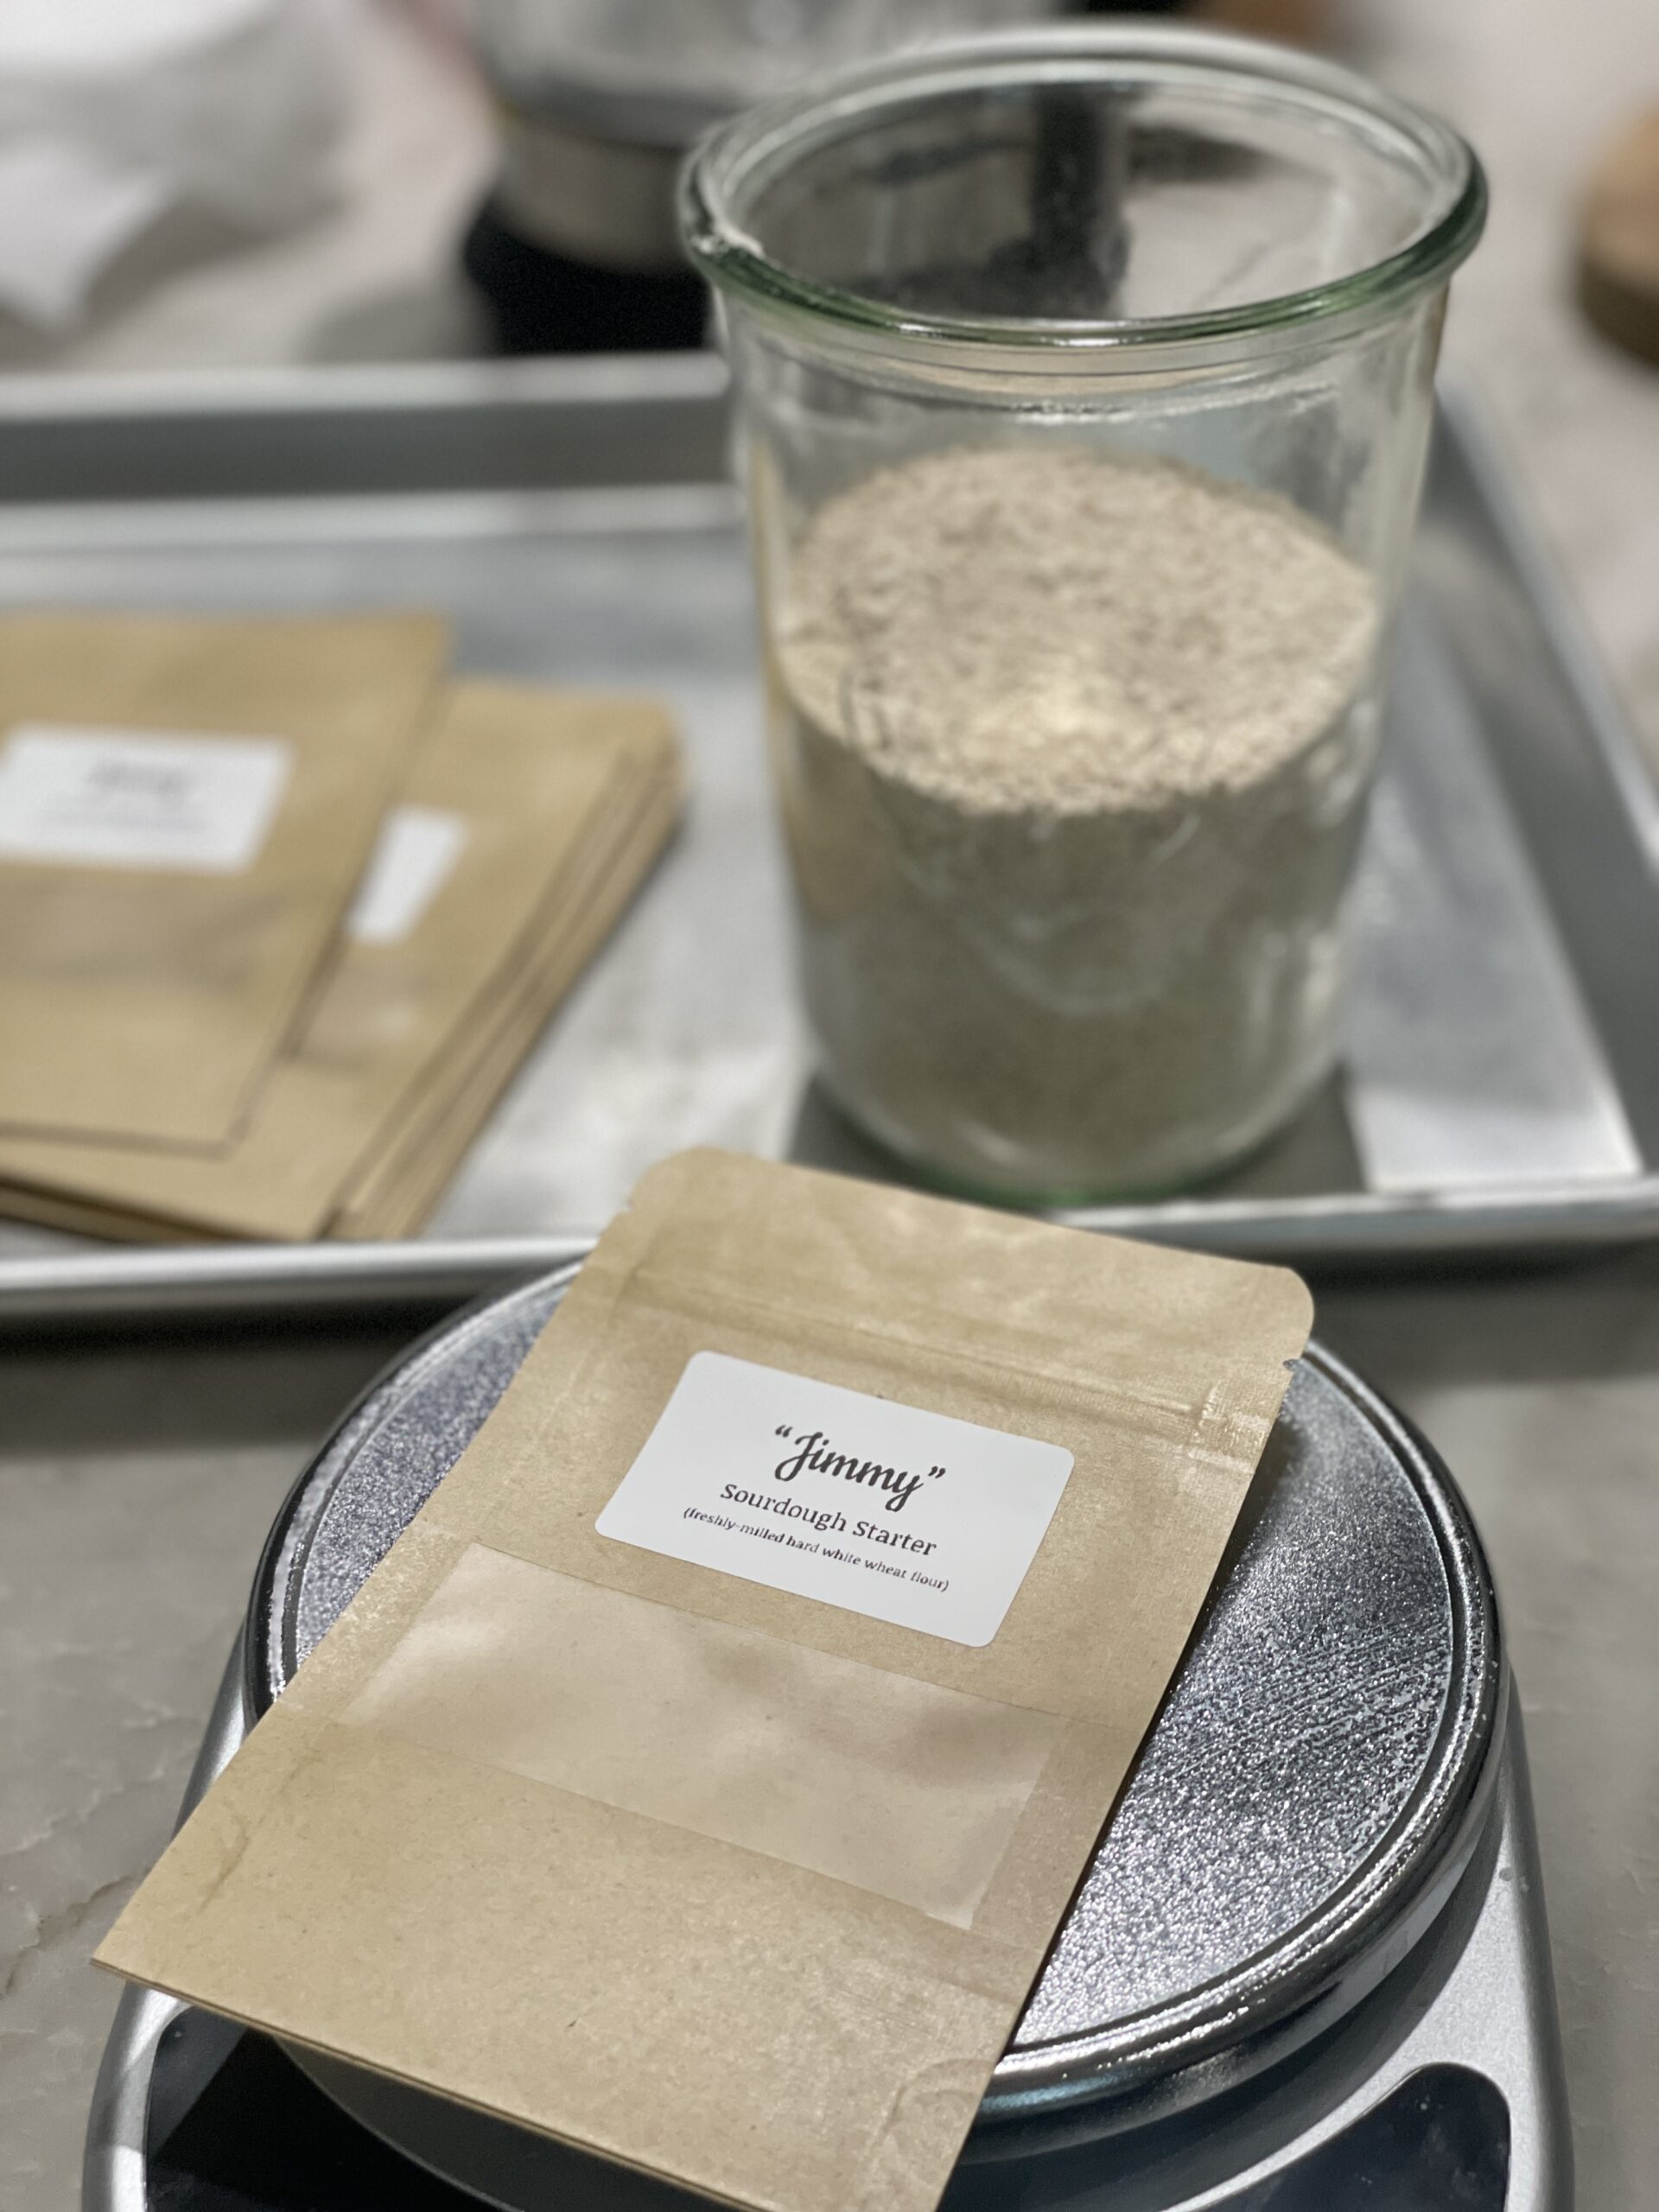
- My starter is made with Organic Hard-White Wheat Freshly-Milled Flour. It always peaks perfectly for dehydrating and re-hydrating. I encourage you to use freshly-milled or stone-milled flour. These two are very nutritious.