In a large bowl, combine the sourdough starter with the water. Stir until the starter mostly dissolves.
Add the flour. Mix with a danish whisk or your hands until no dry flour remains and it forms a shaggy dough.
Cover the bowl with a damp cloth or plastic wrap and let it rest for 15 minutes (this is called the autolyse phase).
After autolyse is finished, add the salt and cover the dough. Let it ferment at room temperature (68-75°F/20-24°C) for 3-5 more hours, until it increases in volume by about 50% and looks puffy with some bubbles on the surface. (Timing depends on your starter strength and room temperature.) 4 hours is the magic number for my dough. With freshly milled flour, you will see the bubble on the bottom of the loaf. Check your dough around the 3 hour mark. If it looks like the photo above, then your dough is ready for the next step.
After resting, perform 4 sets of stretch-and-folds every 30 minutes over the next 2 hours. To do this, wet your hands, grab one side of the dough, stretch it upward, and fold it over the center. Rotate the bowl 90° and repeat for all four sides.
At the 2nd stretch-and-folds, add 1 bulb of roasted garlic. Gently squeeze the garlic out of each slot. Space the garlic cloves on top of the dough. Before you do this, flatten out the dough (see photo above). Sprinkle in the herbs, one at a time or if you have a blend, just sprinkle them evenly on the dough. Continue going around like you normally do, adding garlic and herbs.
When you get to the 3rd and 4th stretch-and-folds, be gentle so the mix-ins stay inside the dough.
Lightly flour your work surface and gently turn out the dough. Using a dough scraper or your hands, shape it into a loose round by folding the edges toward the center. I like to make it into an envelope shape.
Tighten it into a taut ball by pulling it gently toward you, and place it seam-side up in a floured proofing basket or bowl lined with a floured towel.
Place the basket/bowl in a grocery bag (tied up) and refrigerate it for 12-15 hours (cold proofing enhances flavor). It’s ready when it’s puffed up slightly and passes the poke test (dough springs back slowly when poked).
About 45-60 minutes before baking, preheat your oven to 450°F (230°C) with a Dutch oven inside (lid on) or a Bread Cloche/Baker. When ready, carefully remove the hot baking vessel from the oven.
Turn the dough out onto a piece of parchment paper (optional for easy transfer). Score the top with a sharp knife or lame (a simple slash or cross works).
Create steam by pouring 1 cup of water and a few ice cubes into a 1 inch tray on the bottom of the oven.
Place the dough inside your baking vessel, cover with the lid, and bake for 25 minutes. Remove the lid and bake for another 20 minutes until deep golden brown. I like to turn the temperature down to 400°F at this stage so it doesn’t burn the top of the loaf.
The loaf is done when the crust is dark and it sounds hollow when tapped on the bottom. Internal temperature should be around 205°F (96°C).
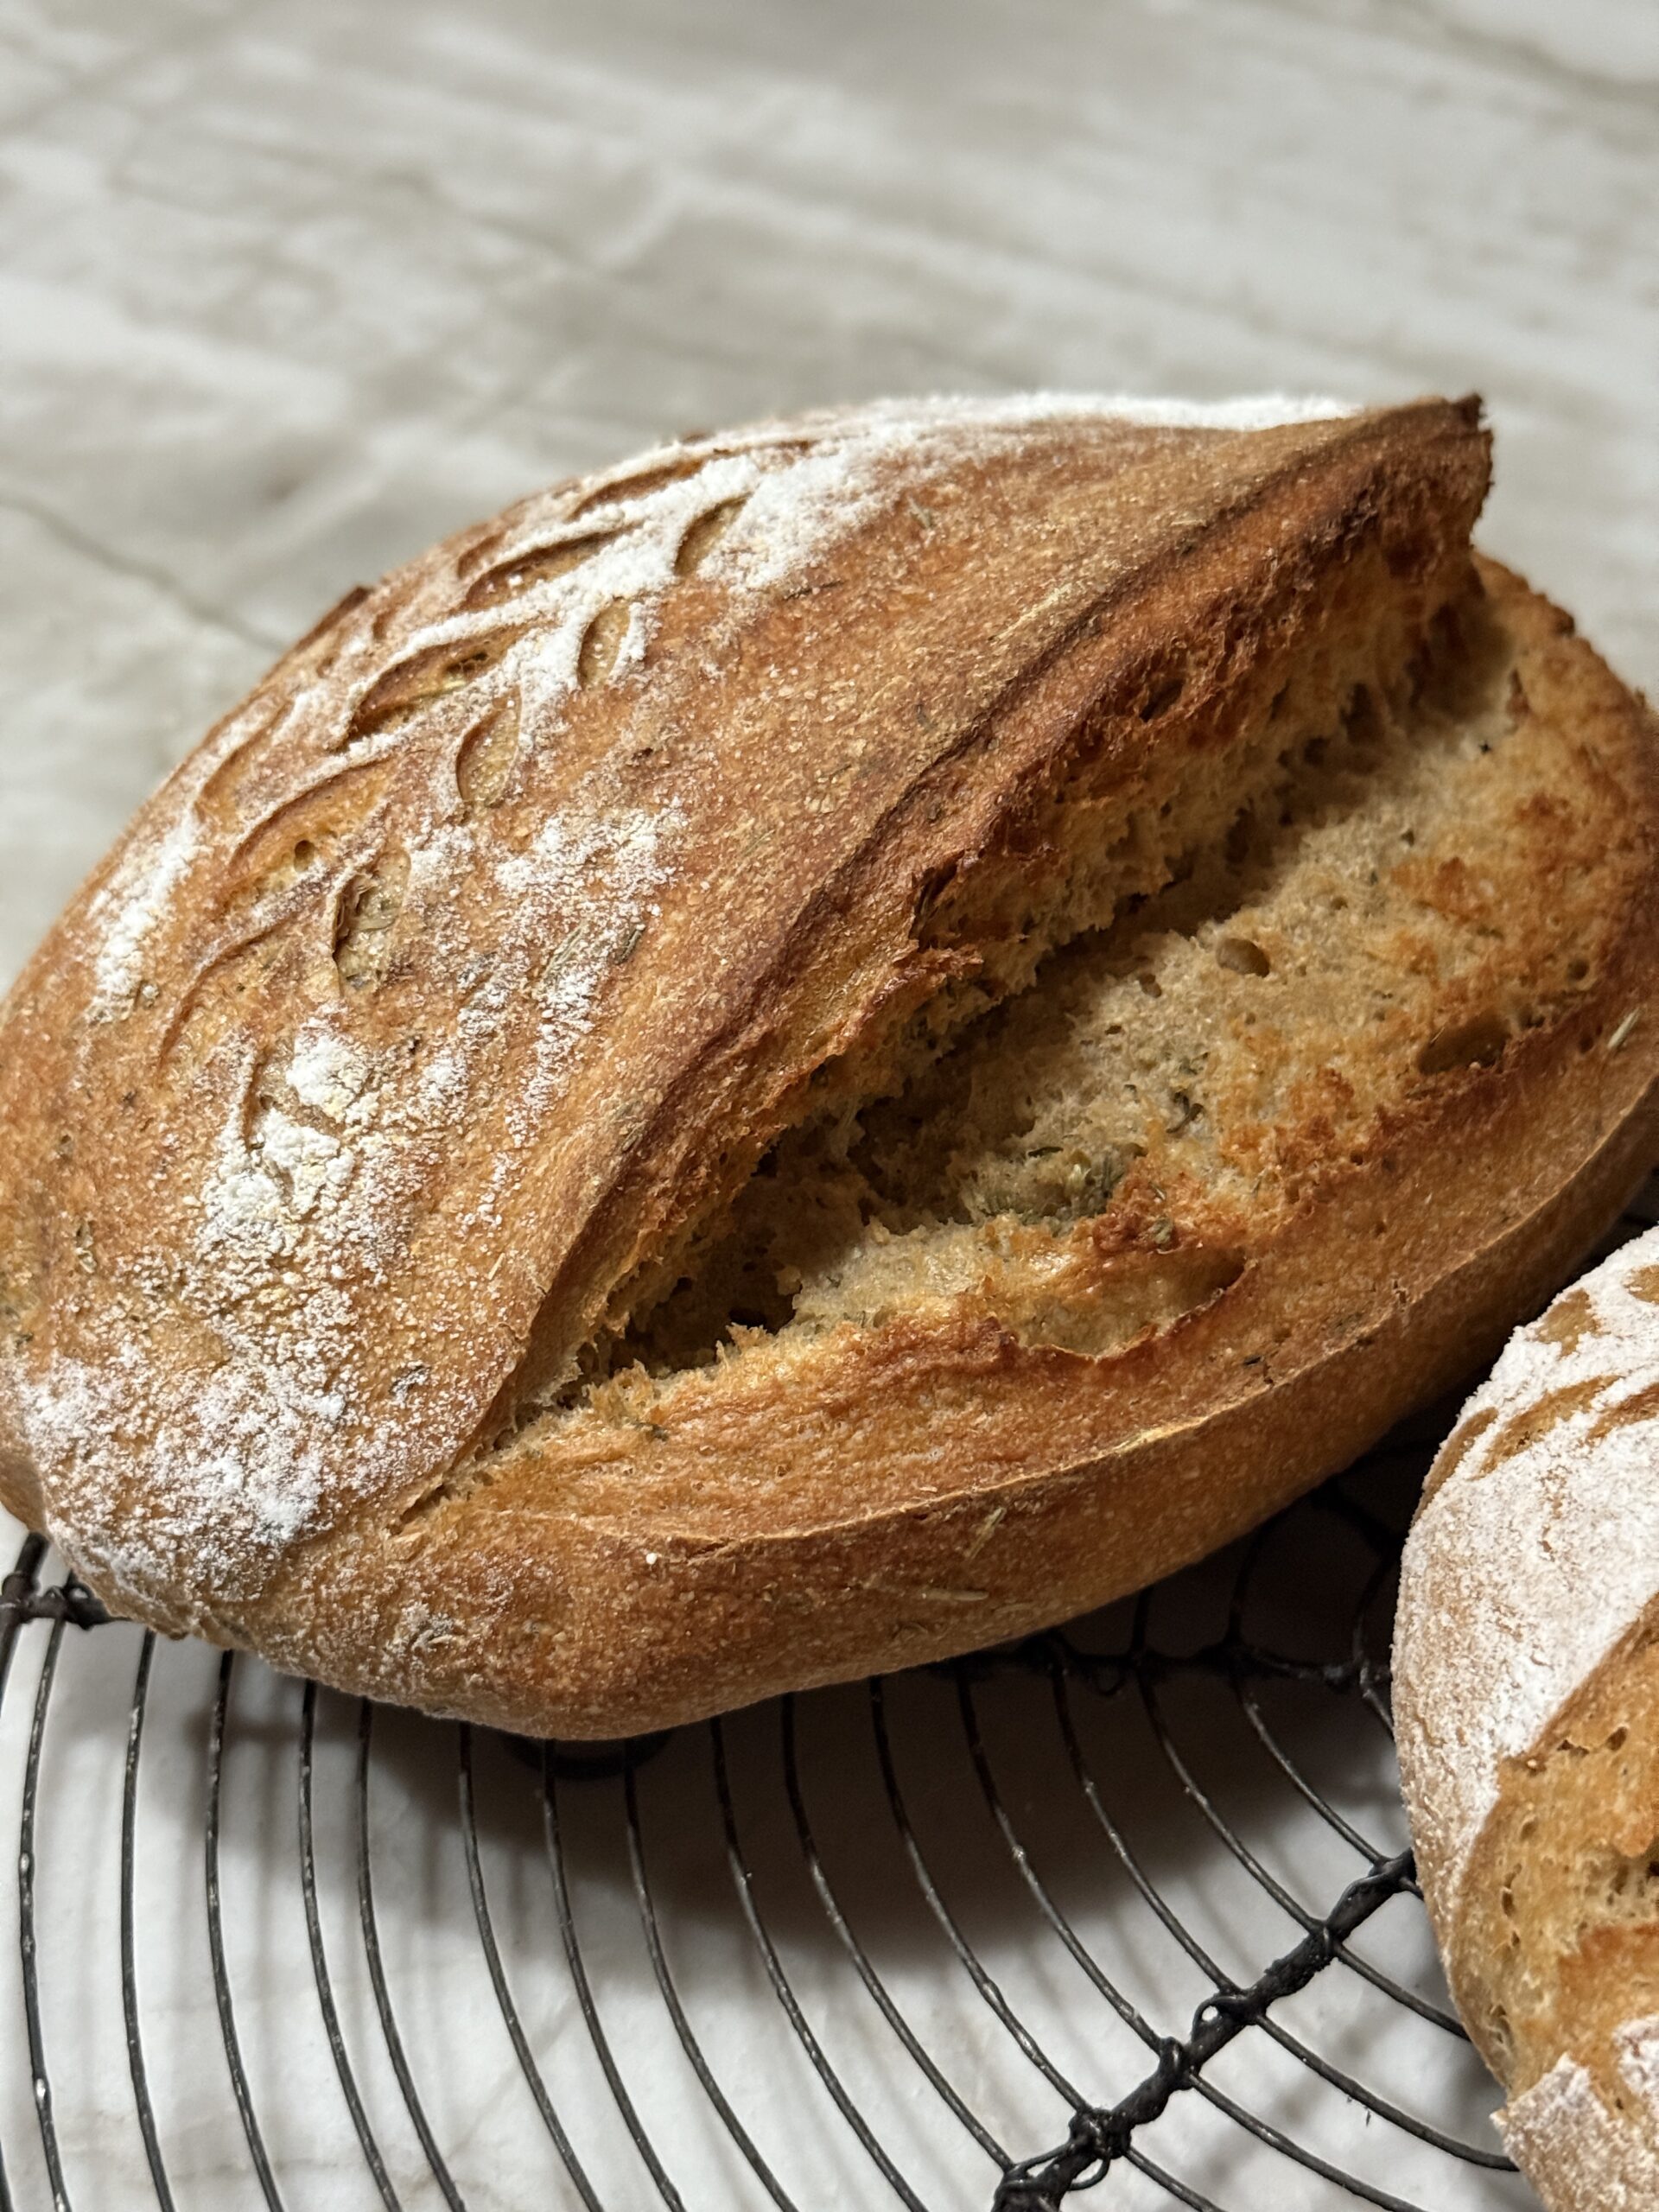
Let the loaf cool completely on a wire rack for at least 1-2 hours before slicing. This helps the crumb set properly. I know it’s hard but it will be worth the wait!