

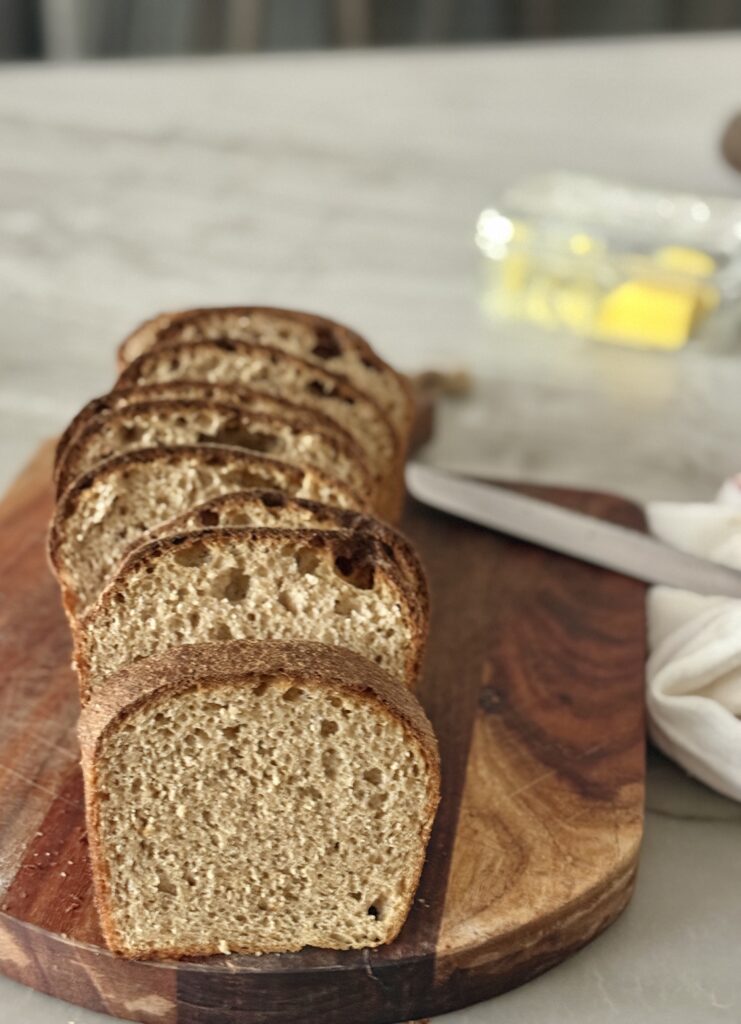
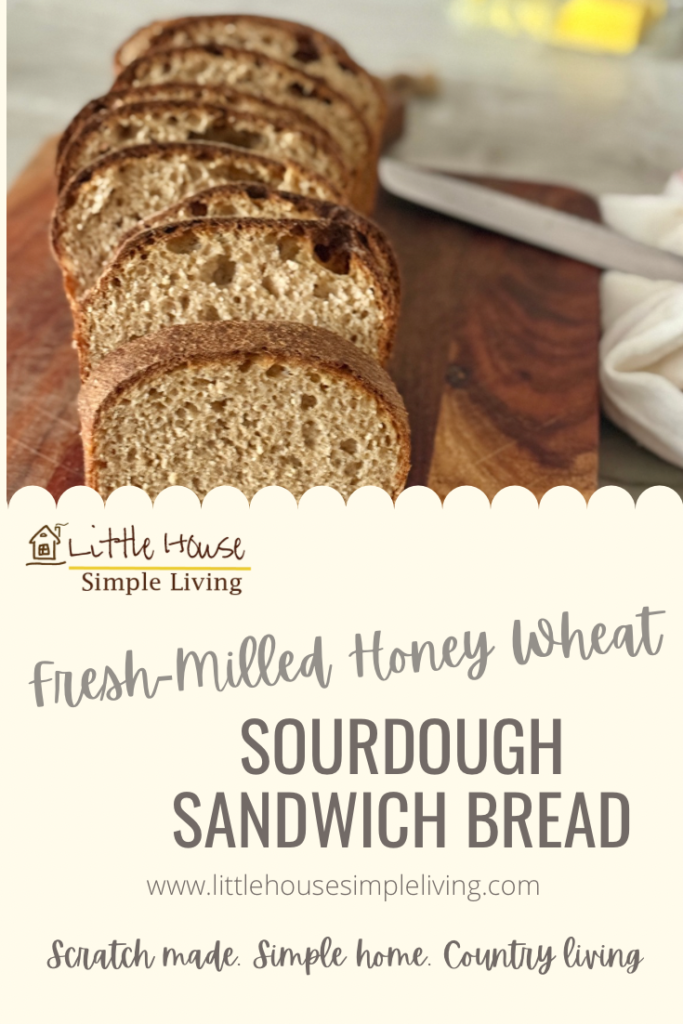
This fresh-milled wheat sourdough sandwich bread is perfect for any type of sandwich. It slices well, has a touch of honey for sweetness and is so soft. The long fermentation is a bonus along with all the nutrition from the fresh-milled flour. It works great on an egg sandwich, chicken salad and even a classic PB&J.
Ingredients
Tangzhong
- 25 g freshly milled hard white wheat
- 125 g whole milk
Dough
- 425 g freshly milled hard white wheat
- 100 g active sourdough starter
- 150 g water
- 40 g honey
- 15 g unsalted butter, softened or extra virgin olive oil
- 9 g fine sea salt
- The cooled Tangzhong
Join Our Simple Living Community


Directions
1. Make the Tangzhong
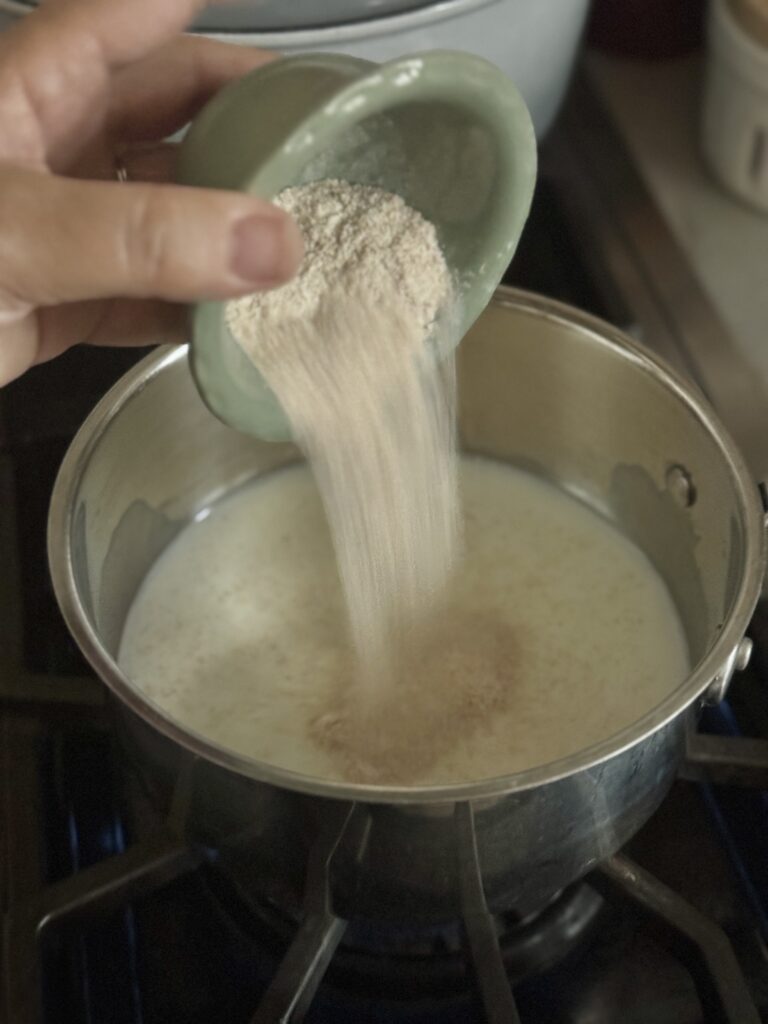
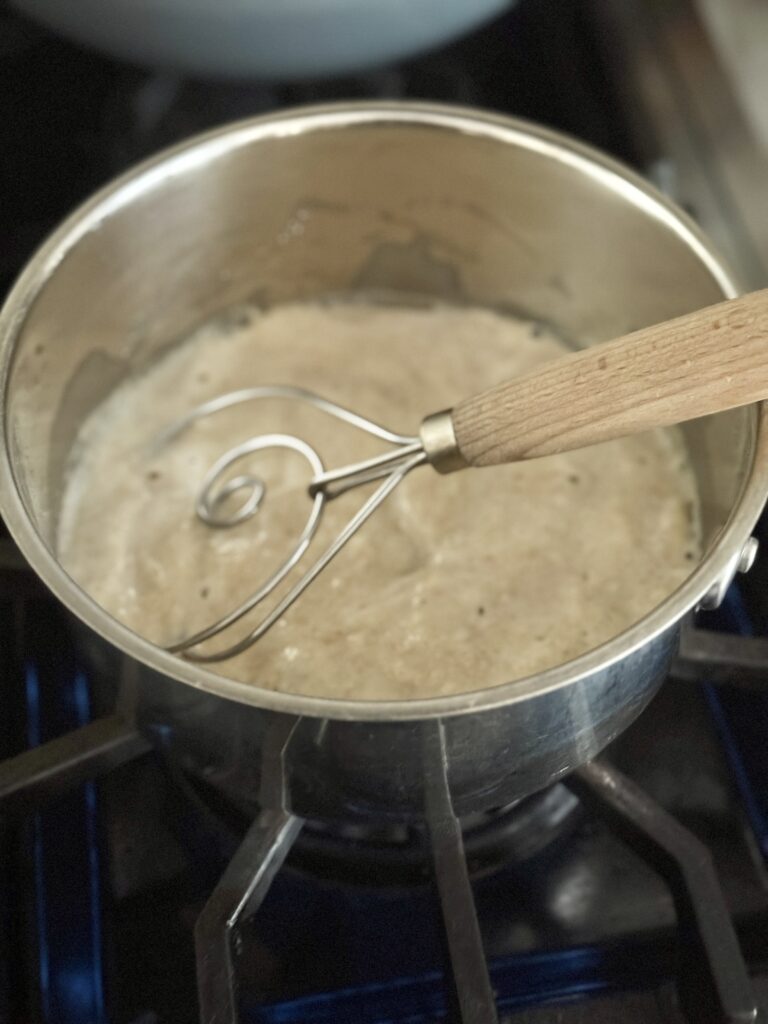
Whisk 25 g flour and 125 g milk together in a saucepan. Cook over medium-low heat, stirring constantly, until it thickens into a smooth paste. Remove from heat and cool until just warm.
2. Hydrate the flour
Combine the remaining flour, Tangzhong, and the water. Mix until there are no dry spots. Cover and rest (autolyze) 45–60 minutes. I went for an hour on my loaf.
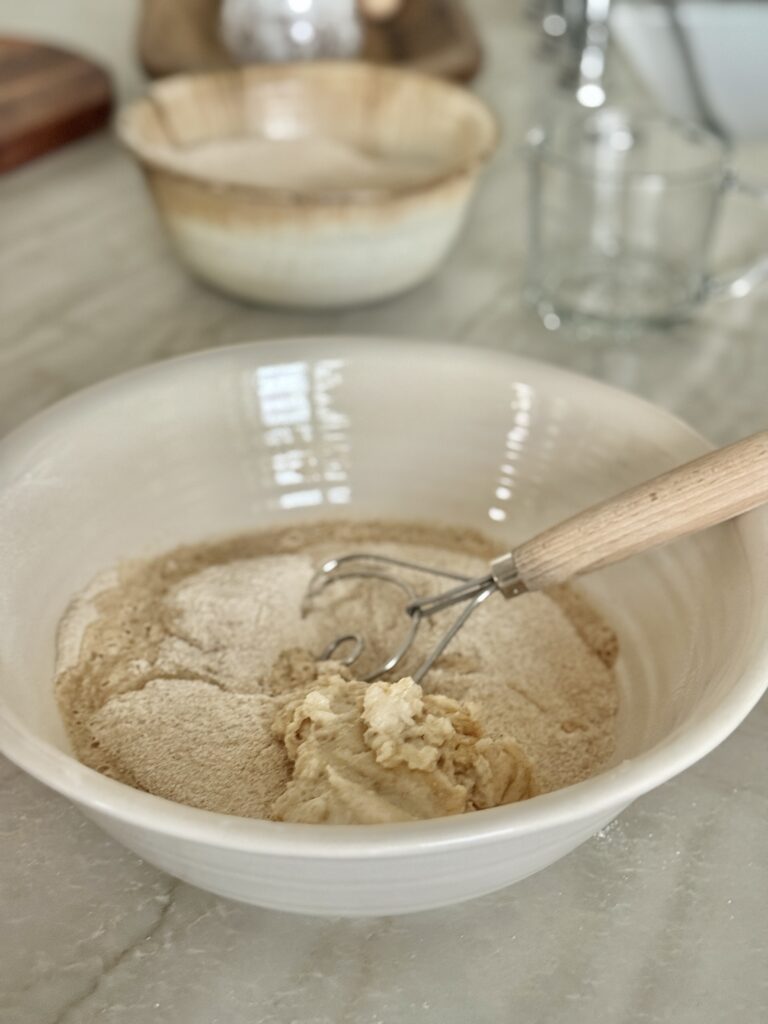
Add starter, honey and salt. Mix thoroughly. I used my whisk to do this.
3. Add butter
Lastly, add in the butter or oil gradually. Continue kneading until the dough becomes smooth, elastic and slightly tacky. Kneading can be done by hand or with a stand mixer (approximately 8-10 minutes).
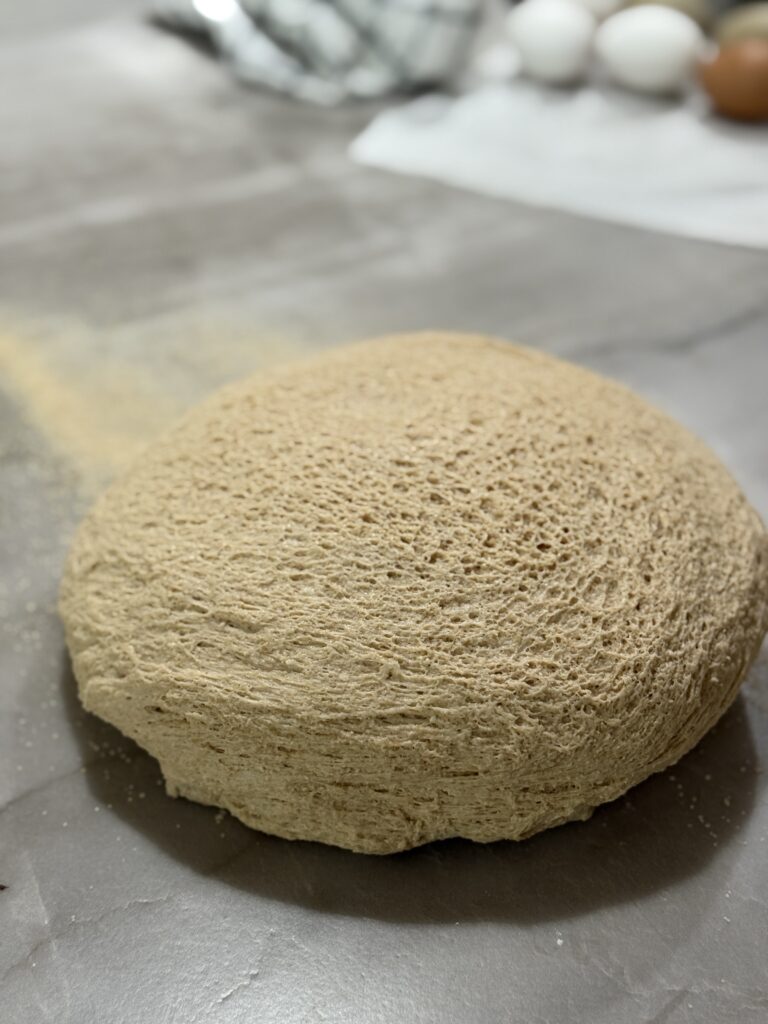
4. Bulk ferment
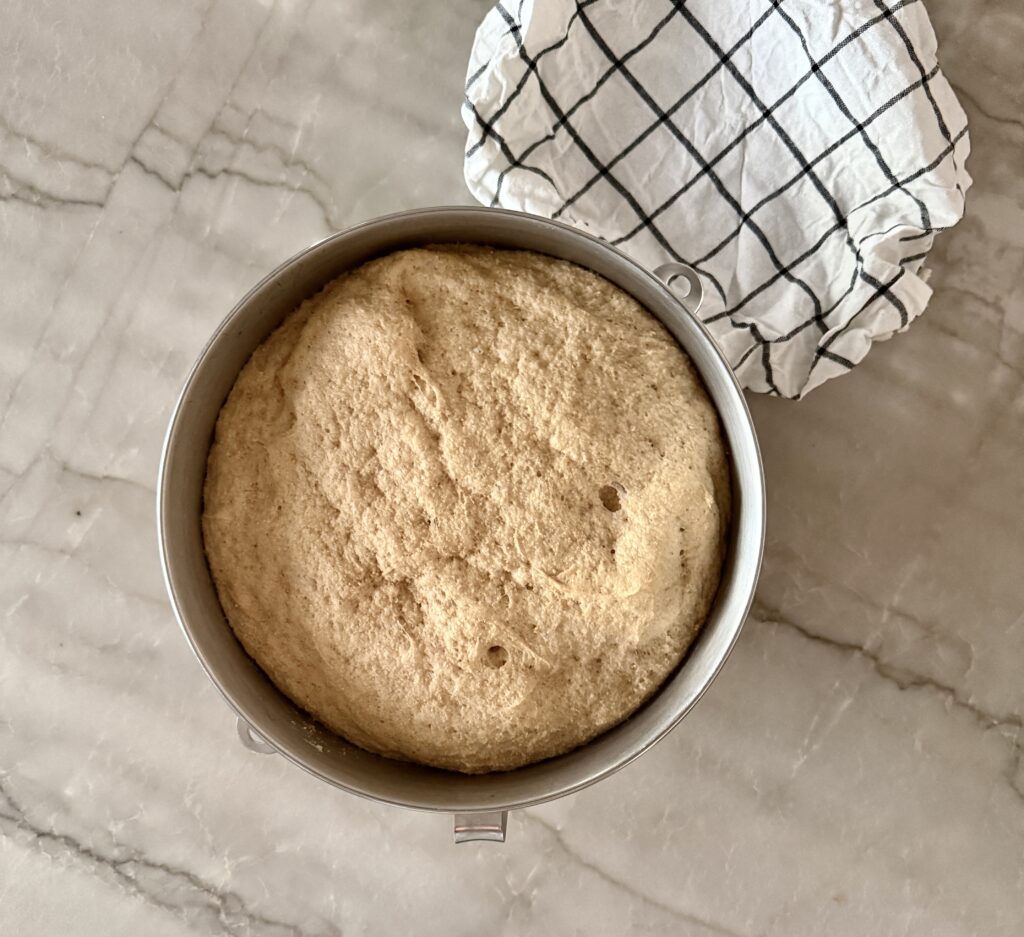
Cover and let rise at approximately 75–78°F until it’s about 50–75% larger and noticeably puffy. This will generally take around 4–6 hours, but go by the dough rather than the clock. Mine is perfect at the 4 hour mark.
6. Shape the dough
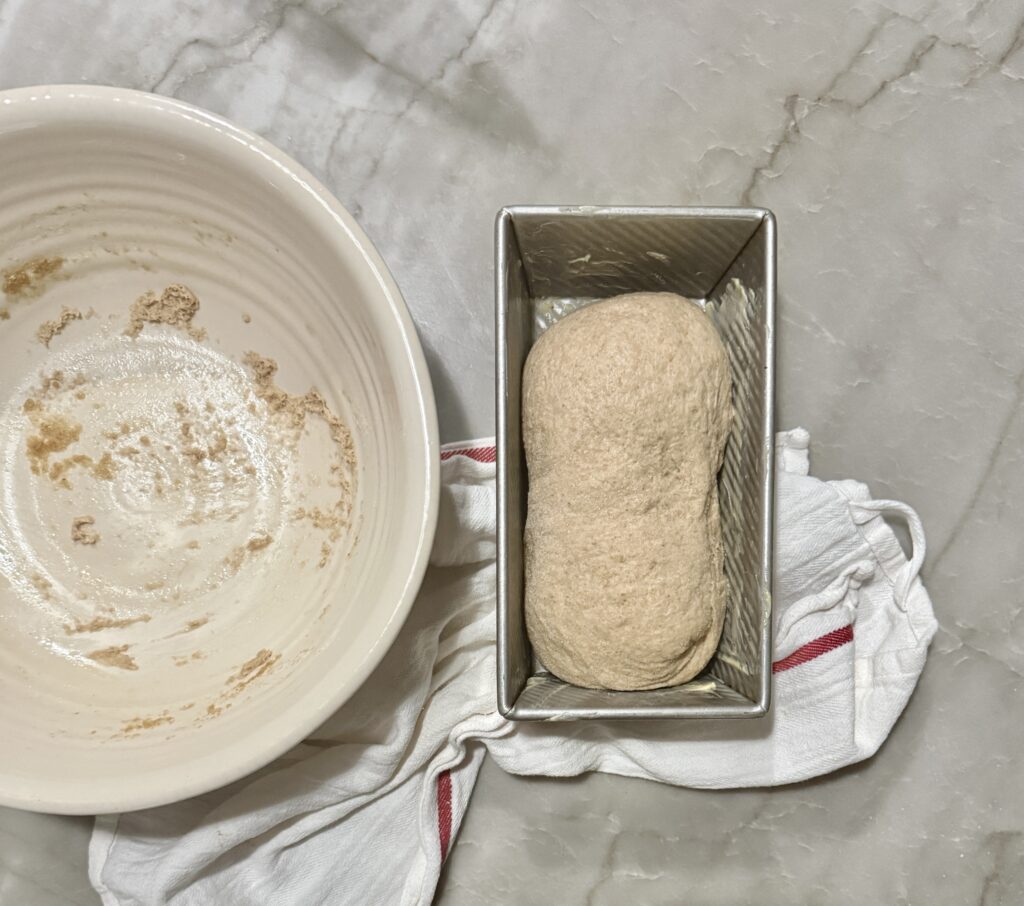
Gently flatten the dough into a rectangle, fold the sides toward the center, then roll it tightly from the short end. Pinch the seam (if needed) and place seam-side down in a greased 9×5-inch loaf pan.
7. Cold proof
Cover tightly and refrigerate for 8–12 hours. I cover the loaf pan with a towel and then place it in a tied grocery bag.
8. Next morning
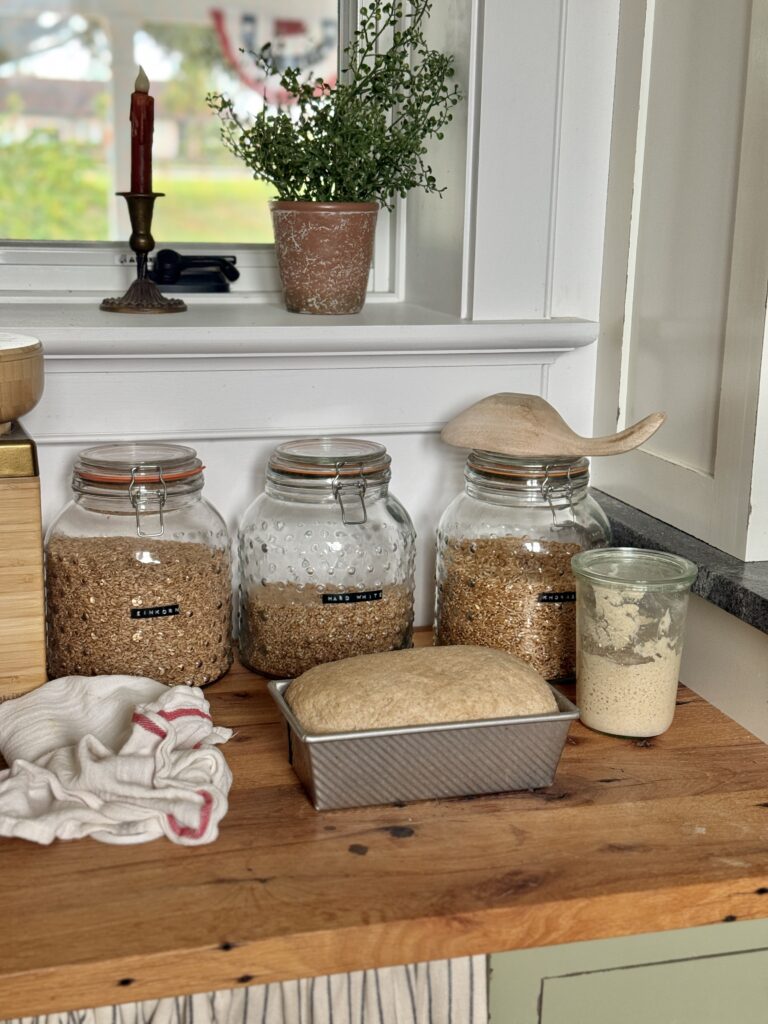
Take the loaf out of the refrigerator (remove the bag) and let it finish proofing at room temperature, approximately 1–3 hours. Mine was perfect at 2 1/2 hours but it will depend on the temperature in your kitchen.
You want it very puffy and about 1 inch above the rim of the pan.
9. Bake
Bake at 400 °F for 10 minutes to brown the top. Now, bake at 375°F for 40 minutes, tenting with foil if the top gets too brown.
Tips
- Target internal temperature: 195–200°F.
- Brush the top with a little butter when it comes out of the oven for an especially soft crust.
Pin For Later
What is Tangzhong?
The Tangzhong method is a traditional Asian bread-making technique that makes bread exceptionally soft, fluffy, and moist, while also helping it stay fresh longer.
It works especially well with fresh-milled wheat, which can otherwise produce a denser or more fragile loaf.
How Tangzhong works
You take a small portion of the flour and liquid from your recipe and cook them together into a thick paste before adding it to the dough.
Typically:
1 part flour : 5 parts liquid
For example:
- 25 g flour
- 125 g milk or water
Heat them gently while stirring until the mixture reaches roughly 149°F / 65°C. At this point, the flour gelatinizes and absorbs much more liquid than it normally would.
Now, let the Tangzhong cool until warm or room temperature and add it to the recipe.
Why it makes bread so fluffy
The cooked flour essentially locks extra moisture into the dough. That gives you:
- A softer, fluffier crumb
- More moisture without making the dough soupy
- A lighter texture
- Bread that stays soft for several days
- Better texture when using fresh-milled whole-grain flour
What Kind of Flour to Use?
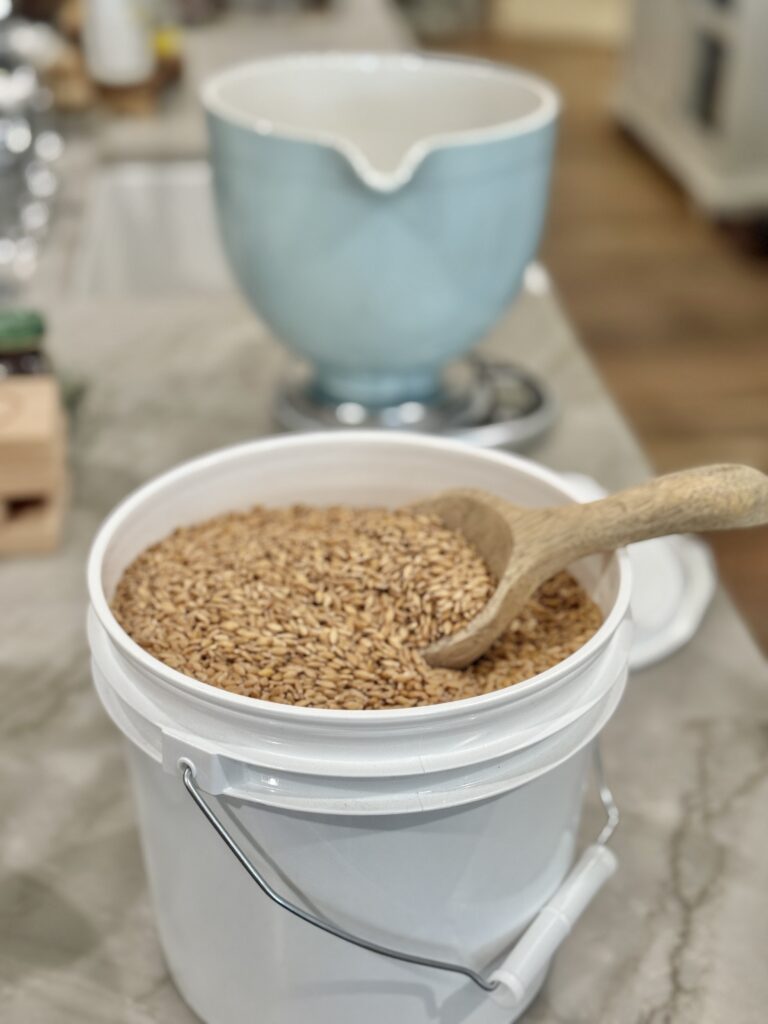
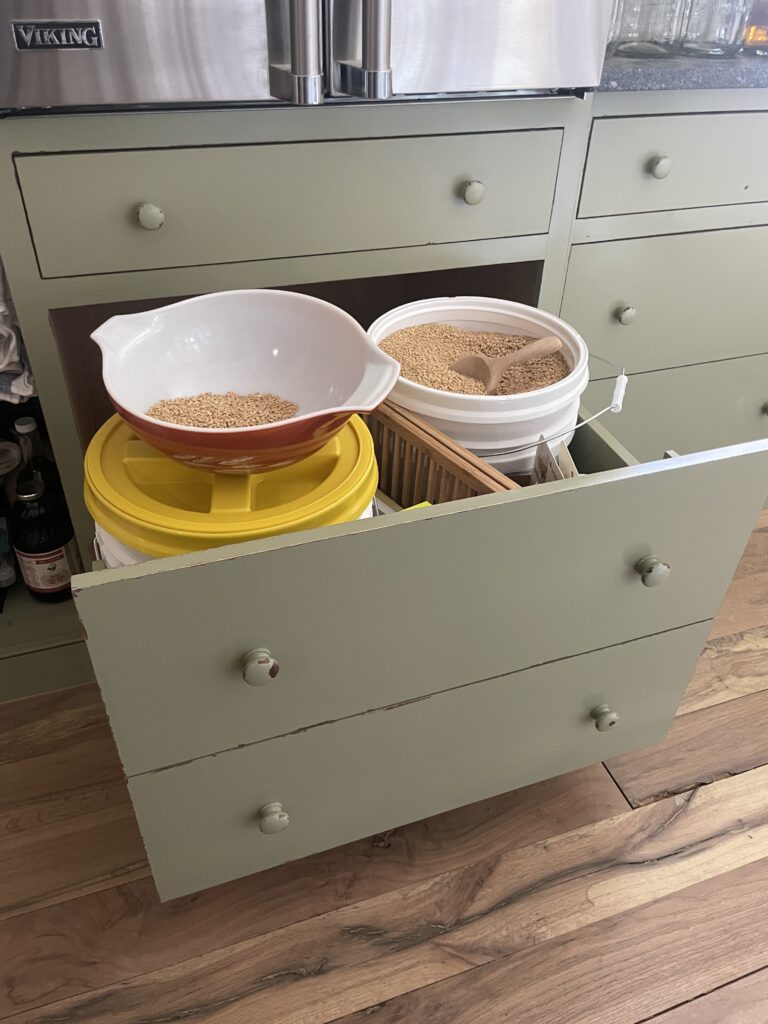
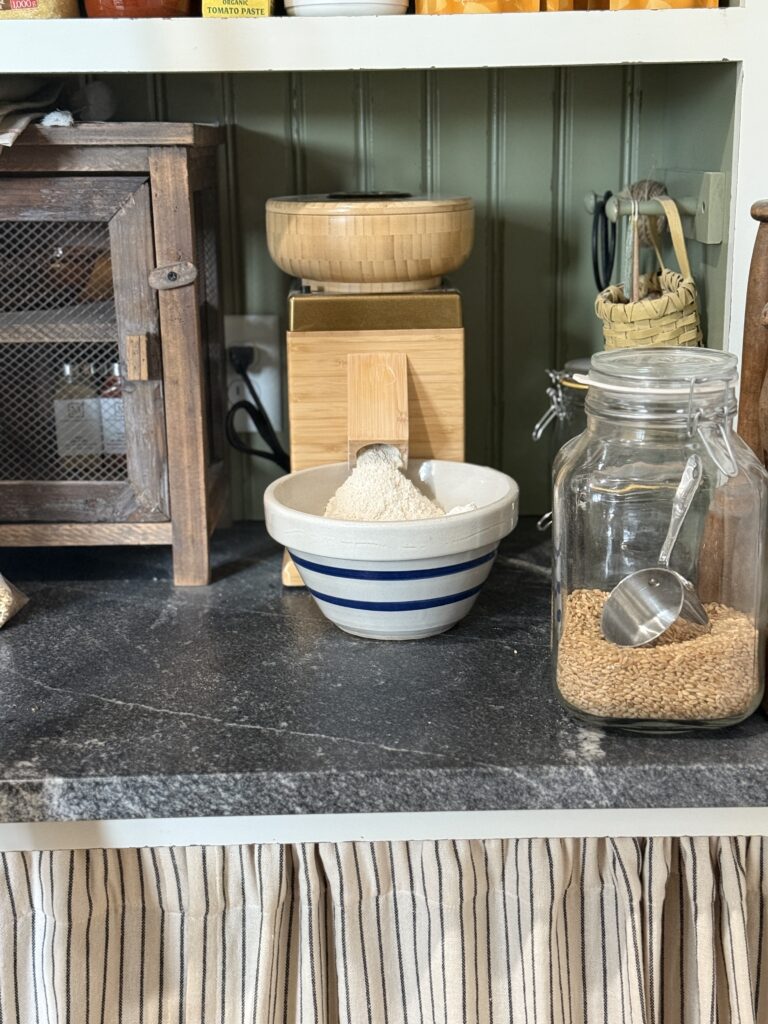
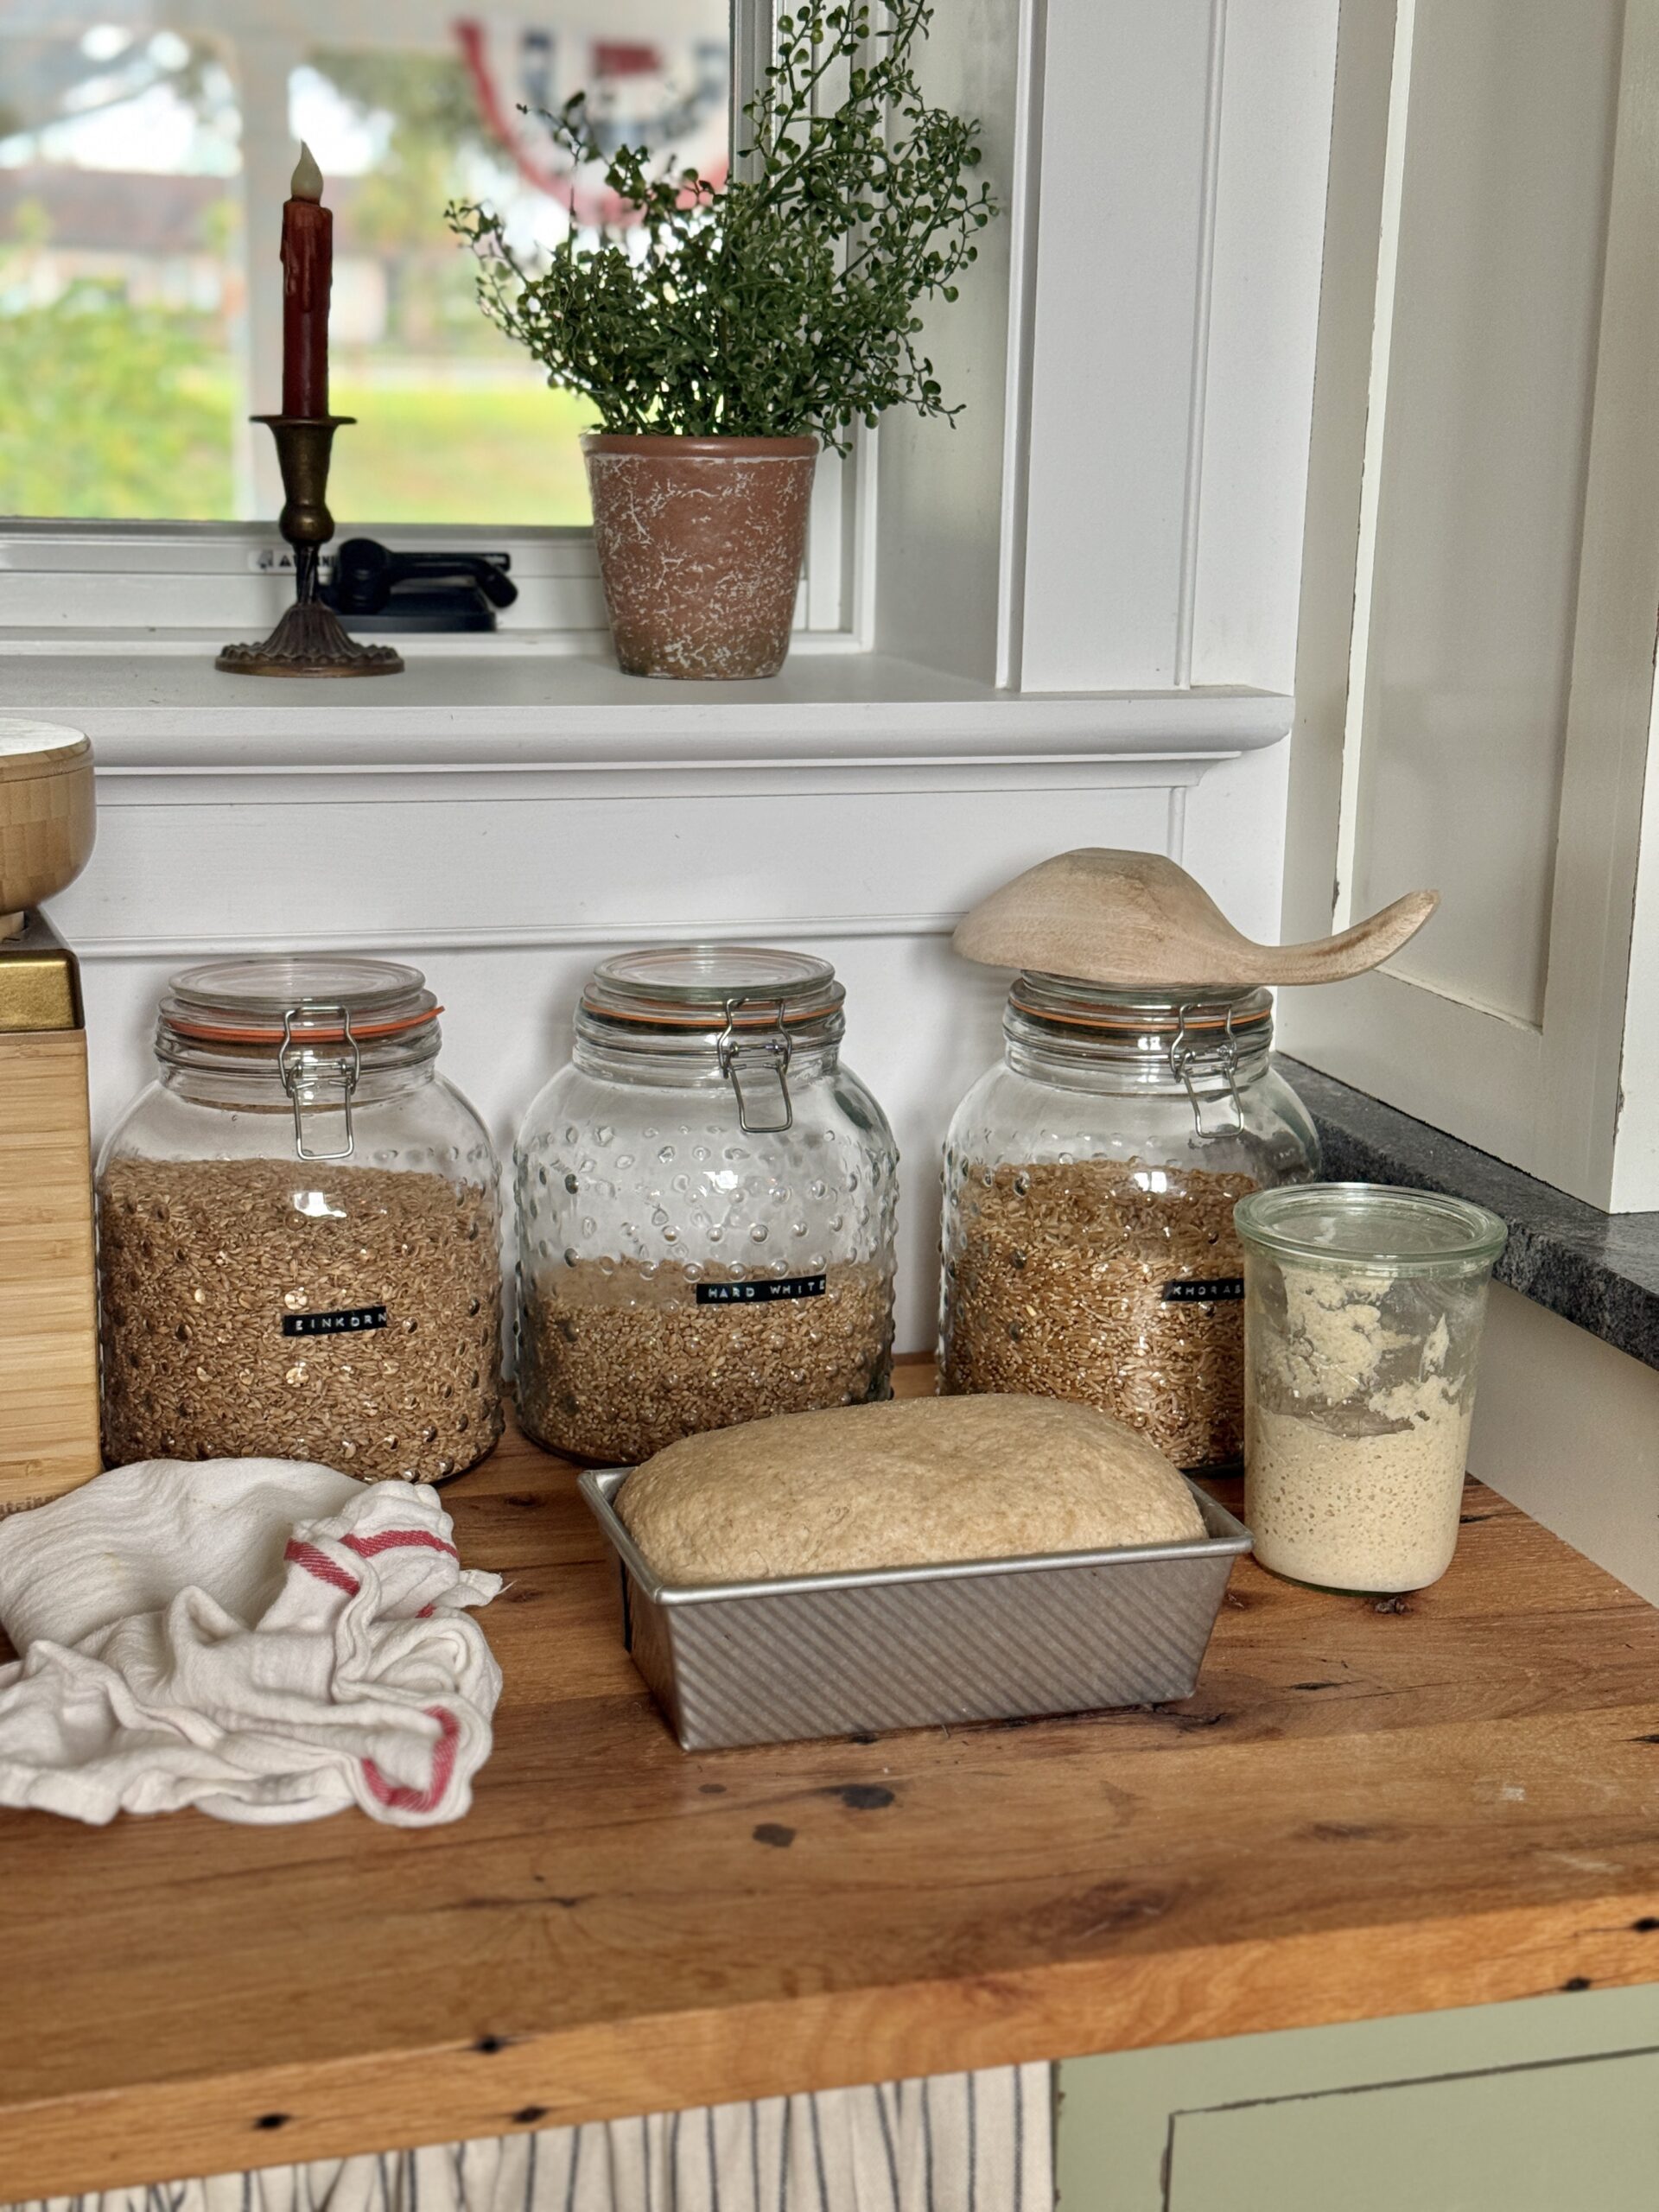
There’s several types of wheat flours you can use to make this yummy sandwich bread. I always aim for the most nutritious ones. Depending on which one you choose, you might need to adjust the water in the recipe. Start with the amount and slowly add more if you need it. Certain wheats require more hydration than others. I’m a huge advocate for grinding your own wheat. See how I do it HERE.
- My favorite is using hard white wheatberries. They are loaded with fiber, bran, germ, vitamins and minerals. They make a fluffy bun!
- My next would be Khorasan wheatberries. Kamut is the brand name and it’s an ancient grain. It is easily digestible and has great benefits as well. It’s one of my favorite grains. Sometimes, I’ll combine the hard white and the khorasan together.
- You can definitely use flours from the store. I love Sunrise Flour and Guardian Grains. Both companies are organic, no glyphosate, no herbicide or anything bad. They also use a unifine mill to grind the wheat where all the nutrition is retained in the flour. Just be careful about using plain all-purpose flour. The flours at the grocery store have been bleached, stripped of the bran, germ and all the essential nutrients that wheat naturally has. They have also added in synthetic nutrients, which our bodies were never designed to digest.
Beginner’s Guide: Mill Your Own Flour
How to Store Fresh-Milled Honey Wheat Bread
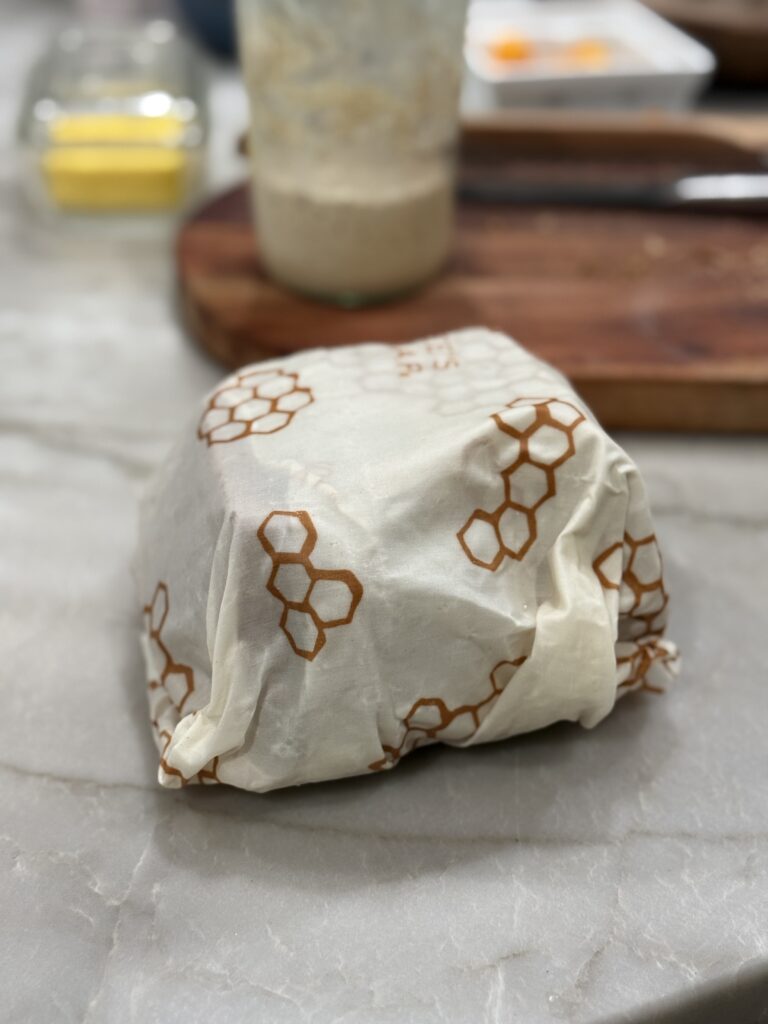
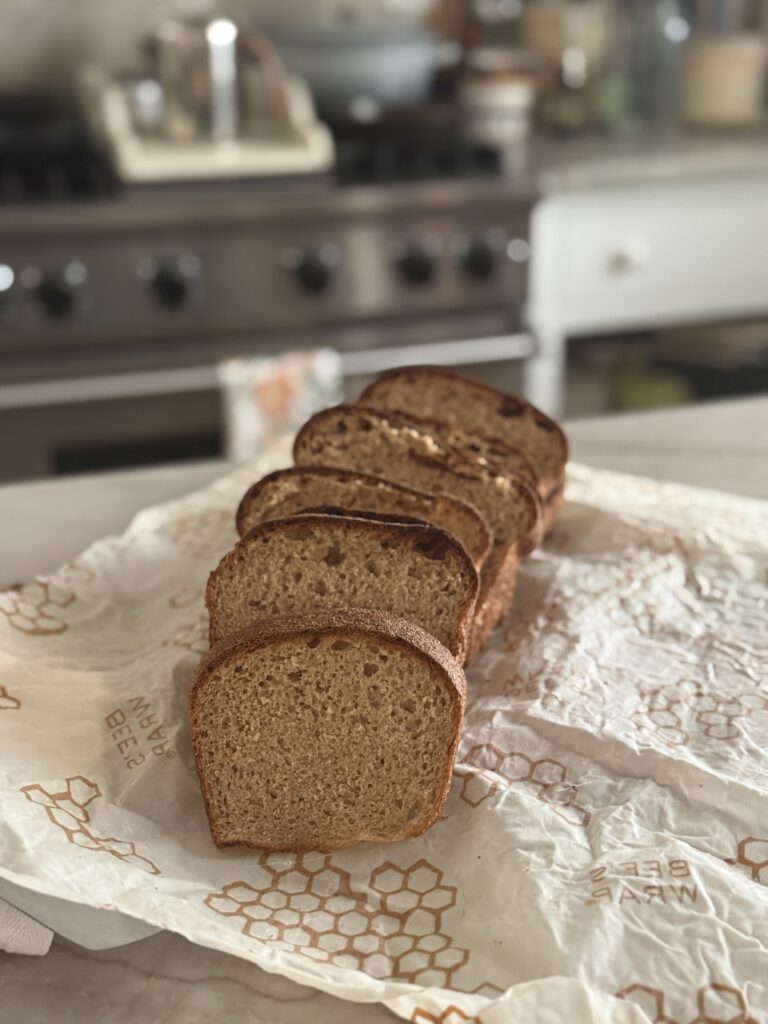
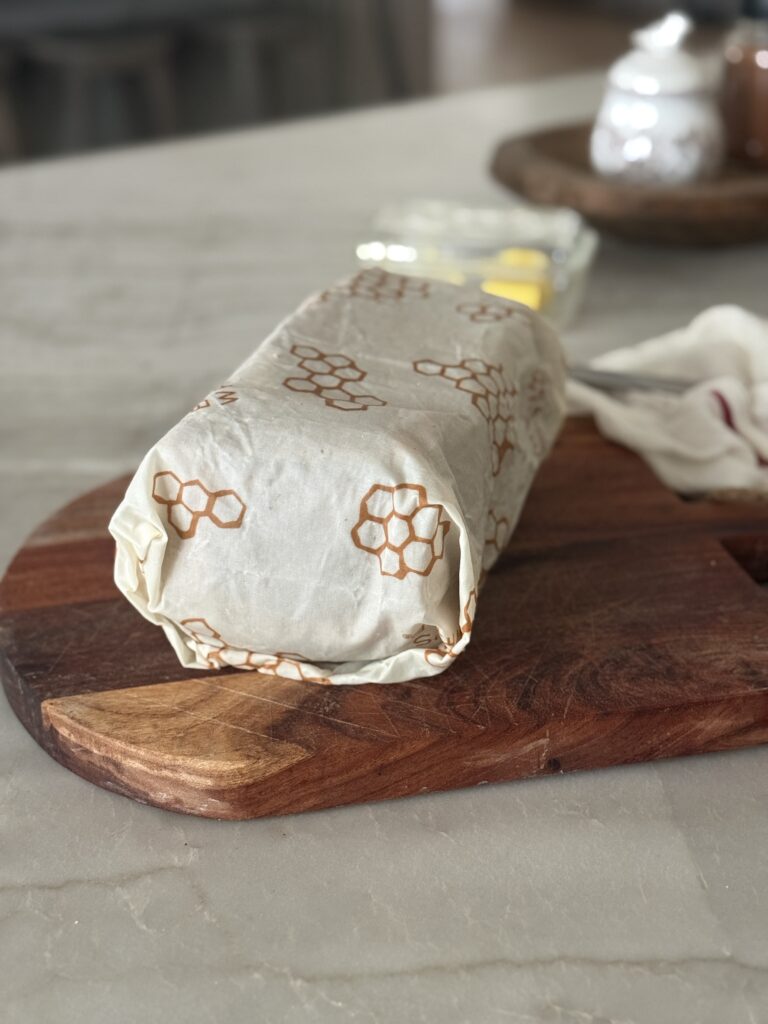
Once the loaf of bread comes out of the oven and it’s cool, you’ll need to store it in an airtight container. Ziplock bags are fine but if you are trying to limit the amount of plastic you use (like I do), then I love using beeswax cloths. The beeswax keeps the bread so soft and fresh. Plus, they are just so cute. I like to pre-slice my loaf and then wrap it in the cloth. I get this large one that will accommodate a loaf of bread. There is also a roll wrap where you can cut it to your size.
Items Used in This Recipe
Fresh-Milled Wheat Sourdough Sandwich Bread
Ingredients
Method
- Whisk 25 g flour and 125 g of milk together in a saucepan. Cook over medium-low heat, stirring constantly, until it thickens into a smooth paste. Remove from heat and cool until just warm in temperature.
- Combine the remaining flour, Tangzhong, and the water. Mix until there are no dry spots. Cover with a towel and allow to rest (autolyze) for 45-60 minutes. I went for 1 hour with my loaf.
- Next, add the starter, honey and salt. Mix thoroughly.
- Lastly, add in the butter/olive oil gradually. Continue kneading (either by hand or in a stand-up mixer) until the dough becomes smooth, elastic and slightly tacky. I used my mixer and went about 8-10 minutes.
- Cover and allow to rise at approximately 75℉ and until the dough is about 50-75% larger and puffier. This will generally take around 4-6 hours (depending on the temperature in your kitchen). Go by the look of the dough rather than the clock. Mine is always good at the 4 hour mark.
- Gently flatten the dough into a rectangle, fold down the sides toward the center, then roll it tightly from the short end into the shape of a log. Pinch the seam (if needed) and place seam-side down in a greased 9×5 loaf pan.
- Cover the loaf pan with a towel. I then place it in a tied grocery bag. Refrigerate for 8-12 hours.
- Take the loaf out of the refrigerator (remove the bag) and let it finish proofing at room temperature, approximately 1 – 3 hours.Mine was perfect at 2 1/2 hours but it will depend on the temperature in your kitchen.You want it very puffy and about 1 inch above the rim of the pan.
- Bake at 400 ° F for 10 minutes to brown the top. Now, bake at 375° F for 40 minutes, tenting with parchment paper/foil so the top doesn’t get too brown.
Notes
- Target internal temperature: 195-200°F
- Brush the top with a little butter when it comes out of the oven for a softer crust (optional).
I hope you enjoy making this recipe for you and your family all year long. Please share this post over on Pinterest and tag me on Instagram.

Wendy Lea Walker, NTP
Nutritional Therapy Practitioner
I’m Wendy. A wife, empty-nester mama, homemaker, homebaker, gardener and small-time farmer. I love sharing wisdom and knowledge I’ve learned along the way. Anyone can garden or homestead, no matter where you live. It’s a mindset. You just have to start somewhere. I believe food is medicine. Feed the body real whole foods and healing will begin. I’m an advocate for eating real food and enjoy sharing all my fresh-milled flour recipes. I’ve learned to slow down over the years from all the noise that came with life and enjoy creating a simple cottage home.

Leave a Reply