I’ve been grinding my own wheat for at least 12 years now. Once you start, you’ll never go back. I promise and you won’t want to. Grinding your own flour is so easy, even for the busiest of families. The nutrition that you receive from it is so worth the effort.
Fresh-Milled Flour vs. Store Bought Flour
There’s some major differences in between what you buy at the store and what you grind from wheat berries.
Let’s Compare the Health Benefits
Store Bought Flour has had the germ and the bran removed so that the bags of flour on the shelves can stay fresher. The vital nutrients have been removed. There are organic flours that retain a little more of the vitamins and minerals but they can get costly. I have found a few wonderful organic bread flours that I use with my fresh-milled flour. One is a Stone Ground bread flour and the other is a Hard White Wheat flour that has been ground in a special way that retains all of the nutrients.
Fresh-Milled Flour has a lot of the daily required essential nutrients in each kernel, also referred to as wheat berries. Each kernel is constructed of three parts. The Bran, Germ and the Endosperm. The bran is the outer layer and consists of a small amount of protein, B vitamins, trace minerals and fiber. The germ is tucked away like an embryo and contains some protein, B vitamins and essential fatty acids. It is also a great source of fiber. Once the bran and the germ are broken, they are exposed to oxygen and now the nutrients are now oxidized. This means that the flour will not stay fresh on the shelf for very long.
Endosperm is surrounded by the bran and the germ. Think of it as the yolk to an egg. It contains the majority of the protein and it’s the starch. Order a FREE CD on “The Truth About Wheat” HERE.
How to Grind Your Own Wheat
It’s really quite simple to grind your own wheat. Here’s a few things you’ll need to get started:
- Grain Mill
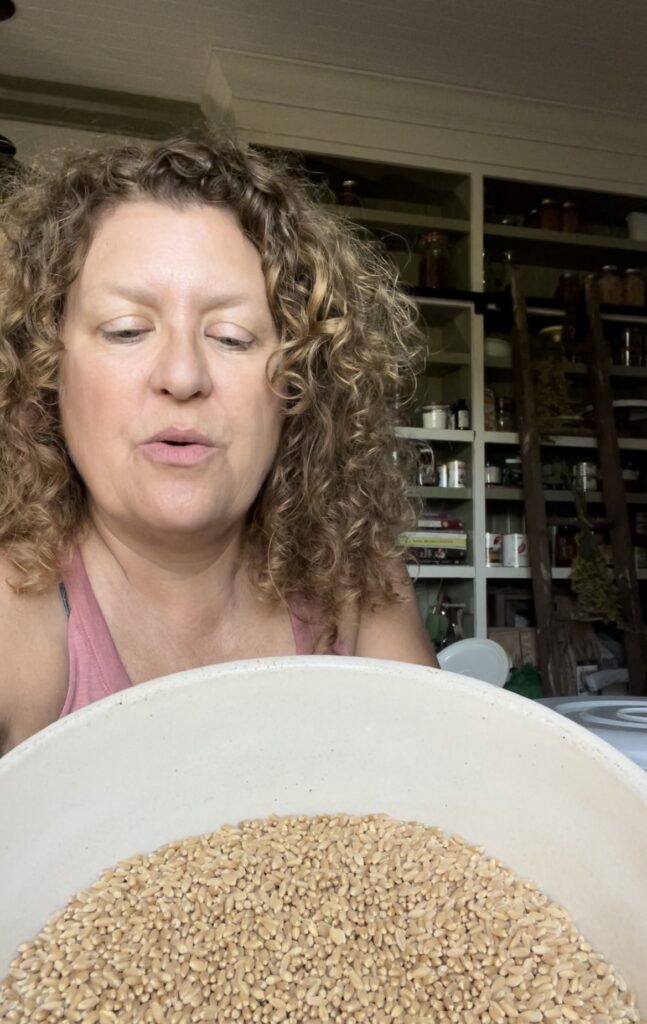
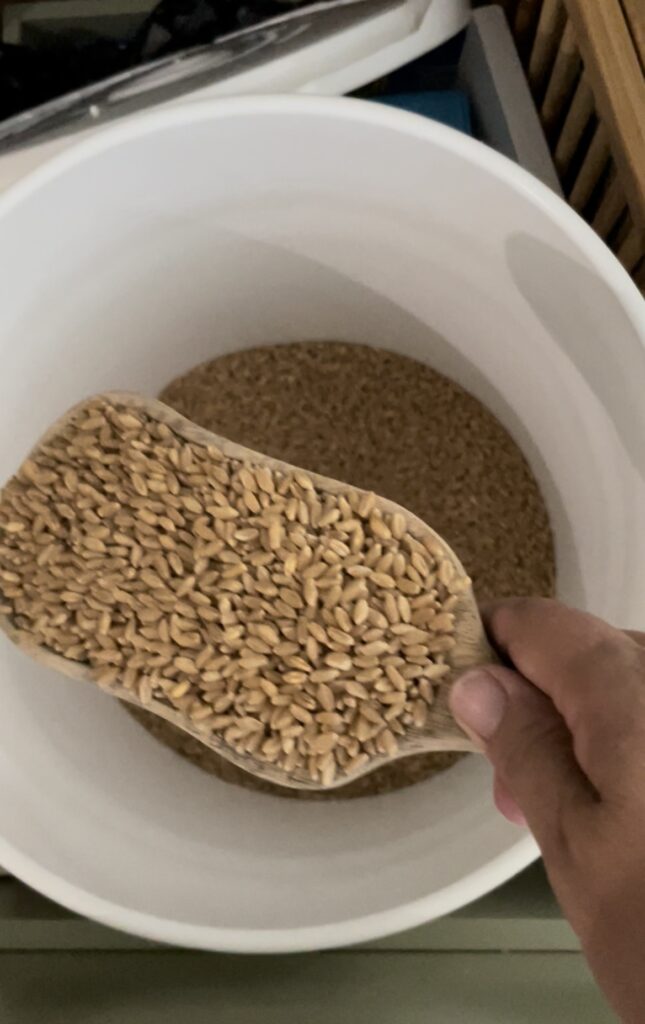
- Wheat Berries – You’ll want to get either Hard White, Hard Red or Soft White. I’ll discuss other grains to grind below. I buy mine HERE and HERE.
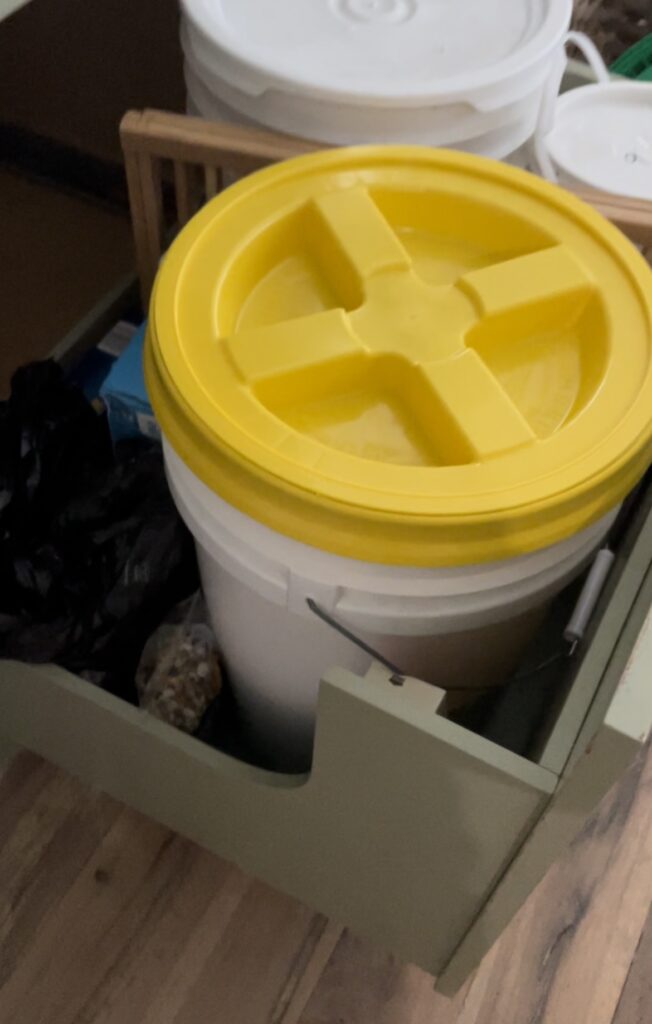
- Gamma Lid
- Bucket Opener
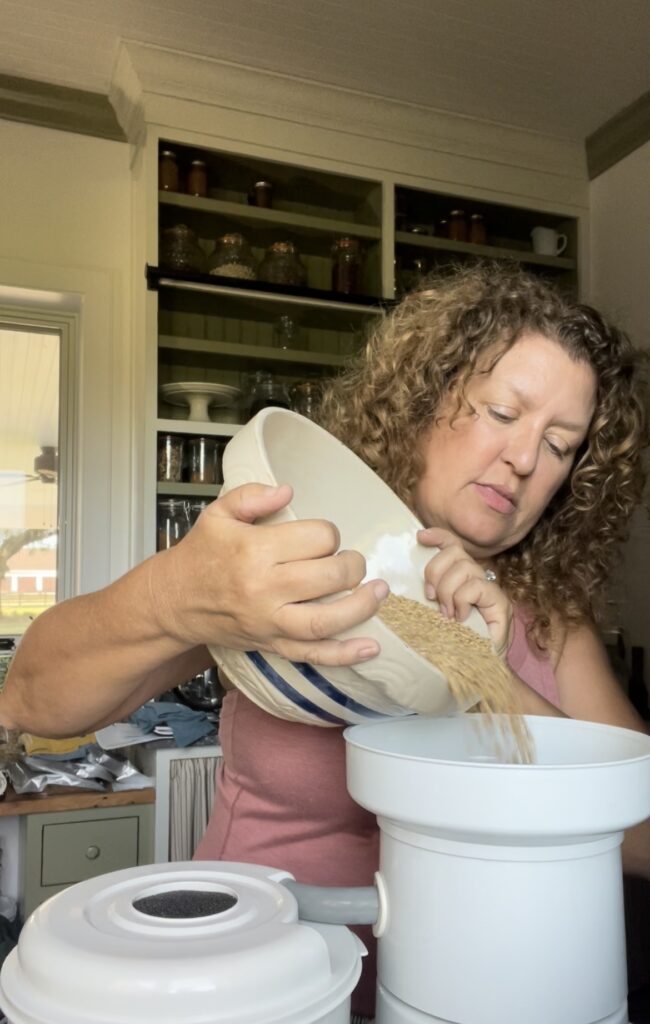
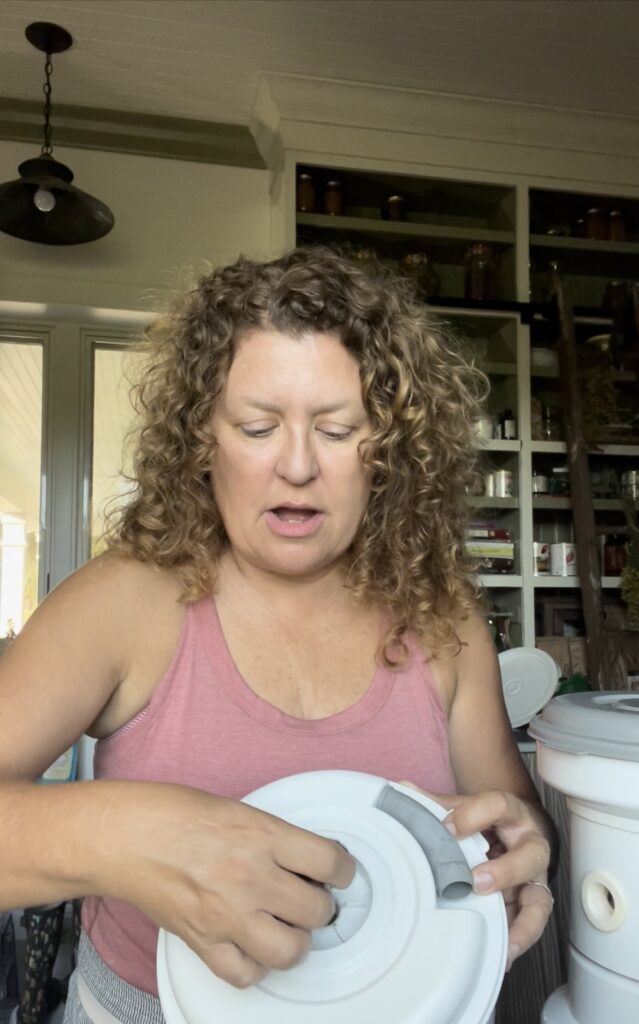
- First, you’ll pull your grain mill out and set it on the counter. Connect the canister/lid with tubing to the milling chamber. Remove the lid.
- Turn on your mill prior to adding the grains. This is if you have the Wondermill, like I do. I can’t speak for any other brand so refer to your instruction manual prior to using.
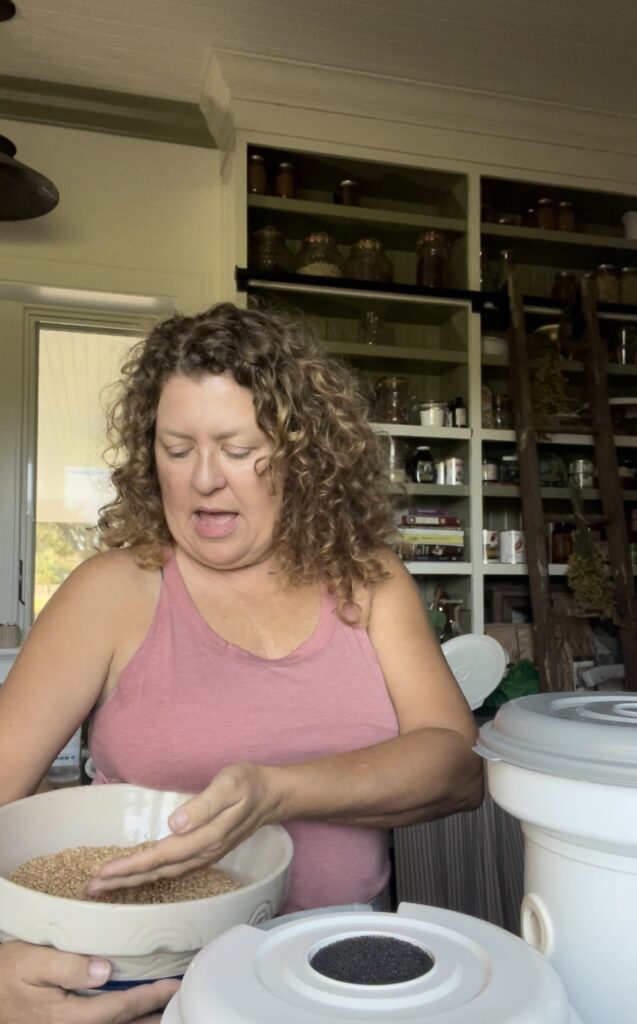
- Add your grains to the top of the canister. The lid should fit properly on the machine.
- One you hear the loud sound, that means the flour is ready. Remove the lid from the flour canister.
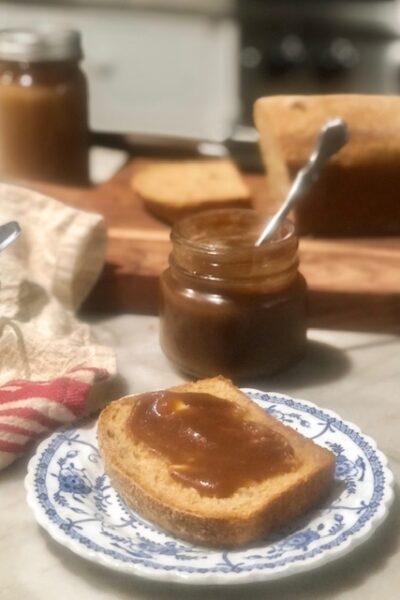
- You are now ready to start making beautiful, nutritious bread.
Watch My Video
(This was made a few years ago)

Types Of Wheat
There are several kinds of berries you can grind, therefore, I’d keep it simple in the beginning. Stick with the basics that I mentioned above. I’ll describe the differences below:
Hard Red & White – These two are used mainly for making bread. Red is more of a nuttier taste and your bread will be darker. White is my personal favorite. It makes a golden brown bread with a wonderful taste and texture. I even make pizza dough with it!
Soft White – This is the best for baking cakes and baked goods. For instance, I use this all the time for pancakes, cupcakes, cakes, cookies, etc.
Einkhorn – It’s an ancient grain that is wonderful to use. You have to use it in conjunction with another wheat or you won’t have pretty fluffy bread. I love making tortillas with Einkhorn. Experiment with it.
Kamut – The actual name is khorasan wheat. The brand is Kamut and it’s is an ancient grain. It’s supposed to be much easier to digest. I just bought a 6 gallon bucket and can’t wait to start using it.
There’s other grains you can use. These are just some of the most popular ones and more recipes will be easier to find.
One of My Best Tips
I don’t grind my flour every time I want to make something with it. Fresh-milled flour will last up to two weeks in the freezer. Within just a day, the flour starts to oxidize and will lose those good nutrients. That is why you can’t leave it in a jar on the counter. Freezing the flour for a short time helps to retain those nutrients. How exciting is that! I always grind enough for what I’m making and then fill a gallon size zip lock with the rest and put it in the freezer. Write the date on the bag and make sure you use it haha.

What Kind of Grain Mill To Use
There’s a few grain mills I recommend. First, you have to decide if you would like an electric or manual one. I personally have an electric one but the manual one is on my list to buy. What if you had a power outage for a few days? I know for a fact I’d be lost without homemade bread lol.
Electric Grain Mills – I have the Wondermill and I’ve owned it for 11 years now. It works great and I have no complaints about it. This is the model I have HERE.
Manual Grain Mills – There’s two manual mills that I am aware of and I’d be happy with either one since the reviews are really good on both of them. The Country Living Manual Mill and the Wondermill Jr. are the two I recommend for manual mills. The Country Living Mill is the only hand-operated grinder on the market that utilizes two industrial-grade ball bearings. Many grinders use only one large bushing, but the Country Living Mill has two sealed ball bearings spaced apart which increases the stability of the drive shaft and reduces bearing strain.
The Wonder Junior produces more flour per handle revolution than the Country Living Grain Mill, and for half the price too. The Wonder Junior gives you more options to mill several types, nuts into nut butters, coffee, flax, and many other items not possible in more expensive grain mills.
Pin For Later





Leave a Reply