

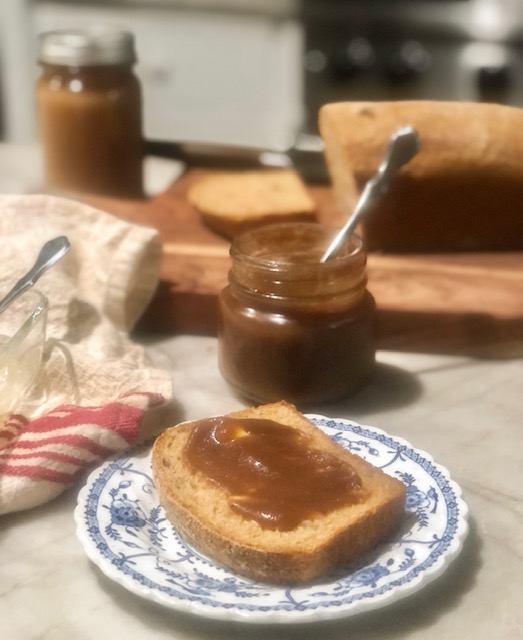
This applesauce walnut bread is just the thing you’ll want on a cool Fall morning for breakfast. It’s fluffy and naturally sweetened with the applesauce and a little bit of crunch with the walnuts. You could even have it for dessert!
{Jump to Recipe}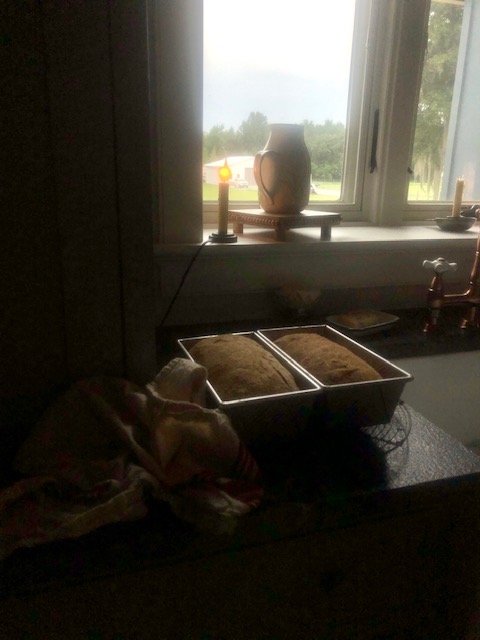
Flours to Use
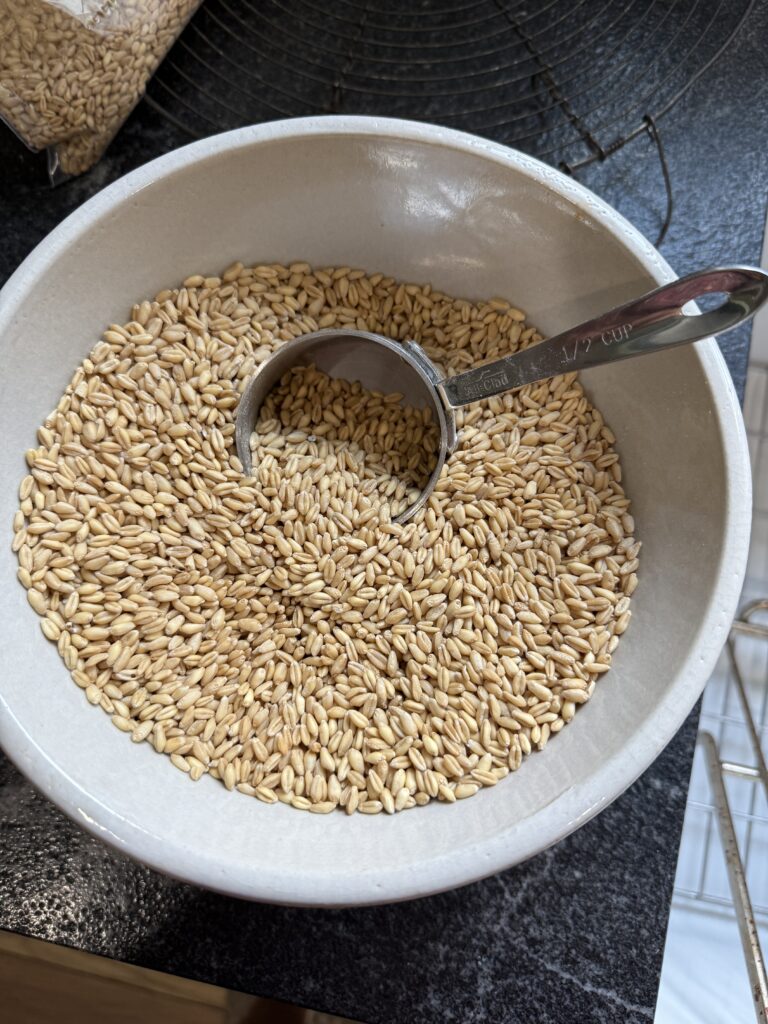
If you’ve been here for a while, you know I’m a huge advocate of using freshly milled flour (it’s all I use). I encourage you to try it. It’s loaded with vitamins and minerals and really not that difficult to make. I use hard white wheat flour. It’s so yummy and really makes a great loaf of bread.
You can use whole-wheat store-bought bread flour if you like but you won’t receive any of the nutrients that freshly milled has. Whatever you choose will work just fine.
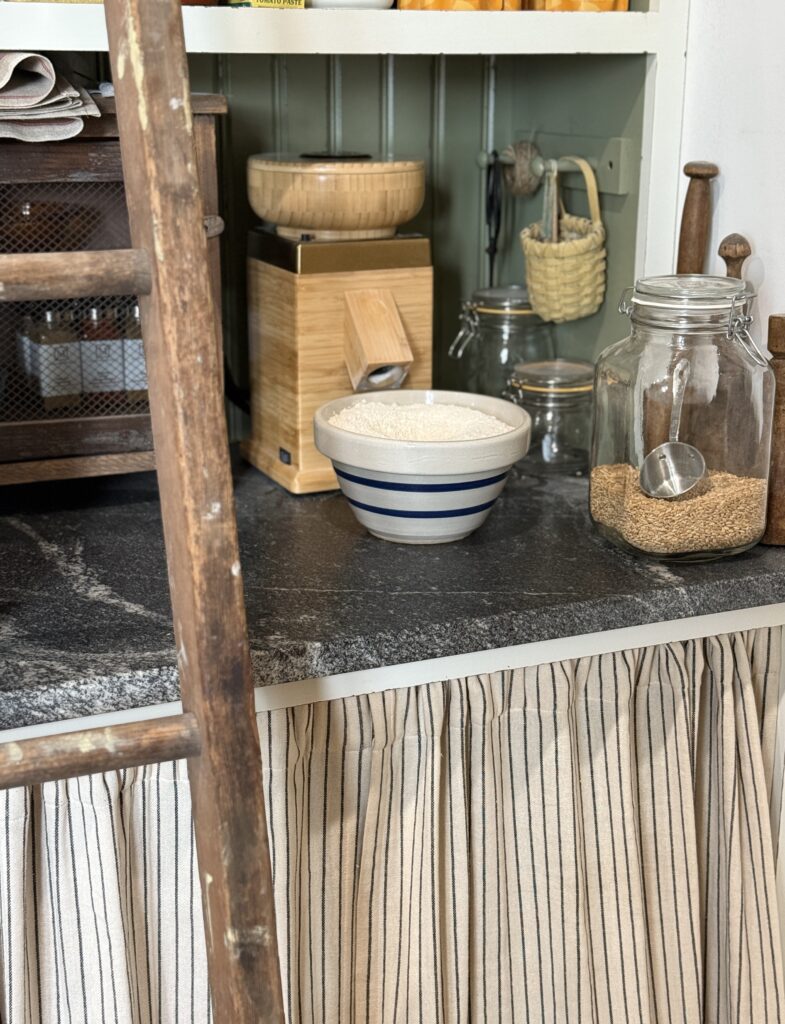
Learn How to Grind Your Own Flour
Using Freshly milled flour will give you and your family pretty much a near perfect food in your diet. See all the health benefits and you’ll find that it is so easy to do.

Need to Substitute For All-Purpose Flour
Most of the time people ask me how to convert an all-purpose flour recipe to a freshly milled flour recipe. Since I’m using FM flour in this recipe, I’m going to go over how to make the switch to AP flour.
Due to the high moisture content in FM flour, you will need to back down the AP flour amount in this recipe. For example, 1 1/4 cups of FM flour = 1 cup of AP flour. This recipe calls for 6 cups of FM flour. You’ll need to remove 1/4 cup for every 6 cups. That would be 1 1/2 cups. So, to make this recipe using AP flour, you would use 5 1/2 cups for flour.
See all about it below but basically reverse it as I’m giving the conversion from AP flour to FM flour in this post.
Substitute All-Purpose Flour With Freshly Milled Flour
Watch The Video
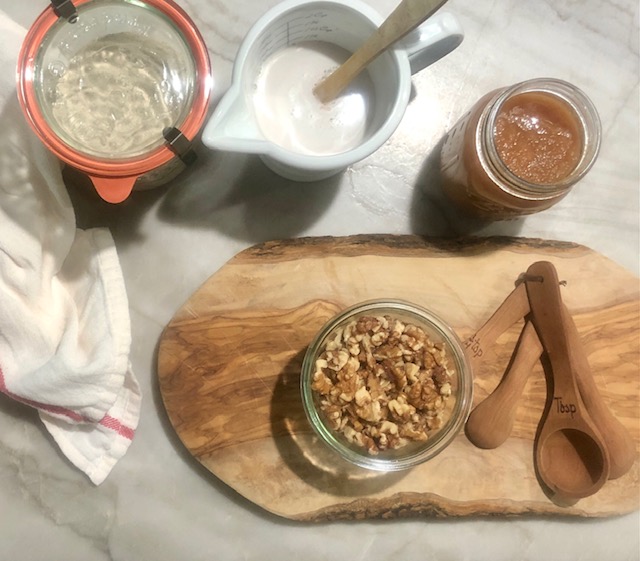
Applesauce – Store Bought or Homemade
I’m an applesauce snob. There, I said it. I started making homemade applesauce about 15 years ago and I’ve never looked back! Nothing compares to the taste of hand-picked apples and raw apple cider. That’s all it takes to make applesauce. Oh, and patience and time, but it’s so worth all the labor. Trust me! Once you make homemade applesauce, you’ll never buy store-bought again. Try making my homemade applesauce HERE.
You can certainly buy store-bought but aim for a natural one with no sugar.
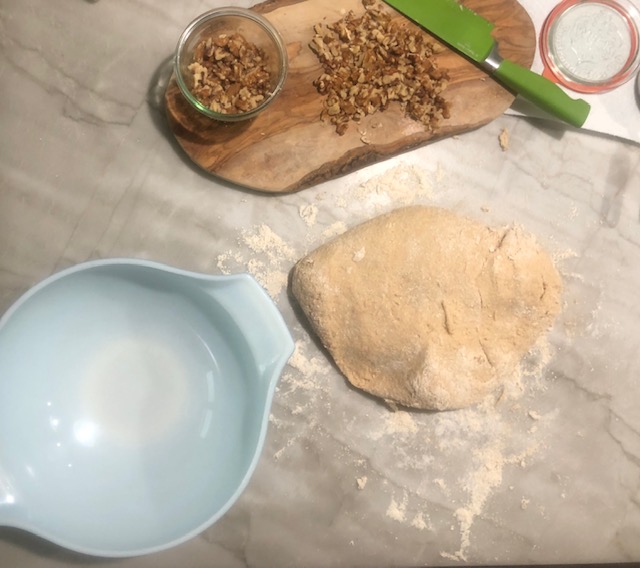
The Kneading Process
Kneading can either be therapeutic or the reason you aren’t making bread haha. You don’t have to knead by hand. I get it. It’s time-consuming as who has extra time. Fear not. You can make this yummy applesauce walnut bread using a stand-up mixer with a dough attachment. As simple as I like to live, I still enjoy my comfort creatures by using a mixer. Depending on if I have enough time, I may knead by hand.
Why Use Applesauce in Bread?
1. Moisture: It adds and retains moisture, making bread soft and tender.
2. Fat Replacement: Applesauce can substitute for butter or oil, reducing fat content while maintaining a moist texture, ideal for healthier recipes.
3. Sweetness: It provides natural sweetness, allowing you to reduce added sugar.
4. Flavor: It imparts a subtle apple flavor, enhancing breads like cinnamon or spice breads.
5. Binding: Its texture helps bind ingredients, improving structure in recipes.
6. Nutrition: Applesauce adds fiber and nutrients, boosting the bread’s nutritional value.
Applesauce Walnut Bread
Ingredients
Method
- Dissolve the yeast in the 1 cup of warm water.
- Combine the honey and oil into the lukewarmwater. Stir and set aside.
- Add the flour to a mixing bowl. Make a well in the center of the flour and add thesalt.
- Pourthe honey liquid mixture and the yeast into the well of the flour.
- Add the applesauce and fold in all the ingredientsfrom the sides of the bowl.
- Next, add additional flour or water, as needed.
- Now, the dough needs to be kneaded. You can dothis by hand, which will take about 8-10 minutes or you can use a stand-upmixer with a dough hook attachment. If using the mixer, start with a lower settingand then increase it faster and watch the machine knead your dough. This maytake 5-6 minutes.
- Add the walnuts once the bread is kneaded andform the dough into a ball.
- Place the dough into a mixing bowl. Cover andlet rise. This usually takes 1 ½ – 2 hours.
- Go do laundry or work in the garden.
- Times up! Test to see if your dough has risen bymaking a small hole in the dough with your wet finger. If the hole doesn’t fillin, then the dough is ready. If it did fill in, just let it rise a bit longer.
- Deflate the dough with your hands, cover thebowl and let rise again for about an hour.
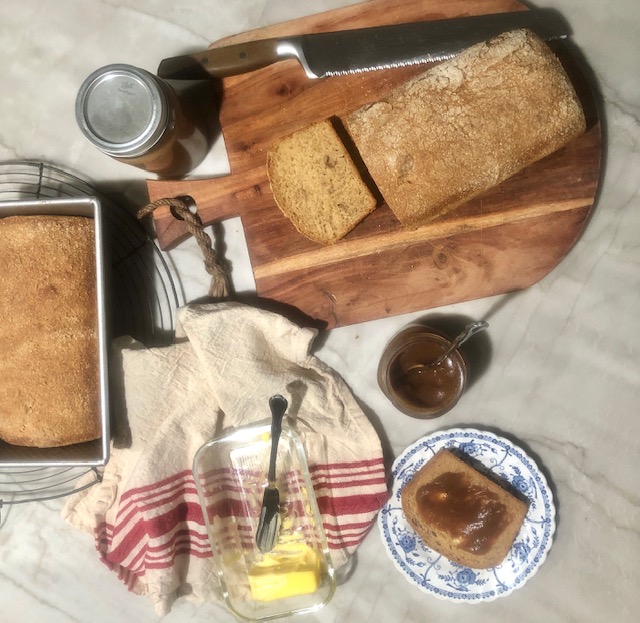
- Divide the dough into two halves. Grab your loafpans and butter them up.
- Shape each loaf into a rectangle with the seamon the bottom. Place in the pans, cover and let them rise for 45 minutes. Yourdough should have risen over the top of the pans but if they don’t, it happens,and your bread will be yummy either way.
- Bakeat 350 degrees for 45 minutes to an hour.
- Slice bread and enjoy!
Pin For Later
Supplies You May Need
Grain Mill – receive $20 off (use code: lhsimpleliving)
Where to Buy Grains – Here (Receive 20% off) and Here (Receive 15% off)
Measuring Cups and Spoons
Try using my HOMEMADE APPLESAUCE RECIPE to make your Applesauce Walnut Bread. If you make this recipe, please share it and tag me over on Instagram.

Leave a Reply