

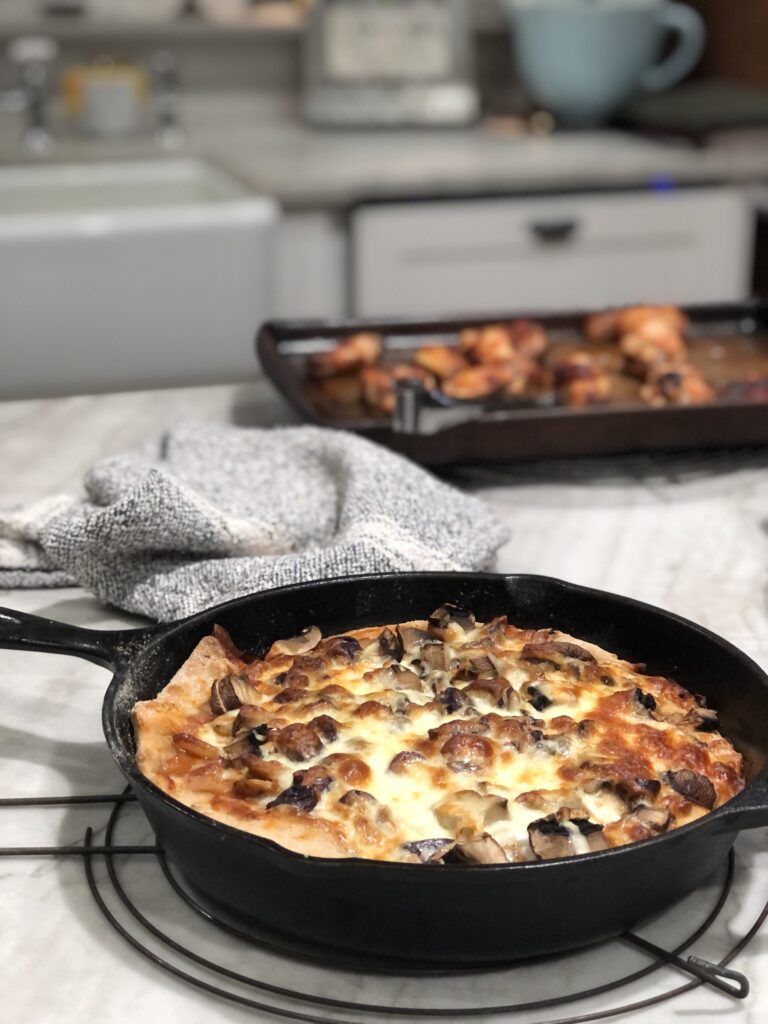
If there is a food that I absolutely love it would have to be pizza. Who doesn’t’ like a crispy crust, yummy meat and vegetables, oooey gooey cheese? I like that pizza is a well-balanced meal. Am I right? I’m always there for the pizza! I started making this easy homemade pizza dough about 10 years ago. This is when I was first introduced to grinding my own flour. Yes, it is still a thing and I’m going to show you how easy it is to make.

What is Grinding Your Own Flour?
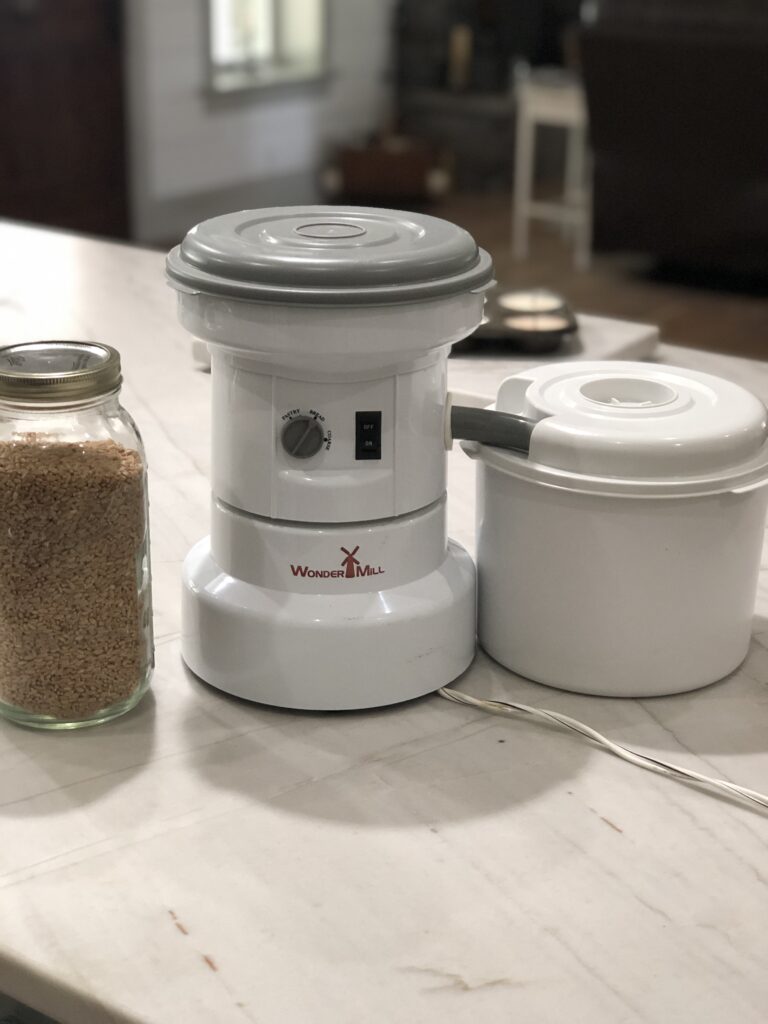
I have noticed over the years so many people are allergic to “gluten”. I for one thought I had an intolerance. It’s simply not true. Now, Celiac Disease is a completely different ball game. Less than 1% of the population has Celiac, so if that is you, please do not eat wheat. Let’s dive in. When you grind your own flour, that means you are taking the wheat berry that is extracted from the farmer. You then put it in a mill grinder (either manual or electric). Beautiful fresh flour is then created, just as it was designed to.
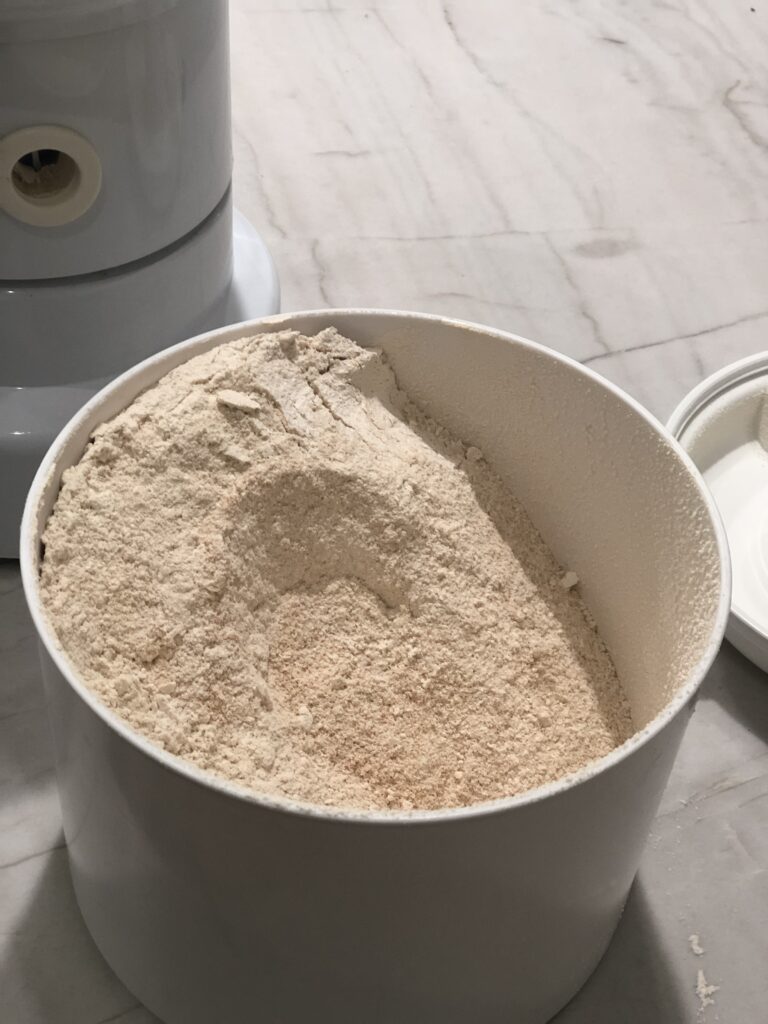
Our flour is not supposed to be white. Did you know the manufactures are bleaching our flour? Back in the early 1900’s, the big mill machines started removing the bran and the germ. These are two very vital nutrients. This process increased the shelf life of the flour. Read more about grinding your own flour HERE.
Why I Grind My Own Flour
Let me get back to my story of why I thought I had a gluten insensitivity or allergy. I had this rough bumpy “chicken skin” on my arms and then I started developing a rash on my neck. I’ll go into more details about my health journey in another post. For now, I am really going to give you the pizza dough recipe. LOL. Stay with me as this is important.
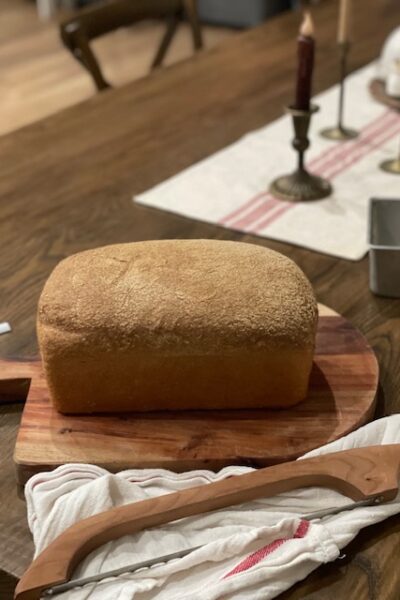
Once I started grinding my own flour, I noticed a change. After eating the bread, both of my symptoms were gone in just a few short weeks. Whole wheat berries are loaded with vitamins and minerals that our bodies need. I was lacking these vital nutrients from store bought bread and it was making me sick. Plus, they have added other things that just isn’t good for us. I’m a firm believer that God created the wheat. I truly believe that when we alter things that should not be altered, problems arise.
Some Useful Tips
Only a few supplies are needed to get started. Share your mill with a friend. Honestly, I visited my friend’s house a few times a month. I did this until I could afford to purchase my own. They make a really great Mother’s Day or Birthday present. That’s how I got mine lol. Here is the mill that I use here.
Simple ingredients and an easy weeknight meal. Try to keep an extra pizza dough in the freezer at all times. They will last 1-2 months in there. It makes things less stressful when dinner comes around on those busy weeknights. My pantry and fridge are usually stocked at all times. If I happen to be out of something, I just improvise with something else. Always wingin’ it here and using what I have on hand. Alright, let’s get into the recipe.
How Do You Make Homemade Pizza Dough
Pizza dough is probably the simplest thing to make. You do not have to use a mixer and this requires very little knead time. This recipe will yield two homemade pizza dough’s. You can stretch it to three if you like yours thin.
Feel free to use any kind of flour that you like. For the sake of this recipe, I am using fresh milled hard white wheat flour. This recipe comes from Sue Becker and you can find her book here. It is packed with all kinds of information on how to grind. It also explains the health benefits of using freshly milled flour. You will first start with the flour and water. Let that rest for 20 minutes. Lastly, you’ll sprinkle the yeast on top and then add in the olive oil and salt. Knead it and that’s it.
Homemade Pizza Dough
Ingredients
Equipment
Method
- In a large bowl, combine water and flour. Mix until a soft dough forms. Let rise for about 20 minutes for the gluten to develop.
- Sprinkle the yeast on top a mix. Add the oil and the salt.
- Knead dough until smooth and elastic. This usually takes about five minutes.
- Cover tightly with plastic or beeswax wrap. Refrigerate for 24 hours, up to three days.
- Bring dough to room temperature.
- Preheat oven to 400 degrees.
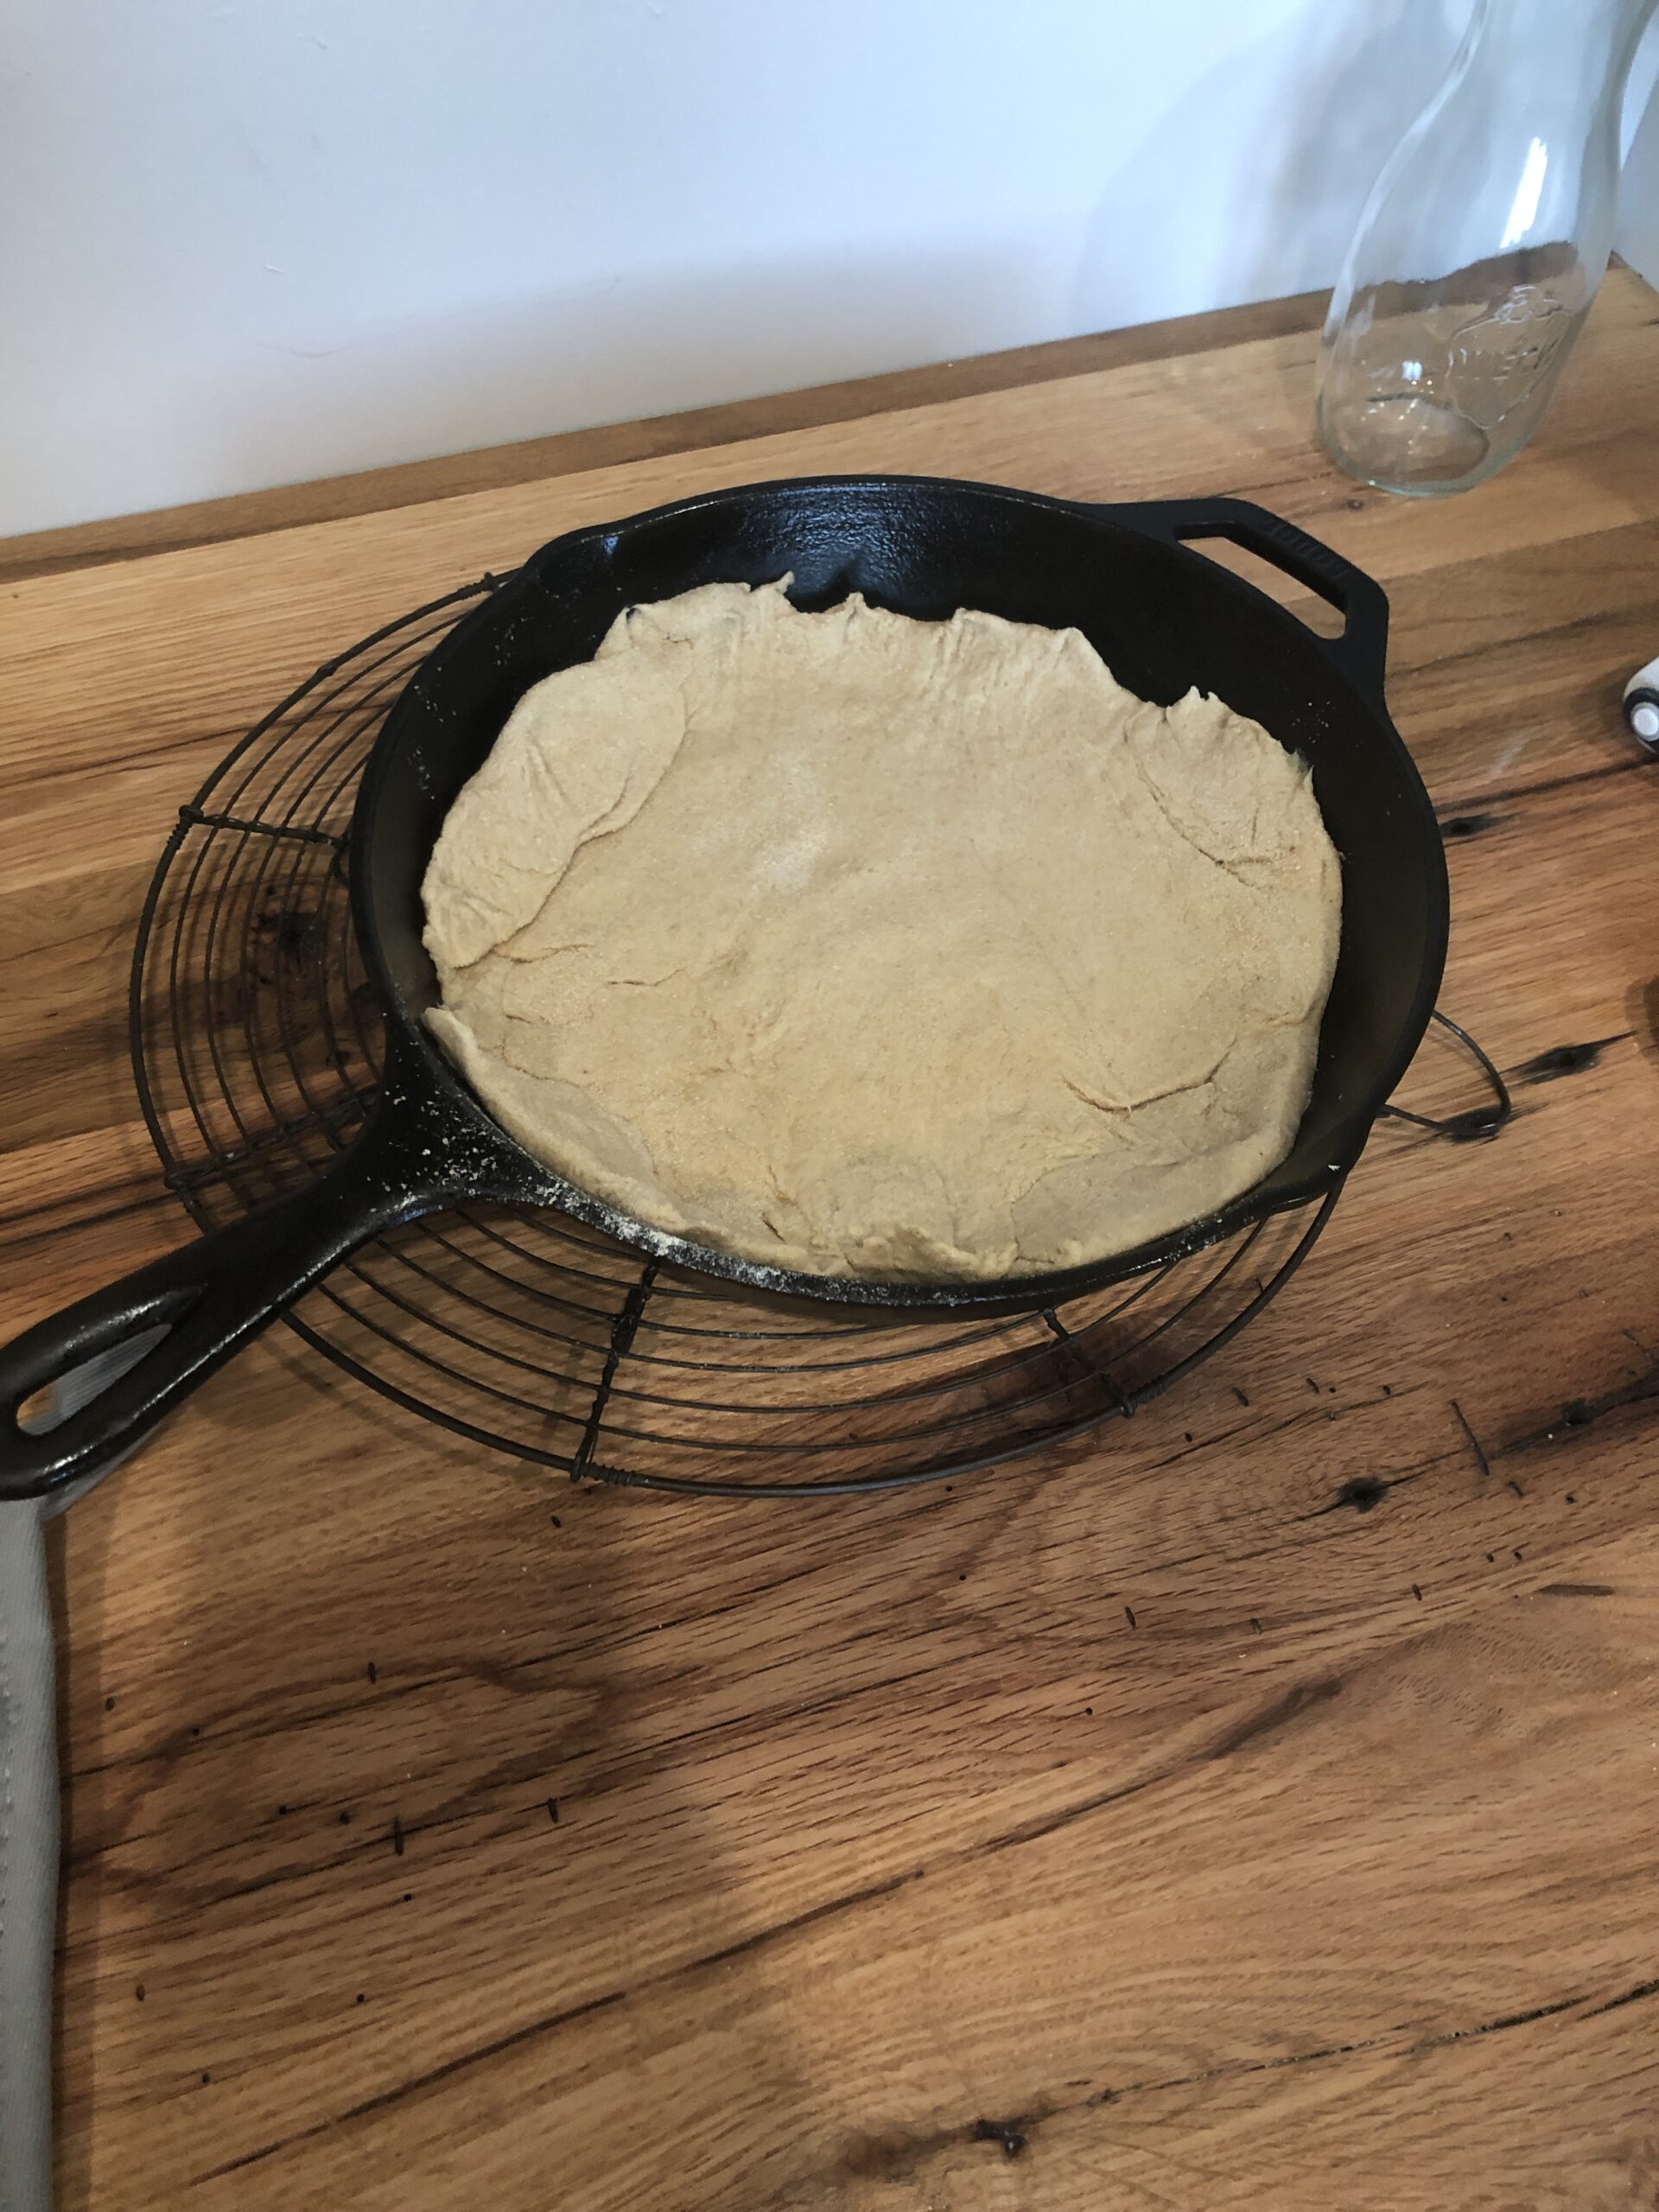
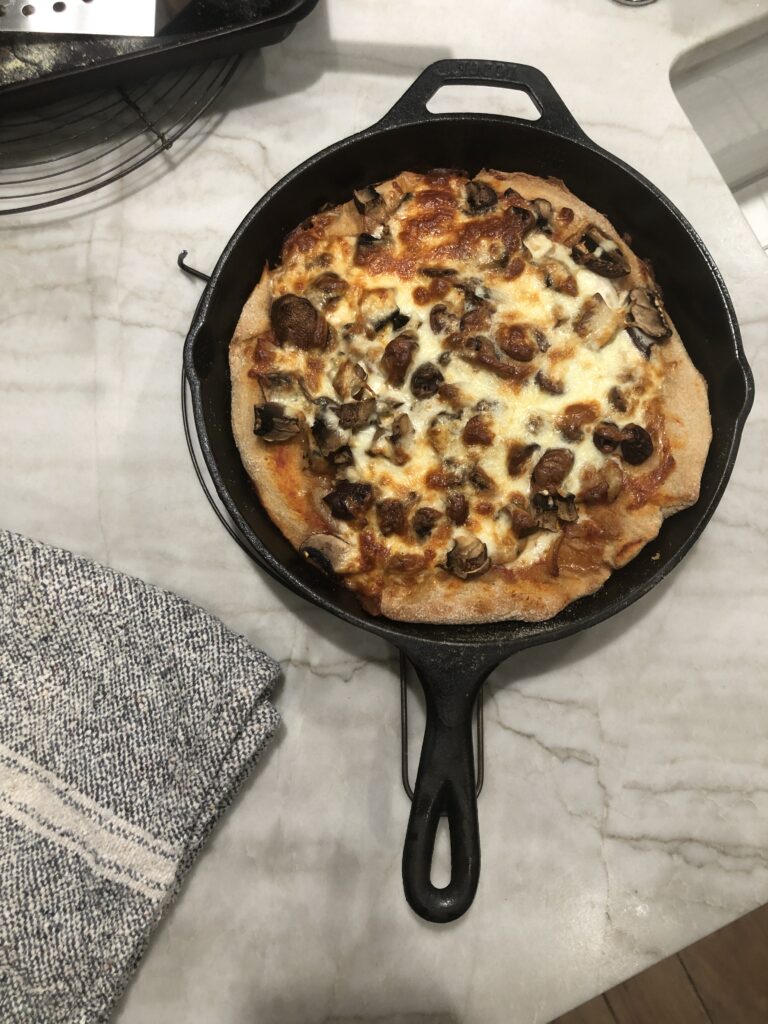
- Divide dough into half. Sprinkle iron skillet or pan with a dusting of cornmeal.
- Roll dough out on a flour surface In the shape of your pan you are using. Press the dough into your iron skillet and push it up the sides of the skillet. Do the same if you are using a baking stone or any pan.
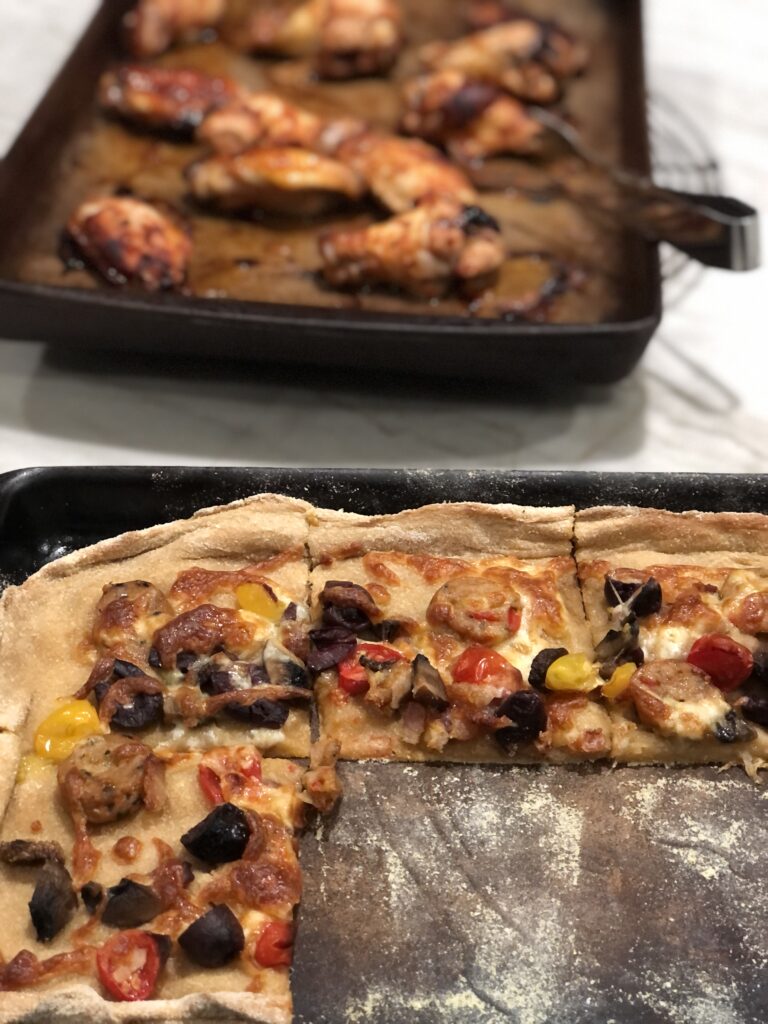
- Add your toppings and bake for 15-20 minutes.
Notes
How I Buy Grains
I found out “I can eat bread again” (YAY). After this discovery, I chose to become a CO-OP Leader for Bread Becker’s in 2017. I serve my town and the surrounding areas. I have close to 120 members and we are always growing. You can join a CO-OP near you or start your own, like I did. If you are local to me, I’d love to have you in our group. Click HERE for more information.
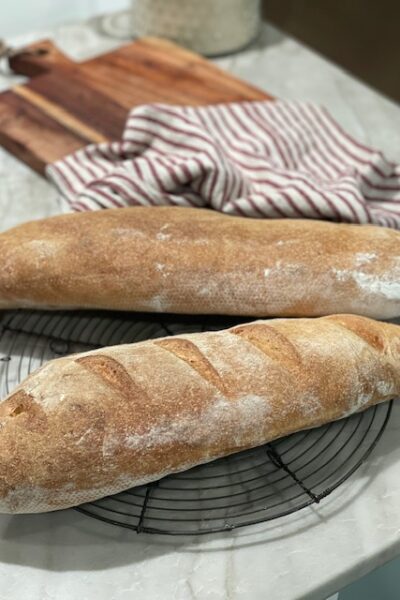
Because we only order 3x a year with Bread Becker’s, I sometimes run out of my grains. I found two companies that offer both wheat-berries and fresh milled flour. They use a process called unifine. This is where the grains are stone-milled. As a result, all the nutrition is left intact. I love to buy from Guardian Grains. They have wonderful heirloom wheat. My favorite from them is their Rouge De Bordeaux Wheat Berries. They make a great loaf of bread. The other company I love is Sunrise Mill Flour. They also offer both flour and wheat-berries. I highly recommend both of them as they grow their wheat sustainably with no chemicals or anything bad in it.
Let me know if you try making pizza dough. You can do this, even if you work full-time. I don’t grind my flour every time I bake something with it. It will store in the freezer fresh for up to 14 days. That’s like grinding your flour only twice a month. I’ll be sharing some videos on just how to do all of this. It is quite simple. Giving my family nutritious food is so important to me. Stay tuned and comment below on what is your favorite topping on pizza.
Supplies I used
Rouge de Bordeaux Berries (enter code: lhsimpleliving for 15% off)
Hard White Wheat Berries (receive 20% off, no code needed)
“The most life-changing dietary improvement I’ve ever made for myself and my family was when I began to mill my flour at home. The hope and encouragement this change brought to my family are a blessing too good not to share.” ~ Sue Becker, CNC & Owner of The Bread Becker’s
DON’T MISS A POST! I promise to never sell your information. You will only receive good things about simple living here.
Wendy


I feel like a step was missed in the instructions. How do you get from dividing the dough in half to putting on the toppings? I am assuming that maybe you press the room temp pizza dough right into the cast iron skillet or baking pan that has the cornmeal dusted across the surface. Or maybe we are to press or roll it out on a counter and then somehow transfer to the baking pan? I definitely want to try this. Seems very straightforward. I am also wondering if we could divide the dough in half before wrapping and placing in the frig so that we could make one pizza immediately and freeze the other.
Yes, I apparently left out that step lol but it’s all fixed now. You can definitely freeze the other half. I roll it into a disc and place in plastic wrap. Put that in a ziplock bag and freeze up to 2 weeks. Enjoy!