

One of the best ingredients when you are baking is butter. It’s a delicious and nutritious fat. It takes your baking up a notch by giving your recipe a nutty caramel hint of taste. Today, I’m sharing how to make brown butter.
Ingredients
- Unsalted grass-fed butter
- Saucepan or skillet (stainless steel or light ceramic works great — allows to be able to see the color change). I use a cast iron skillet sometimes and mine comes out just fine.
- Heatproof spatula or wooden spoon
- Heatproof bowl or jar (for transferring)
Directions
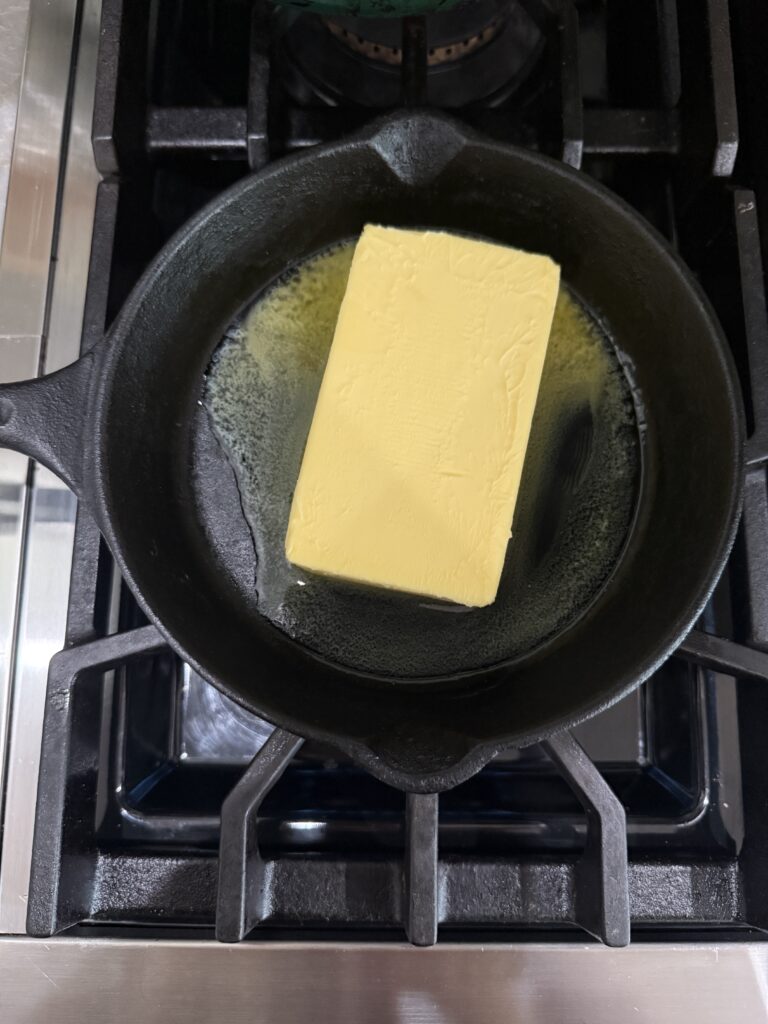
- Place the butter in your skillet or saucepan over medium heat. If using a solid block of butter, you can drop it in the pan just like that or slice up the butter into small pieces.
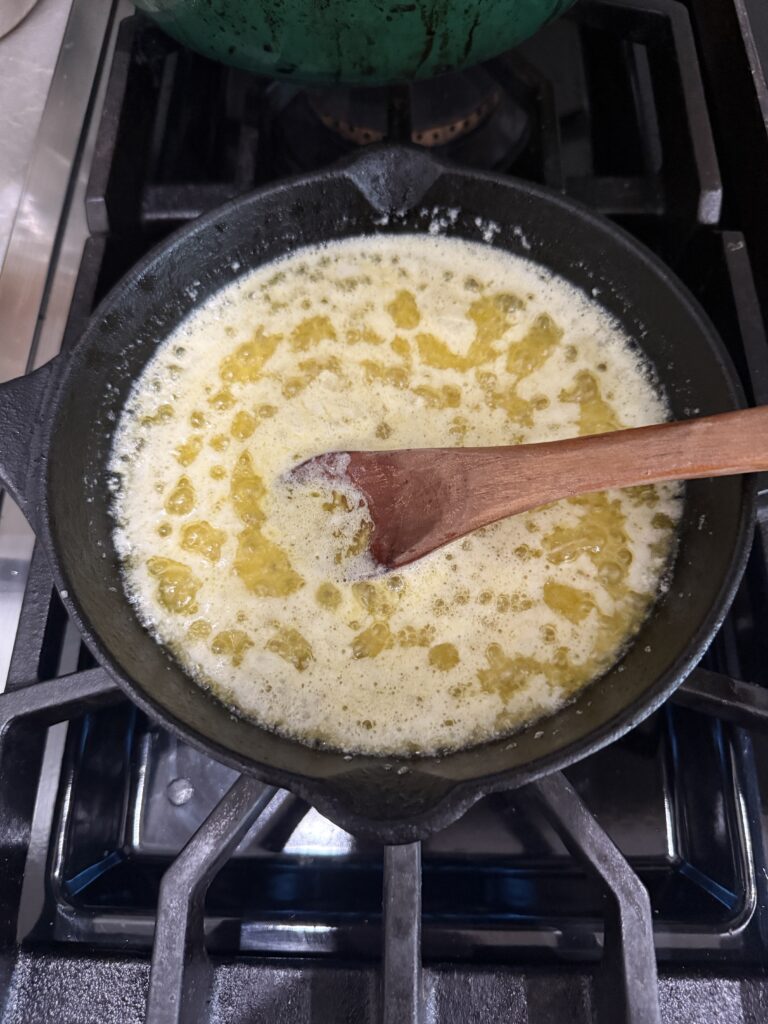
- Stir occasionally as it melts completely (about 1–3 minutes). It will look smooth and yellow.
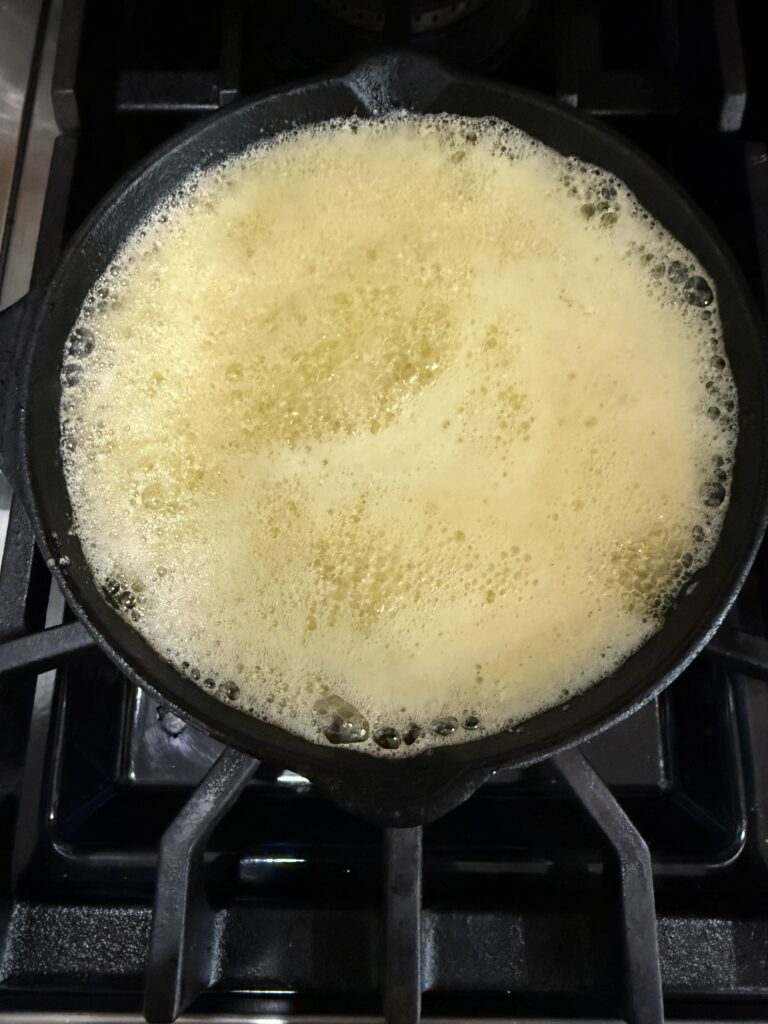
- Once melted, it will start to foam, sizzle, and bubble as the water evaporates. Keep stirring constantly (or swirling the pan) to distribute the heat evenly. The foam will rise, then subside a bit.
- After 4-6 more minutes (the entire process takes approximately 5–10 minutes), you’ll see tiny golden-brown specks (that’s the milk solids) forming at the bottom. The butter will start turning amber/golden tan.
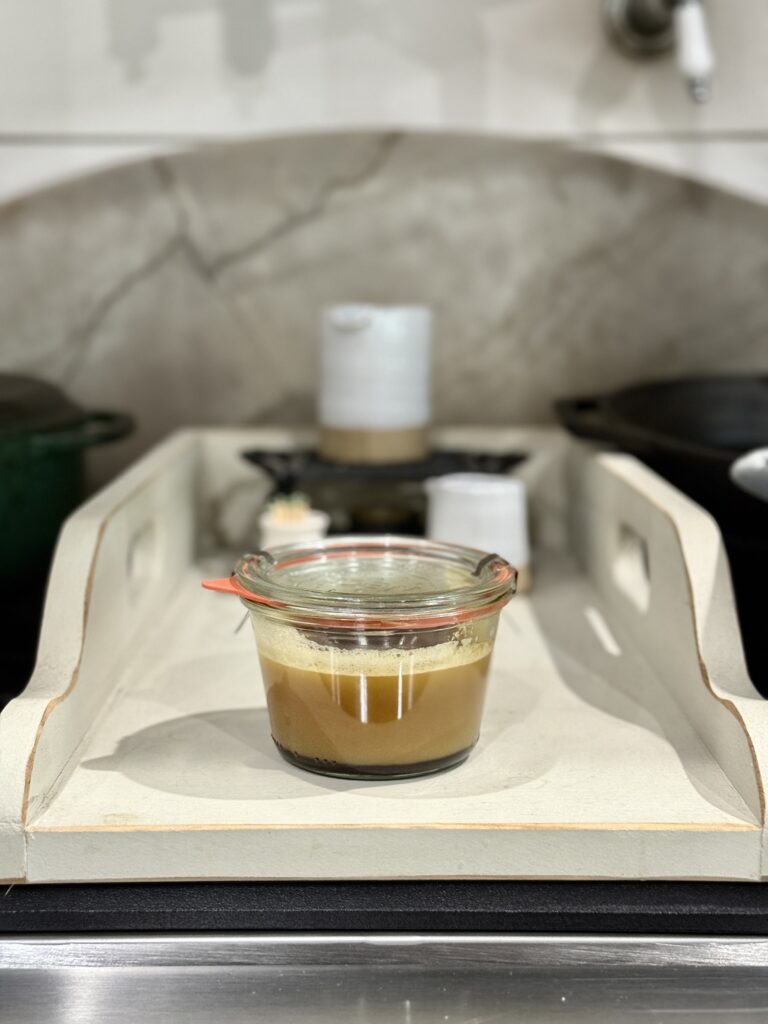
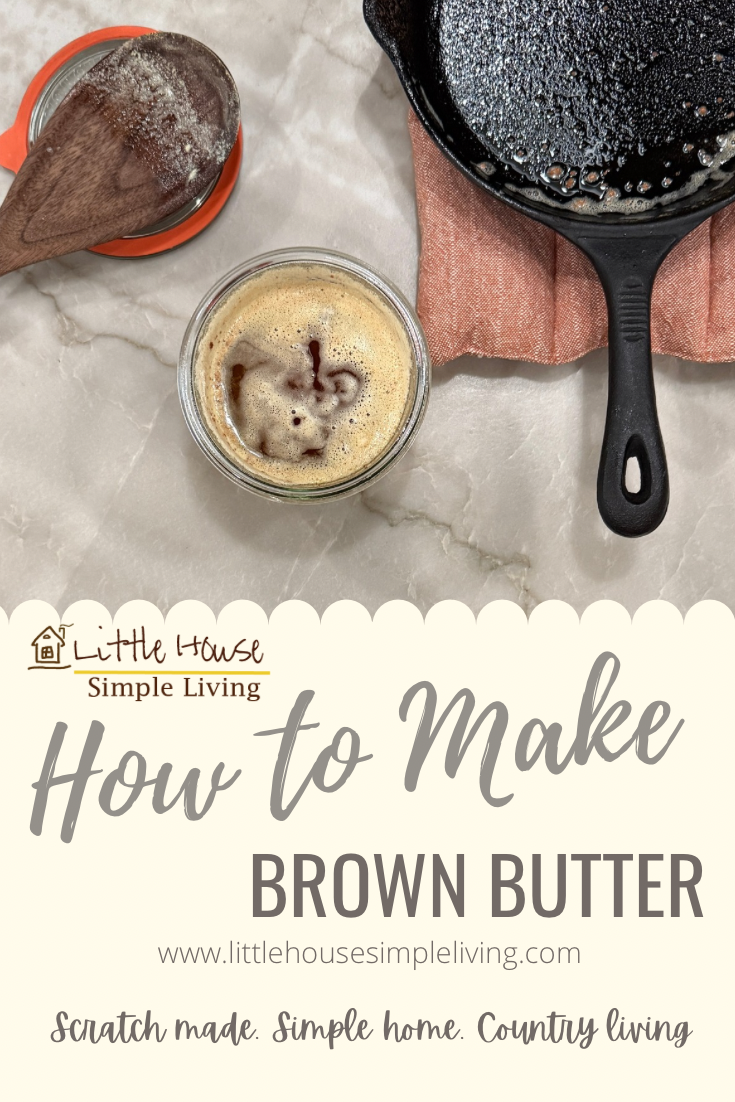
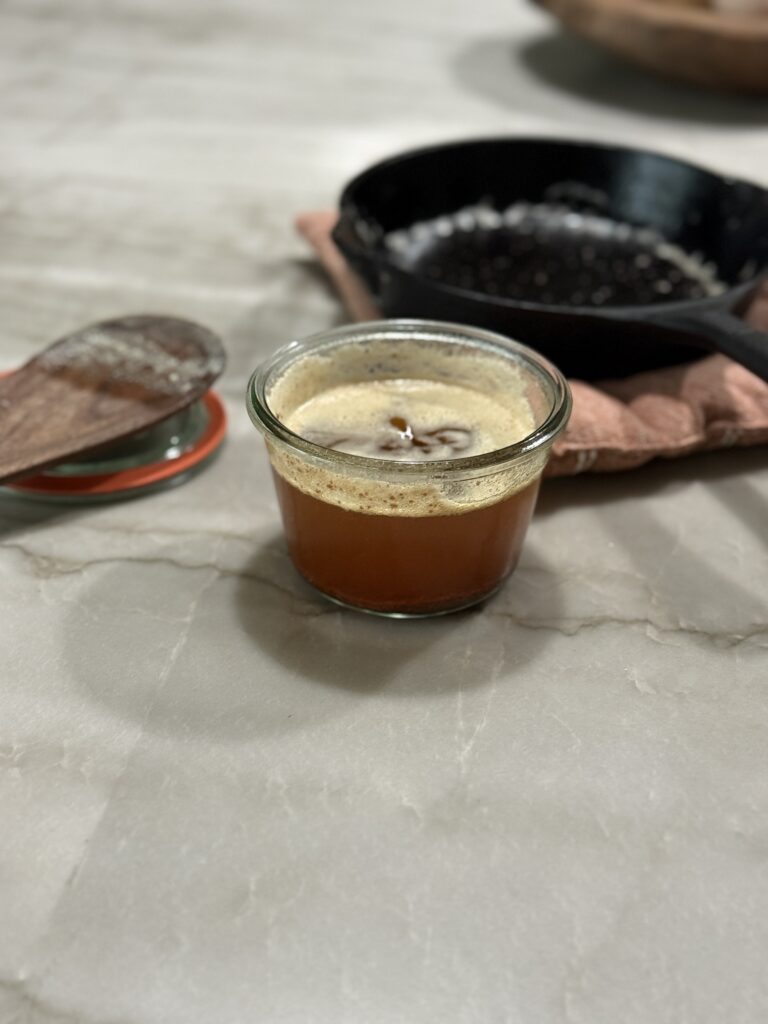
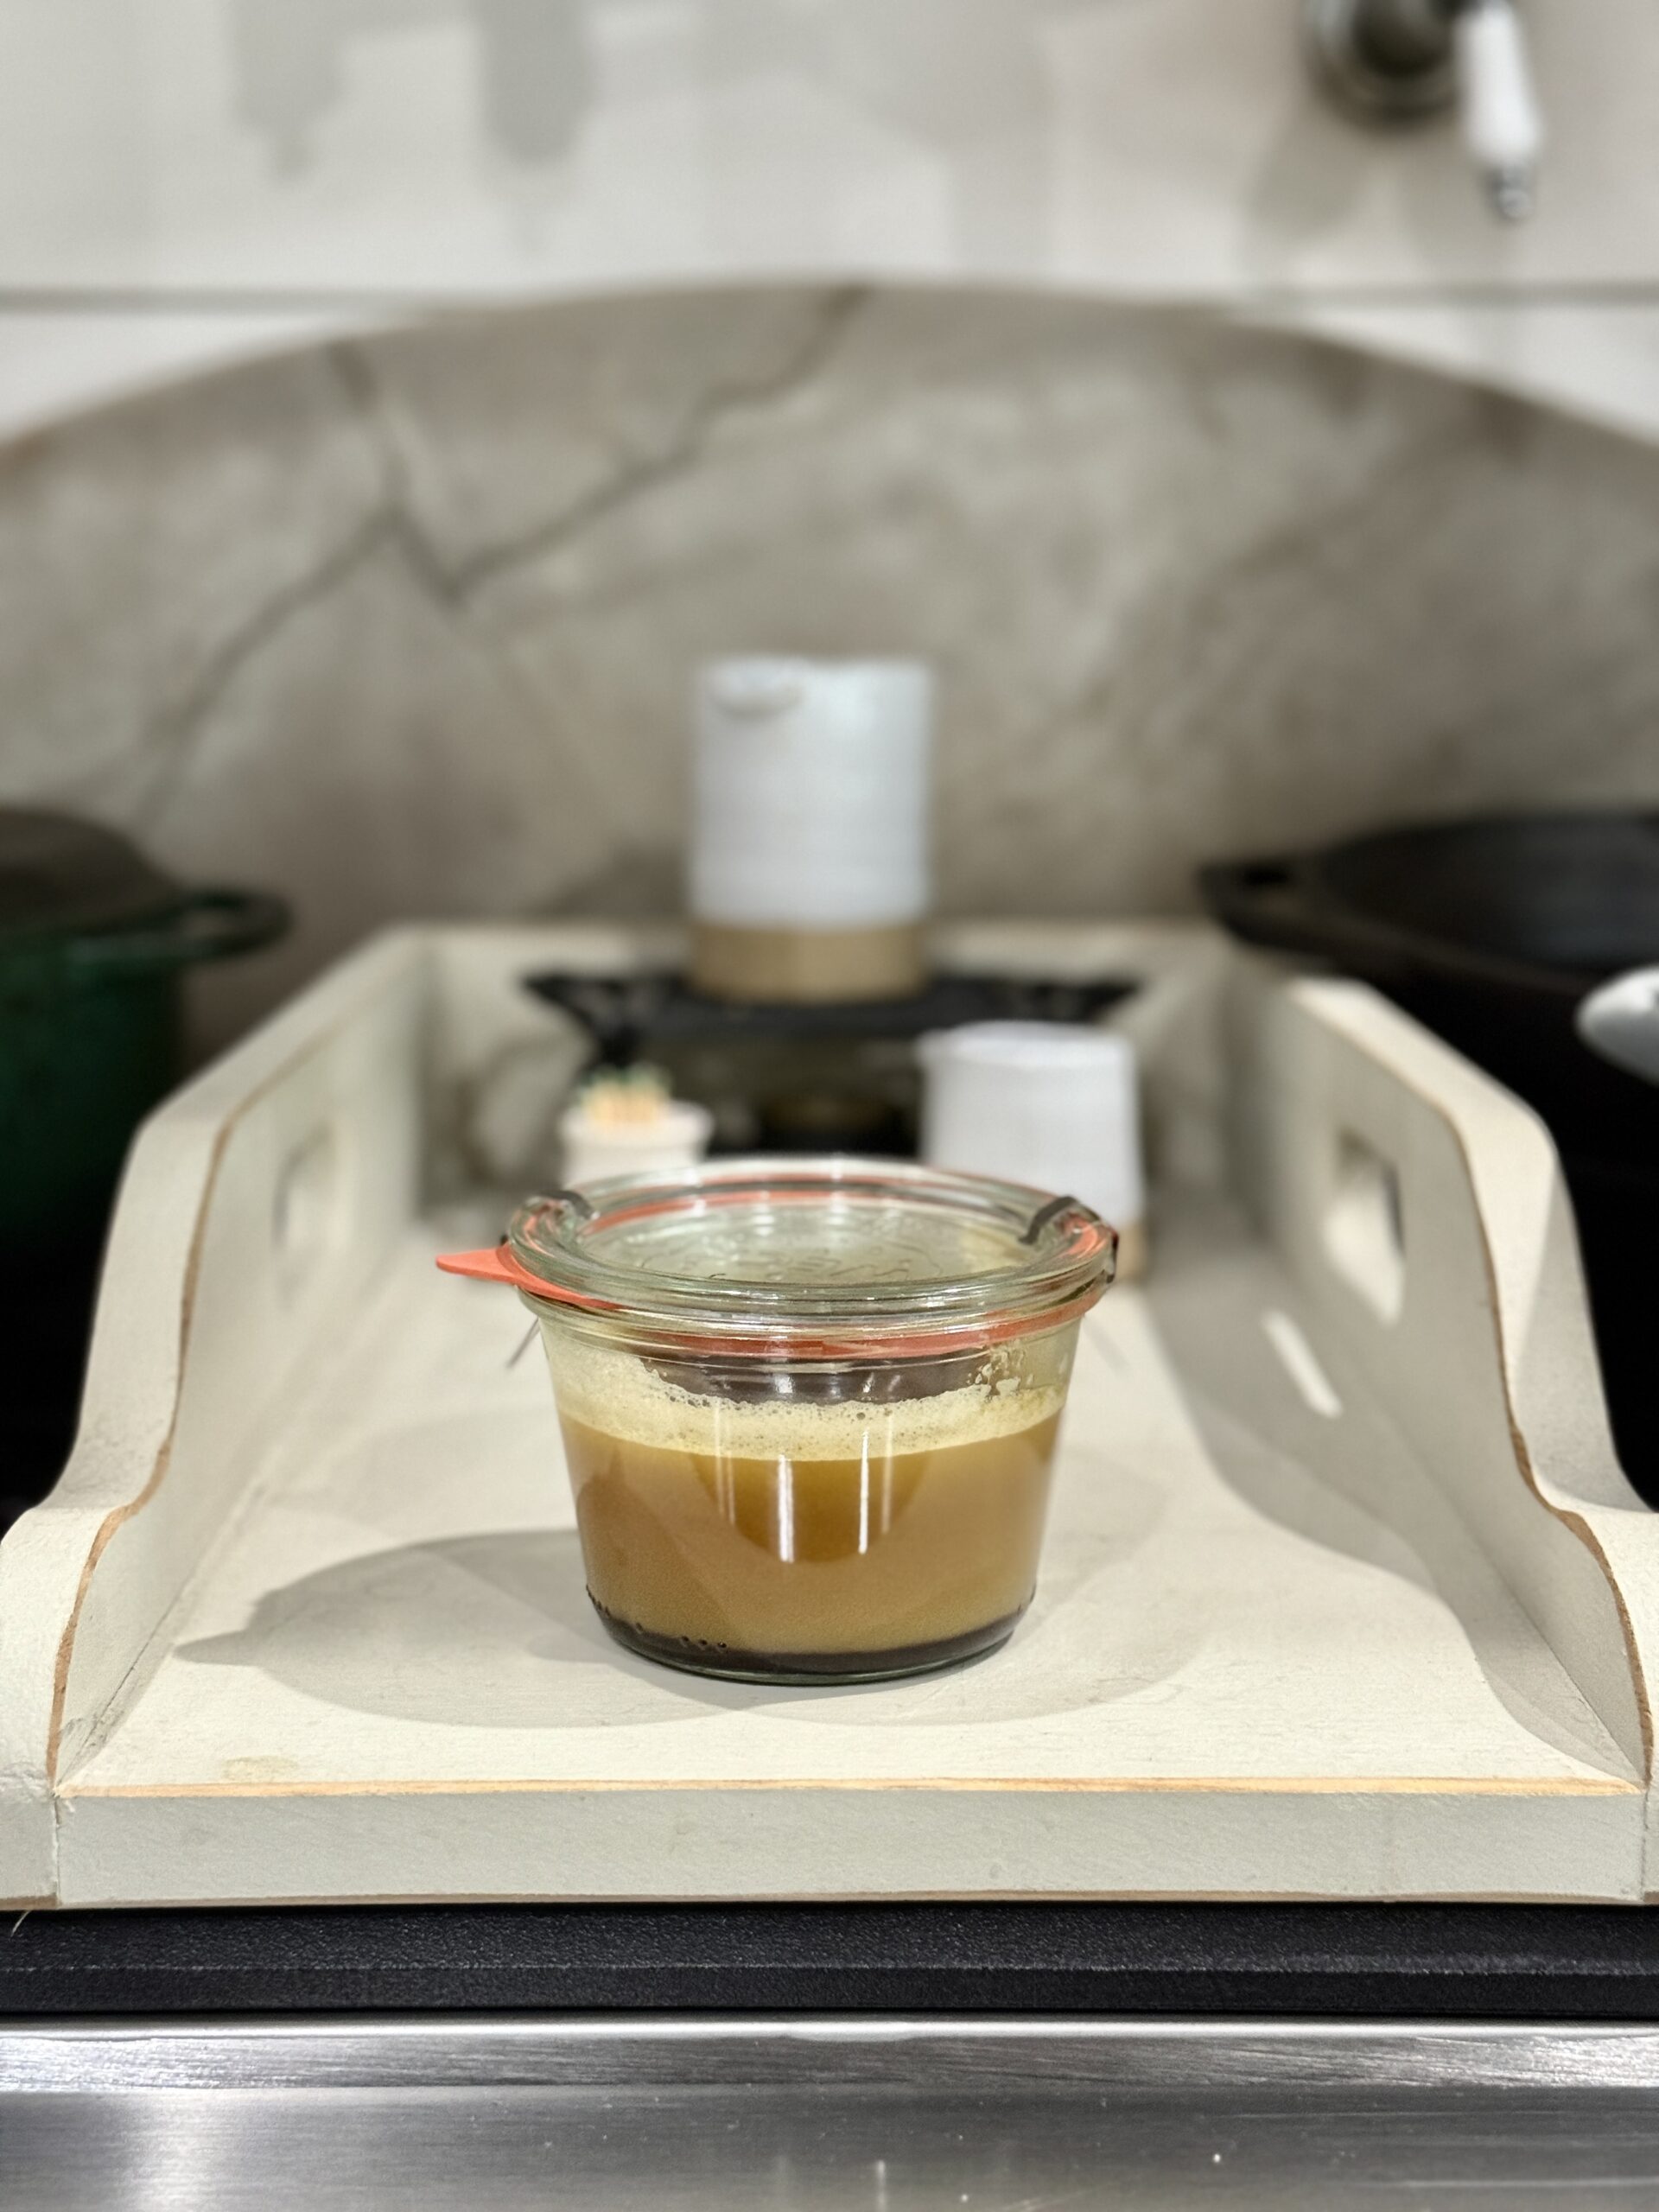
- When the specks are deep golden-brown and the aroma is nutty (like a toasted hazelnut) pull the pan off the stove. (Pay attention so your butter doesn’t get dark brown—there’s only seconds before it burns). Pour the butter (including the browned bits) into a heatproof bowl or jar to stop cooking. I like using clear jars.
- Let it cool slightly before using (it solidifies as it cools). If you’re not using the browned butter right away, store in the fridge (up to 2 weeks) or freezer (2-3 months).
Tips
- The brown butter will go from perfect to burnt in seconds. Therefore, stay at the stove and stir constantly.
- Use medium heat, not high heat, as that will cause fast burning without even browning.
- If your butter burns (black specks, bitter smell): Allow to cool and discard in the trash. It will not be worth tasting or saving, sadly.
- Make extra batches and store in the freezer – it’s great to have on hand. It will store safely for 2-3 months.
- For recipes calling for “½ cup brown butter,” start with slightly more butter (e.g., ¾ cup) to account for water loss. See section below for more details.
- If your recipe calls for “softened butter”, just refrigerate your jar until the liquid hardens some. You won’t want it firm like butter at the store, but just soft so you can cream it with your other liquid ingredients.
Join Our Simple Living Community


How Much Brown Butter to Add to Recipes
If a recipe calls for 1 cup of butter (which is 2 sticks or about 227 grams), and you’re substituting brown butter (also called browned butter), the key detail is that browning causes some water to evaporate—typically leaving you with about ¾ cup of actual brown butter from starting with 1 cup of regular butter. Keep in mind, you will need to make extra brown butter to accommodate for your recipe.
- You will need roughly 1 cup (2 sticks) + 2–4 tablespoons (or about 1¼–1⅓ cups total) of regular butter to brown, so that after the browning process, you end up with close to 1 cup of brown butter.
- Start with 20–25% more butter than the final amount needed to account for the 15–25% volume/weight loss from the evaporated water.
Pin For Later
See my full disclosure here.
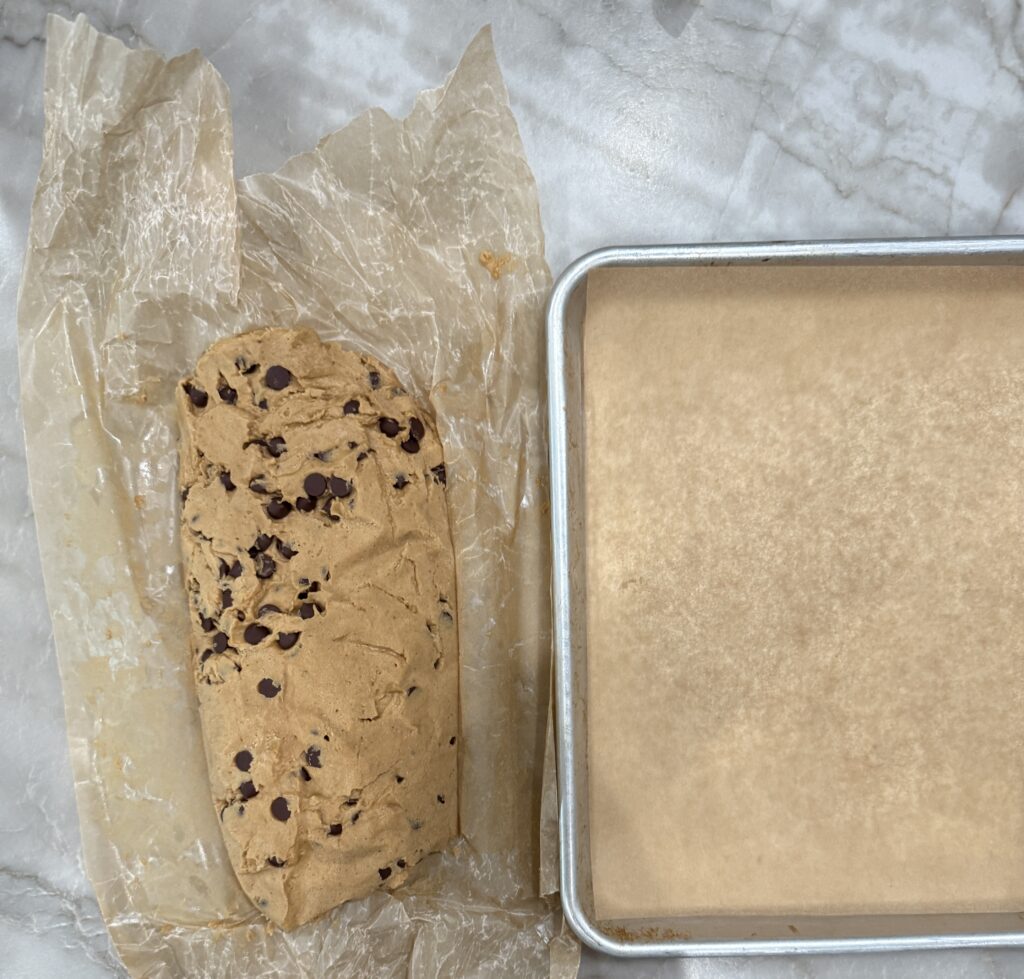
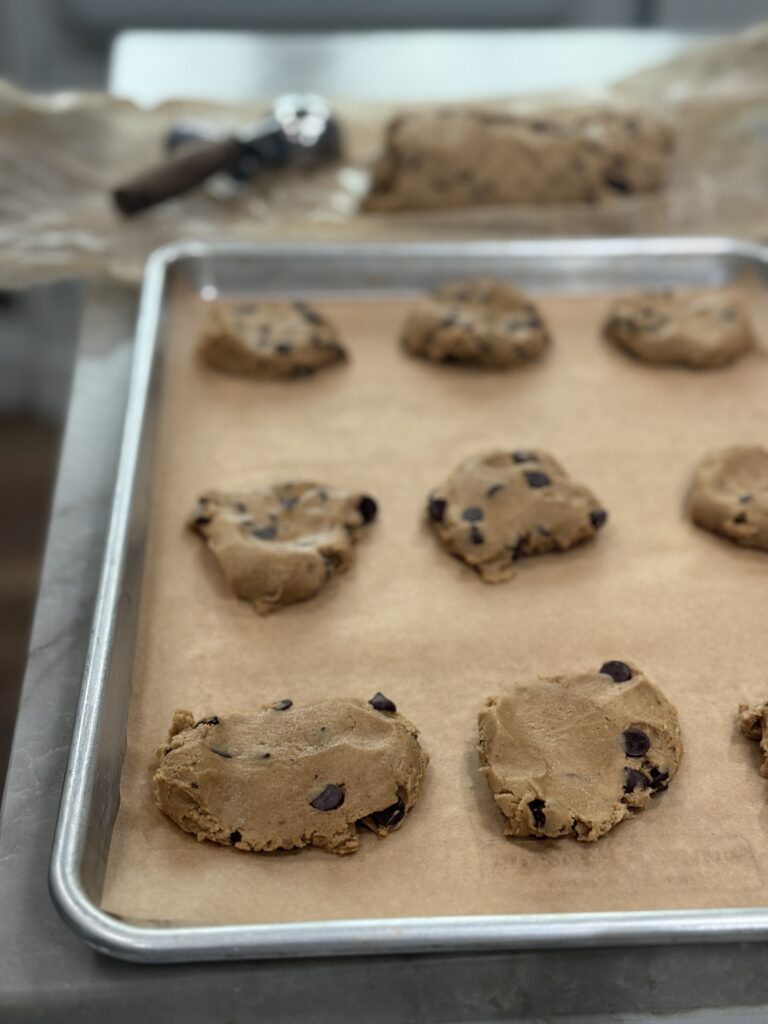
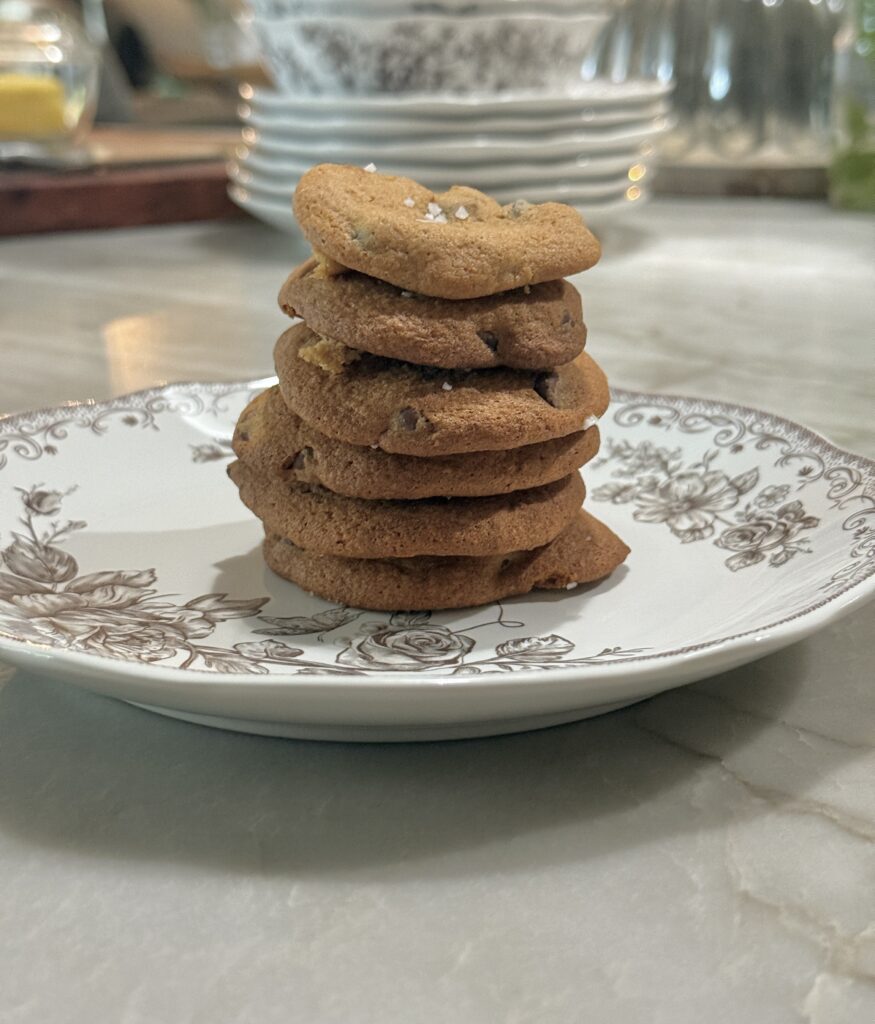
Brown Butter Maple Chocolate Chip Cookies
The brown butter takes regular chocolate chip cookies up a few notches. It gives them a toffee taste that is just amazing mixed with the chocolate chips. So yummy!
What Are Some Other Recipes To Use Brown Butter
Items Used in This Recipe
Brown Butter
Ingredients
Method
- Place the butter in your skillet or saucepan over medium heat. If using a solid block of butter, you can drop it in the pan just like that or slice up the butter into small pieces.
- Stir occasionally as it melts completely (about 1 – 3 minutes). It will look smooth and yellow.
- Once melted, it will start to foam, sizzle, and bubble as the water evaporates. Keep stirring constantly (or swirling the pan) to distribute the heat evenly. The foam will rise, then subside a bit.
- After 4-6 more minutes (the entire process takes approximately 5 – 10 minutes), you'll see tiny golden – brown specks (that's the milk solids) forming at the bottom. The butter will start turning amber/golden tan.
- When the specks are deep golden-brown and the aroma is nutty (like a toasted hazelnut) pull the pan off the stove. (Pay attention so your butter doesn't get dark brown-there's only seconds before it burns). Pour the butter (including the browned bits) into a heatproof bowl or jar to stop cooking. I like using clear jars.
- Let it cool slightly before using (it solidifies as it cools). If not using right away, store in the fridge (up to 2 weeks) or freezer (2-3 months).
Notes
- The brown butter can go from looking great to burnt in seconds. Stay at the stove and stir constantly.
- Use medium heat, not high heat, as that will cause fast burning without even browning.
- If your butter burns (black specks, bitter smell): Allow to cool and discard in the trash. It will not be worth tasting or saving, sadly.
- Make extra batches and store in the freezer – it’s great to have on hand. Will stay fresh for 2-3 months.
- For recipes calling for “½ cup brown butter,” start with slightly more butter (e.g., ¾ cup) to account for water loss. See section above for more details.
- If your recipe calls for “softened butter”, just refrigerate your jar until the liquid hardens some. You won’t want it firm like butter at the store, but just soft so you can cream it with your other liquid ingredients.
I hope you enjoy making this recipe and that it will benefit you and your family all year long. Please share this post over on Pinterest and tag me over on Instagram. I’d love to see how you make yours.
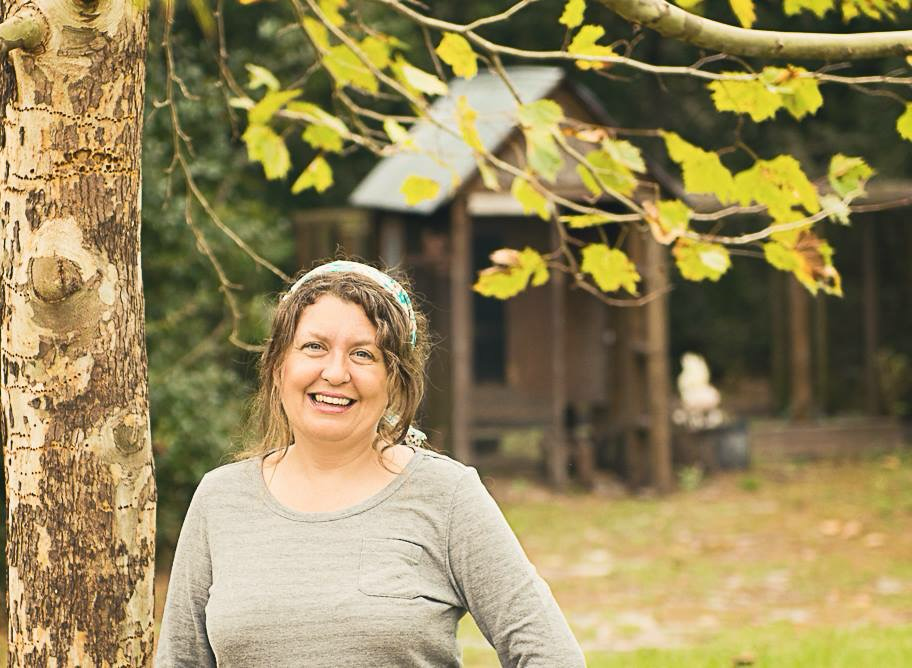
Wendy Lea Walker, NTP
Nutritional Therapy Practitioner
I’m Wendy. A wife, empty-nester mama, homemaker, homebaker, gardener and small-time farmer. I love sharing wisdom and mistakes I’ve learned along the way. Anyone can garden or homestead, no matter where you live. It’s a mindset. You just have to start somewhere. I believe food is medicine. Feed the body real whole foods and healing will begin. I’ve learned to slow down over the years from all the noise that came with life and enjoy creating a simple home.

Leave a Reply