

These Easy Baked Hand Pies are the perfect breakfast for kids on the go or if you are heading out on a picnic. Hand Pies are made with a flaky crust and filled with either a fruit or savory filling. Alternatively, they fit great in your hand.
{Jump to Recipe}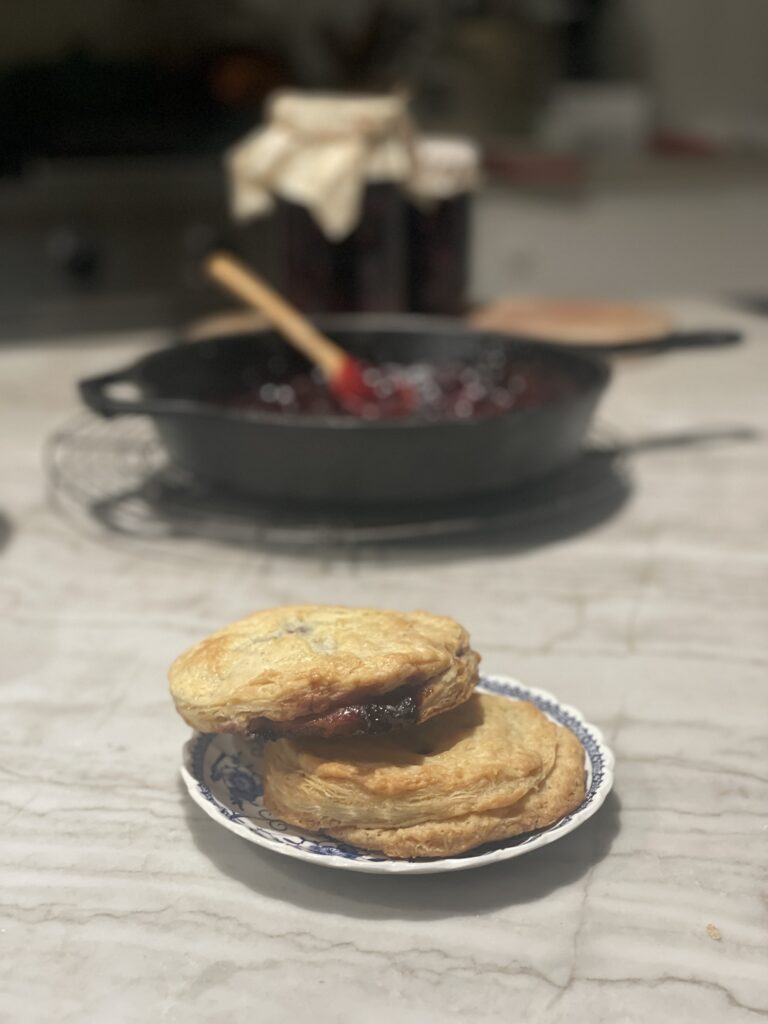
Ingredients
The Dough:
1 1/2 cups soft white wheat flour (freshly-milled)
1/2 tsp salt
1 1/2 sticks grass-fed butter, unsalted (chilled and cut into small pieces or it can be grated)
4-6 tbsp ice cold water
The Filling:
For this recipe, I’m using fresh organic bing cherries and making a cherry pie filling. Feel free to make adjustments based on the filling you choose.
1 1/2 cups of fresh cherries (or any fruit such as apples, peaches, etc.)
2 tbsp of grass-fed butter (unsalted)
1/3 cup coconut sugar
2 tsp arrowroot powder
1 tbsp + 1 tsp lemon juice
Join Our Simple Living Community


Equipment Needed
- 10” cast iron skillet (a medium saucepan will do)
- Mixing bowl
- Rolling pin
- Pastry blender
- 4-5” round cookie cutter (optional)
- Wooden spoon
- Baking sheet
- Parchment paper
- Fork (for crimping)
- Pastry brush (for milk wash)
How to Make Hand Pies
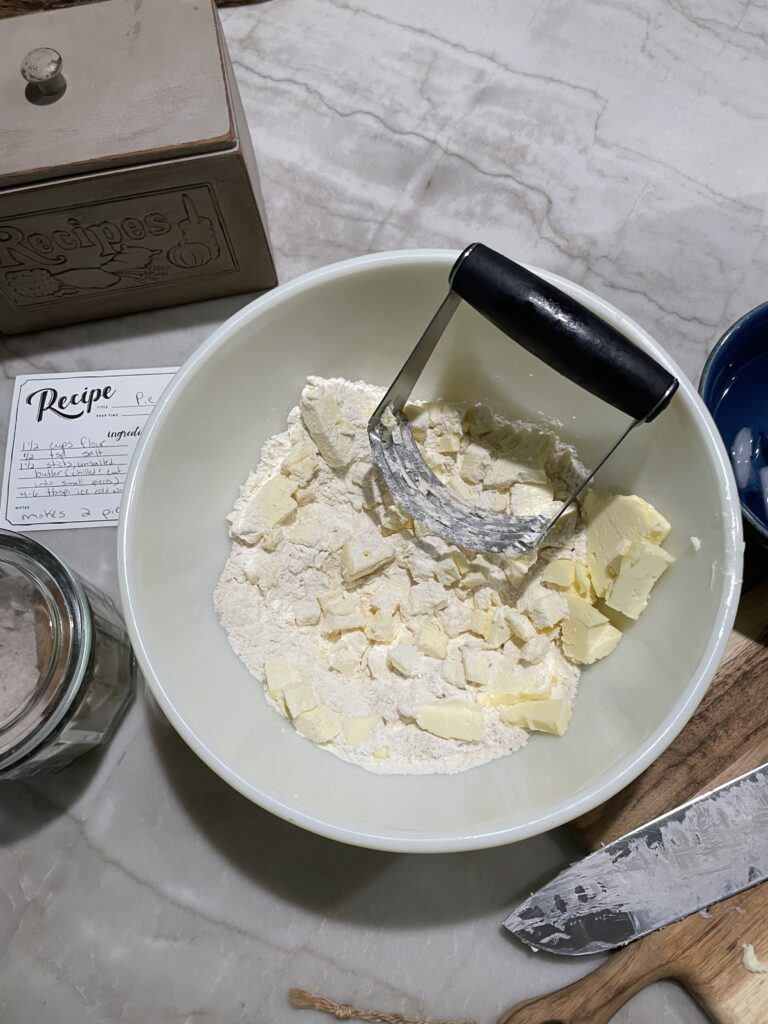
1. Prepare the Pie Dough
In a mixing bowl, combine the flour and salt. Drop in the cold butter pieces. Use a pastry blender, cut the butter until you have tiny pieces mixed into the flour.
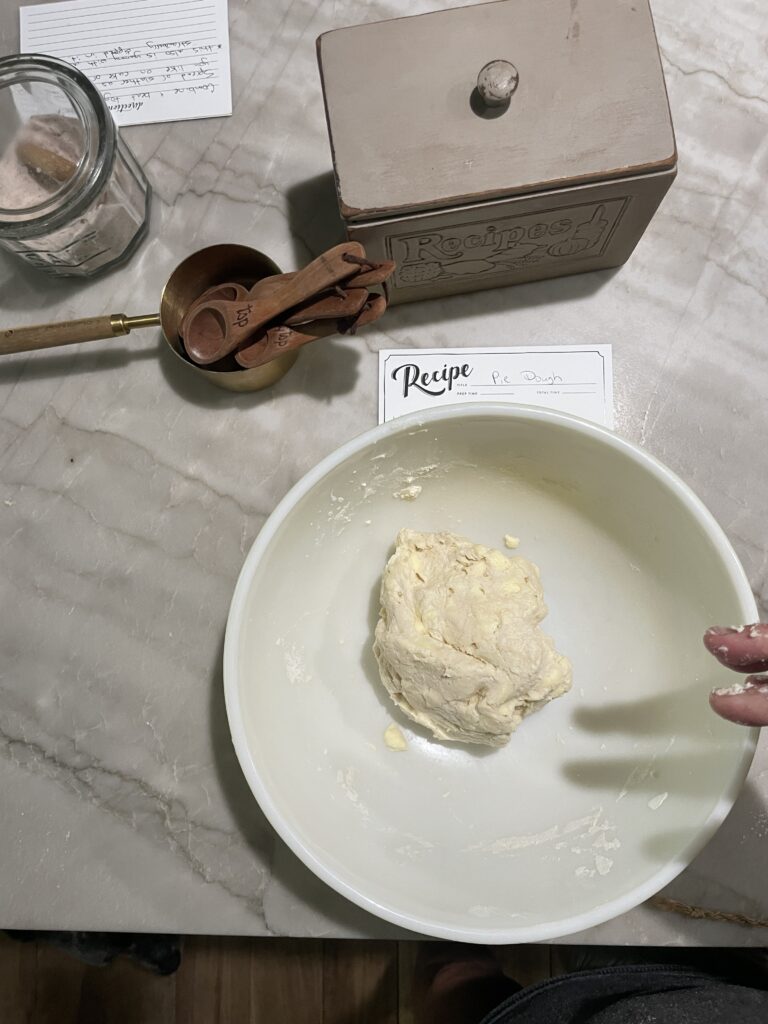
Add ice cold water while stirring with a fork. Keep moving the dough around until you form a ball.
Divide dough into 2 round disks, flatten them and wrap in plastic wrap. Refrigerate for 15-20 minutes. The dough can be made 1-2 days prior and just pull it out of the fridge when you are ready to make the hand pies. This will save a step if you’re short on time. The 2 discs are nice to have just in case you don’t want to make a full batch. You could always freeze the other disc for something else later on.
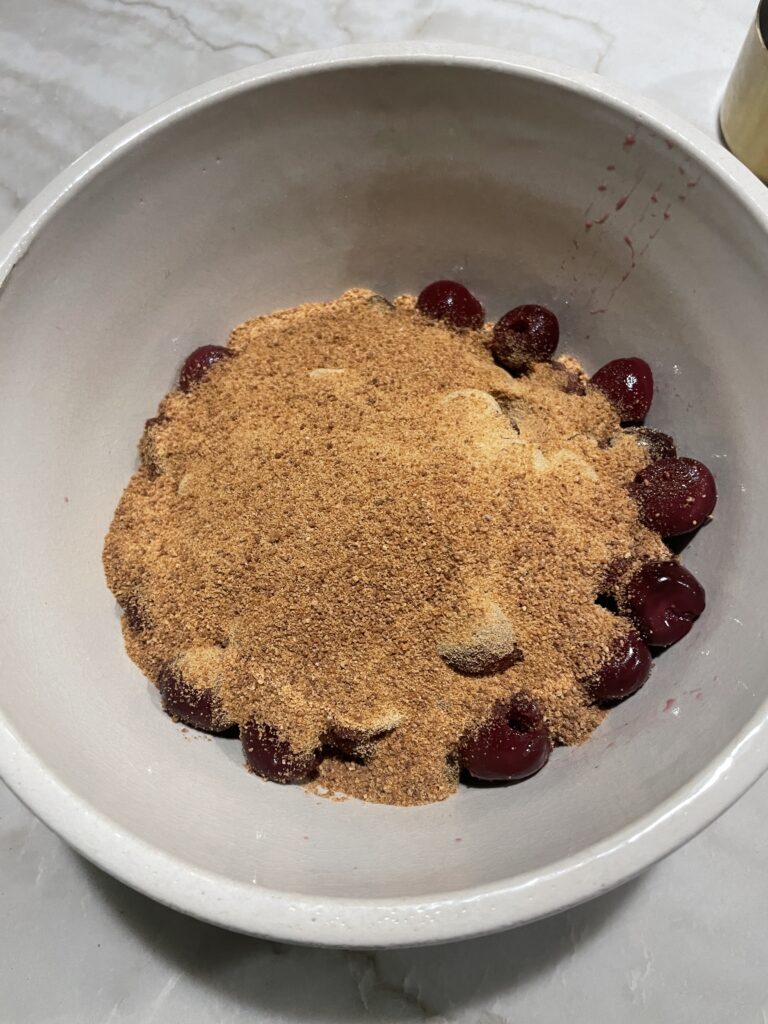
2. Make the Filling
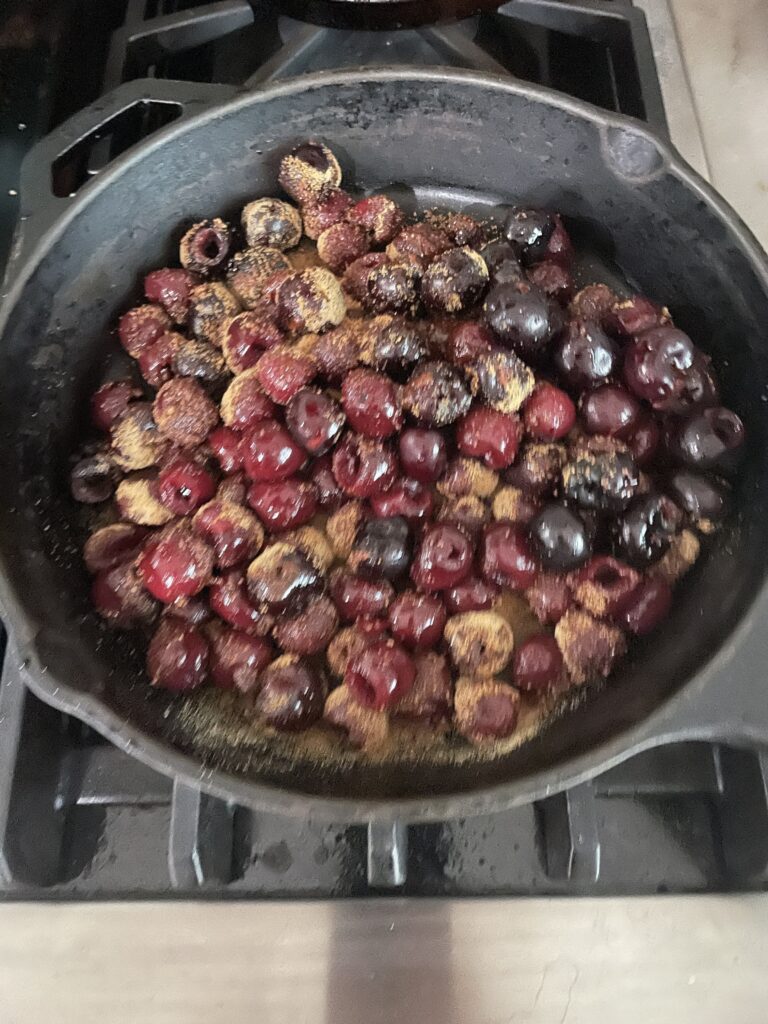
Combine the cherries, coconut sugar, arrowroot powder, lemon juice and butter into your cast iron skillet or saucepan.
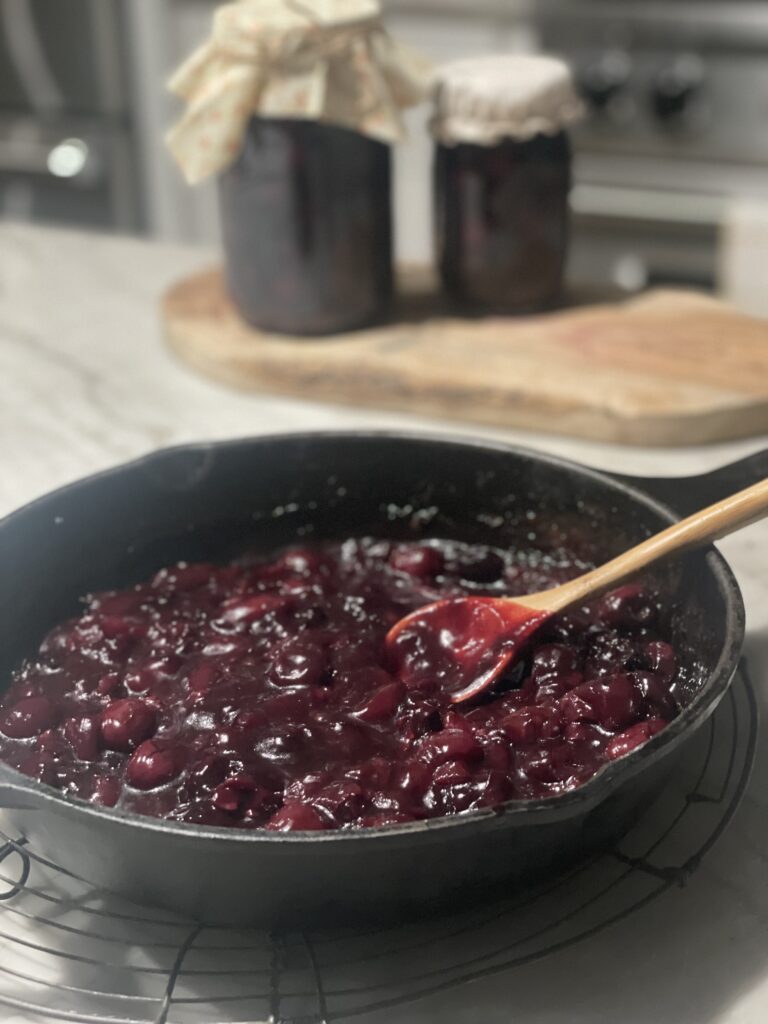
Cook over medium heat, stirring gently and frequently. The cherries will start to release their juices and the mixture thickens. This may take approximately 5-7 minutes. When the filling looks thick and bubbly, it’s ready.
Remove from heat and allow to cool. This will prevent the hand pies crust from getting soggy when we go to bake them.
3. Assemble the Hand Pies
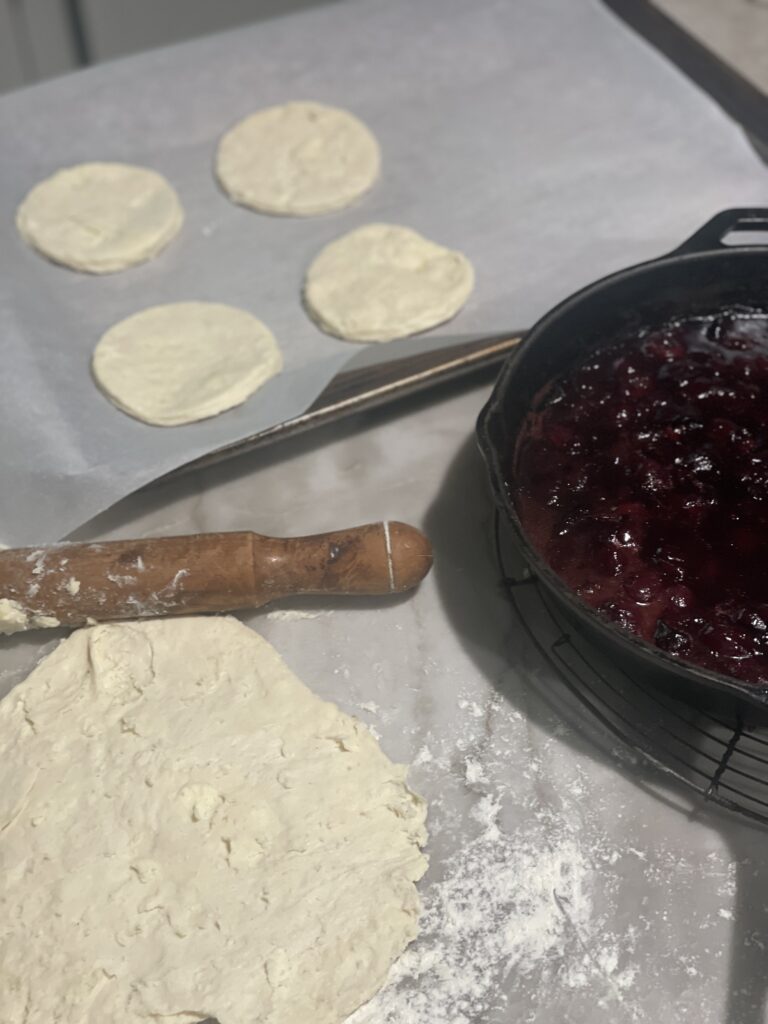
Remove the dough from the fridge. On a lightly floured surface, roll the chilled dough to 1/8” thickness. Cut out 12-16 circles with a round cookie cutter or you can do this by hand. You will have 2 circles per pie (top and bottom). Re-roll scraps, if needed.
Hand version: pull roughly 4-5 inches of dough and just form round circles with your hand, making sure to get down to 1/8” in thickness.
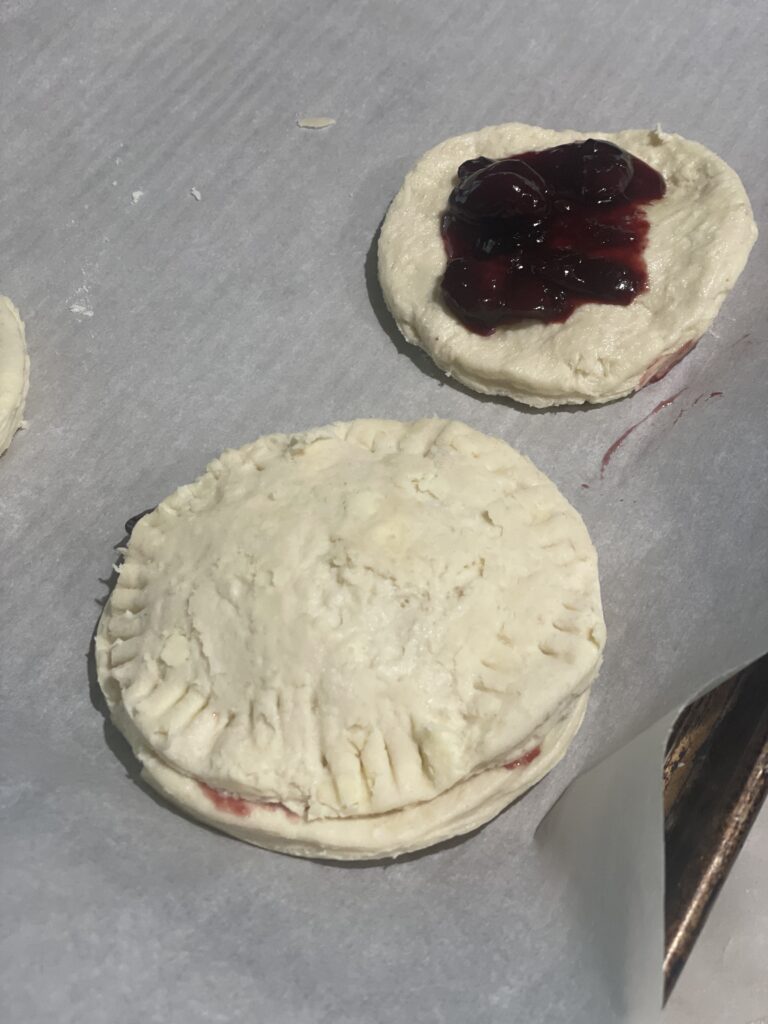
Place 3-4 tbsp of the cooled cherry pie filling in the center of one set of the circles. Leave roughly a 1/2” border.
Place another circle on top , lining it up with the bottom circle. Press edges together with a fork to seal the two dough circles together. Crimp firmly to avoid leaks, however, I like a good rustic hand pie.
Cut slits or make an “X” on the top of each pie to allow steam to escape while baking.

FAQ
Yes, most sweeteners are a 1:1 ratio for substituting. Experiment with different ones and see how you like the taste.
For sweet, just substitute the cherries for peaches, blueberries or apples (add a little cinnamon for extra depth). Savory hand pies would be a nice meal with a few healthy side dishes. Use a combination of seasoned beef and cheese, chicken pot pie filling, leftover beef stew, meatloaf, chicken and rice. The filling options are endless.
No, you can use all-purpose flour or anything you like. I have only experimented with freshly-milled flour. If you are used to using a certain flour, try it out and see how they do.
Yes, you can either freeze the pie crust ahead of time and then make the pies or freeze the entire hand pie. Place them in an airtight container in your freezer for 1-3 months. To re-heat, defrost them, lay them on a baking sheet and warm in the oven until the center is hot. If using an air fryer, refer to your manufacturer’s instructions.
Pin For Later

See my full disclosure here.
4. Baking
Brush the tops of each hand pie with heavy cream or milk. Place the pies on a parchment lined baking sheet.
Bake at 350 degrees for 30 minutes or until the crust is golden brown.
Let pies cool and eat as is or serve them with Old-Fashioned Vanilla Bean Ice Cream.
5. Storage
Keep in an airtight container at room temperature for 1-2 days or refrigerate up to 5 days. Reheat in the oven at 350 degrees for 5-8 minutes.
Tips
Cherries:Using fresh cherries is ideal but frozen ones will work. Just make sure to thaw and drain them. Adjust the coconut sugar if your cherries are tart or sweet.
Arrowroot Powder: This acts as a thickener and is a much healthier option than using corn starch.
Flaky Crust: Keep the butter cold for a flakier crust. Work with the dough quickly as you are rolling it out. The key to a flaky crust is the coldness of the dough.
Preciseness: If you want exactly 6-8 hand pies, measure filling precisely (1/4 cup for 8 pies and 1/3 cup for 6 pies). Adjust the dough circles accordingly.
Tools Used in This Recipe
What to Serve With Hand Pies
You can just eat these delicious treats just like they are or put a scoop of Old-Fashioned Vanilla Ice Cream on the side.
Learn to Can Your Cherries For Later Use!
When making this recipe for Cherry Hand Pies, if you have a pint jar of cherries already canned, that’s the exact amount that is needed in this recipe. Since it’s cherry season, stock up, jar up and keep a reserve for when you are ready to make these Easy Baked Hand Pies.

Easy Baked Hand Pies
Ingredients
Method
- In a mixing bowl, combine the flour and salt. Drop in the cold butter pieces. Use a pastry blender, cut the butter until you have tiny pieces mixed into the flour.Add ice cold water while stirring with a fork. Keep moving the dough around with your hands until it forms a ball. Divide dough into 2 round disks, flatten them and wrap in plastic wrap. Refrigerate for 15-20 minutes. The dough can be made 1-2 days prior and just pull it out of the fridge when you are ready to make the hand pies.This will save a step if you're short on time.
- Combine the cherries, coconut sugar, arrowroot powder, lemon juice and butter into your cast iron skillet or saucepan.Cook over medium heat, stirring gently and frequently. The cherries will start to release their juices and the mixture thickens. This may take approximately 5-7 minutes. When the filling looks thick and bubbly, it's ready.Remove from heat and allow to cool. This will prevent the hand pies crust from getting soggy when we go to bake them.
- Remove the dough from the fridge. On a lightly floured surface, roll the chilled dough to 1/8" thickness. Cut out 12-16 circles with a round cookie cutter or you can do this by hand. You will have 2 circles per pie (Top and bottom). Re-roll scraps, if needed.Hand version: pull roughly 4-5 inches of dough and just form round circles with your hand, making sure to get down to 1/8" in thickness.Place 3-4 tbsp of the cooled cherry pie filling in the center of one set of the circles. Leave roughly a 1/2" border.Place the other circle on top, lining it up with the bottom circle. Press edges together with a fork to seal the two dough circles together. Crimp firmly to avoid leaks, however, I like a good rustic hand pie.Cut slits or make an "X" on the top of each pie to allow steam to escape while baking.
- Brush the tops of each hand pie with heavy cream or milk. Place the pies on a parchment lined baking sheet.Bake at 350℉ for 30 minutes or until the crust is golden brown.Let pies cool and eat as is or serve them warm with Old-Fashioned Vanilla Bean Ice Cream.
- Keep in an airtight container at room temperature for 1-2 days or refrigerate up to 5 days. Reheat in the oven at 350 degrees for 5-8 minutes.
Notes
I hope you enjoy making and eating these easy baked hand pies. They are so yummy as a breakfast item or as a delicious treat. Tag me over on Instagram. I’d love to see how you make yours.

Wendy Lea Walker, NTP
Nutritional Therapy Practitioner

Leave a Reply