

I love the smell of gingerbread in my kitchen. It reminds me of when I was a little girl. I’m excited to share with you a recipe I’ve been working on for Nostalgia Gingerbread Cookies. Look how sweet these cookie molds are. The little house one reminds me of my logo so of course, I had to get it.

How To Make Nostalgia Gingerbread Cookies
Cream together the butter and the honey.
Next, beat the molasses, vanilla and egg together.
Gradually add the flour to the wet ingredients. Now, combine the baking soda, salt, cocoa and spices. Blend all the ingredients until you start seeing the shape of cookie dough.
Pull the dough from the bowl and form into a ball. Wrap in plastic wrap and place in the fridge for 20 minutes.
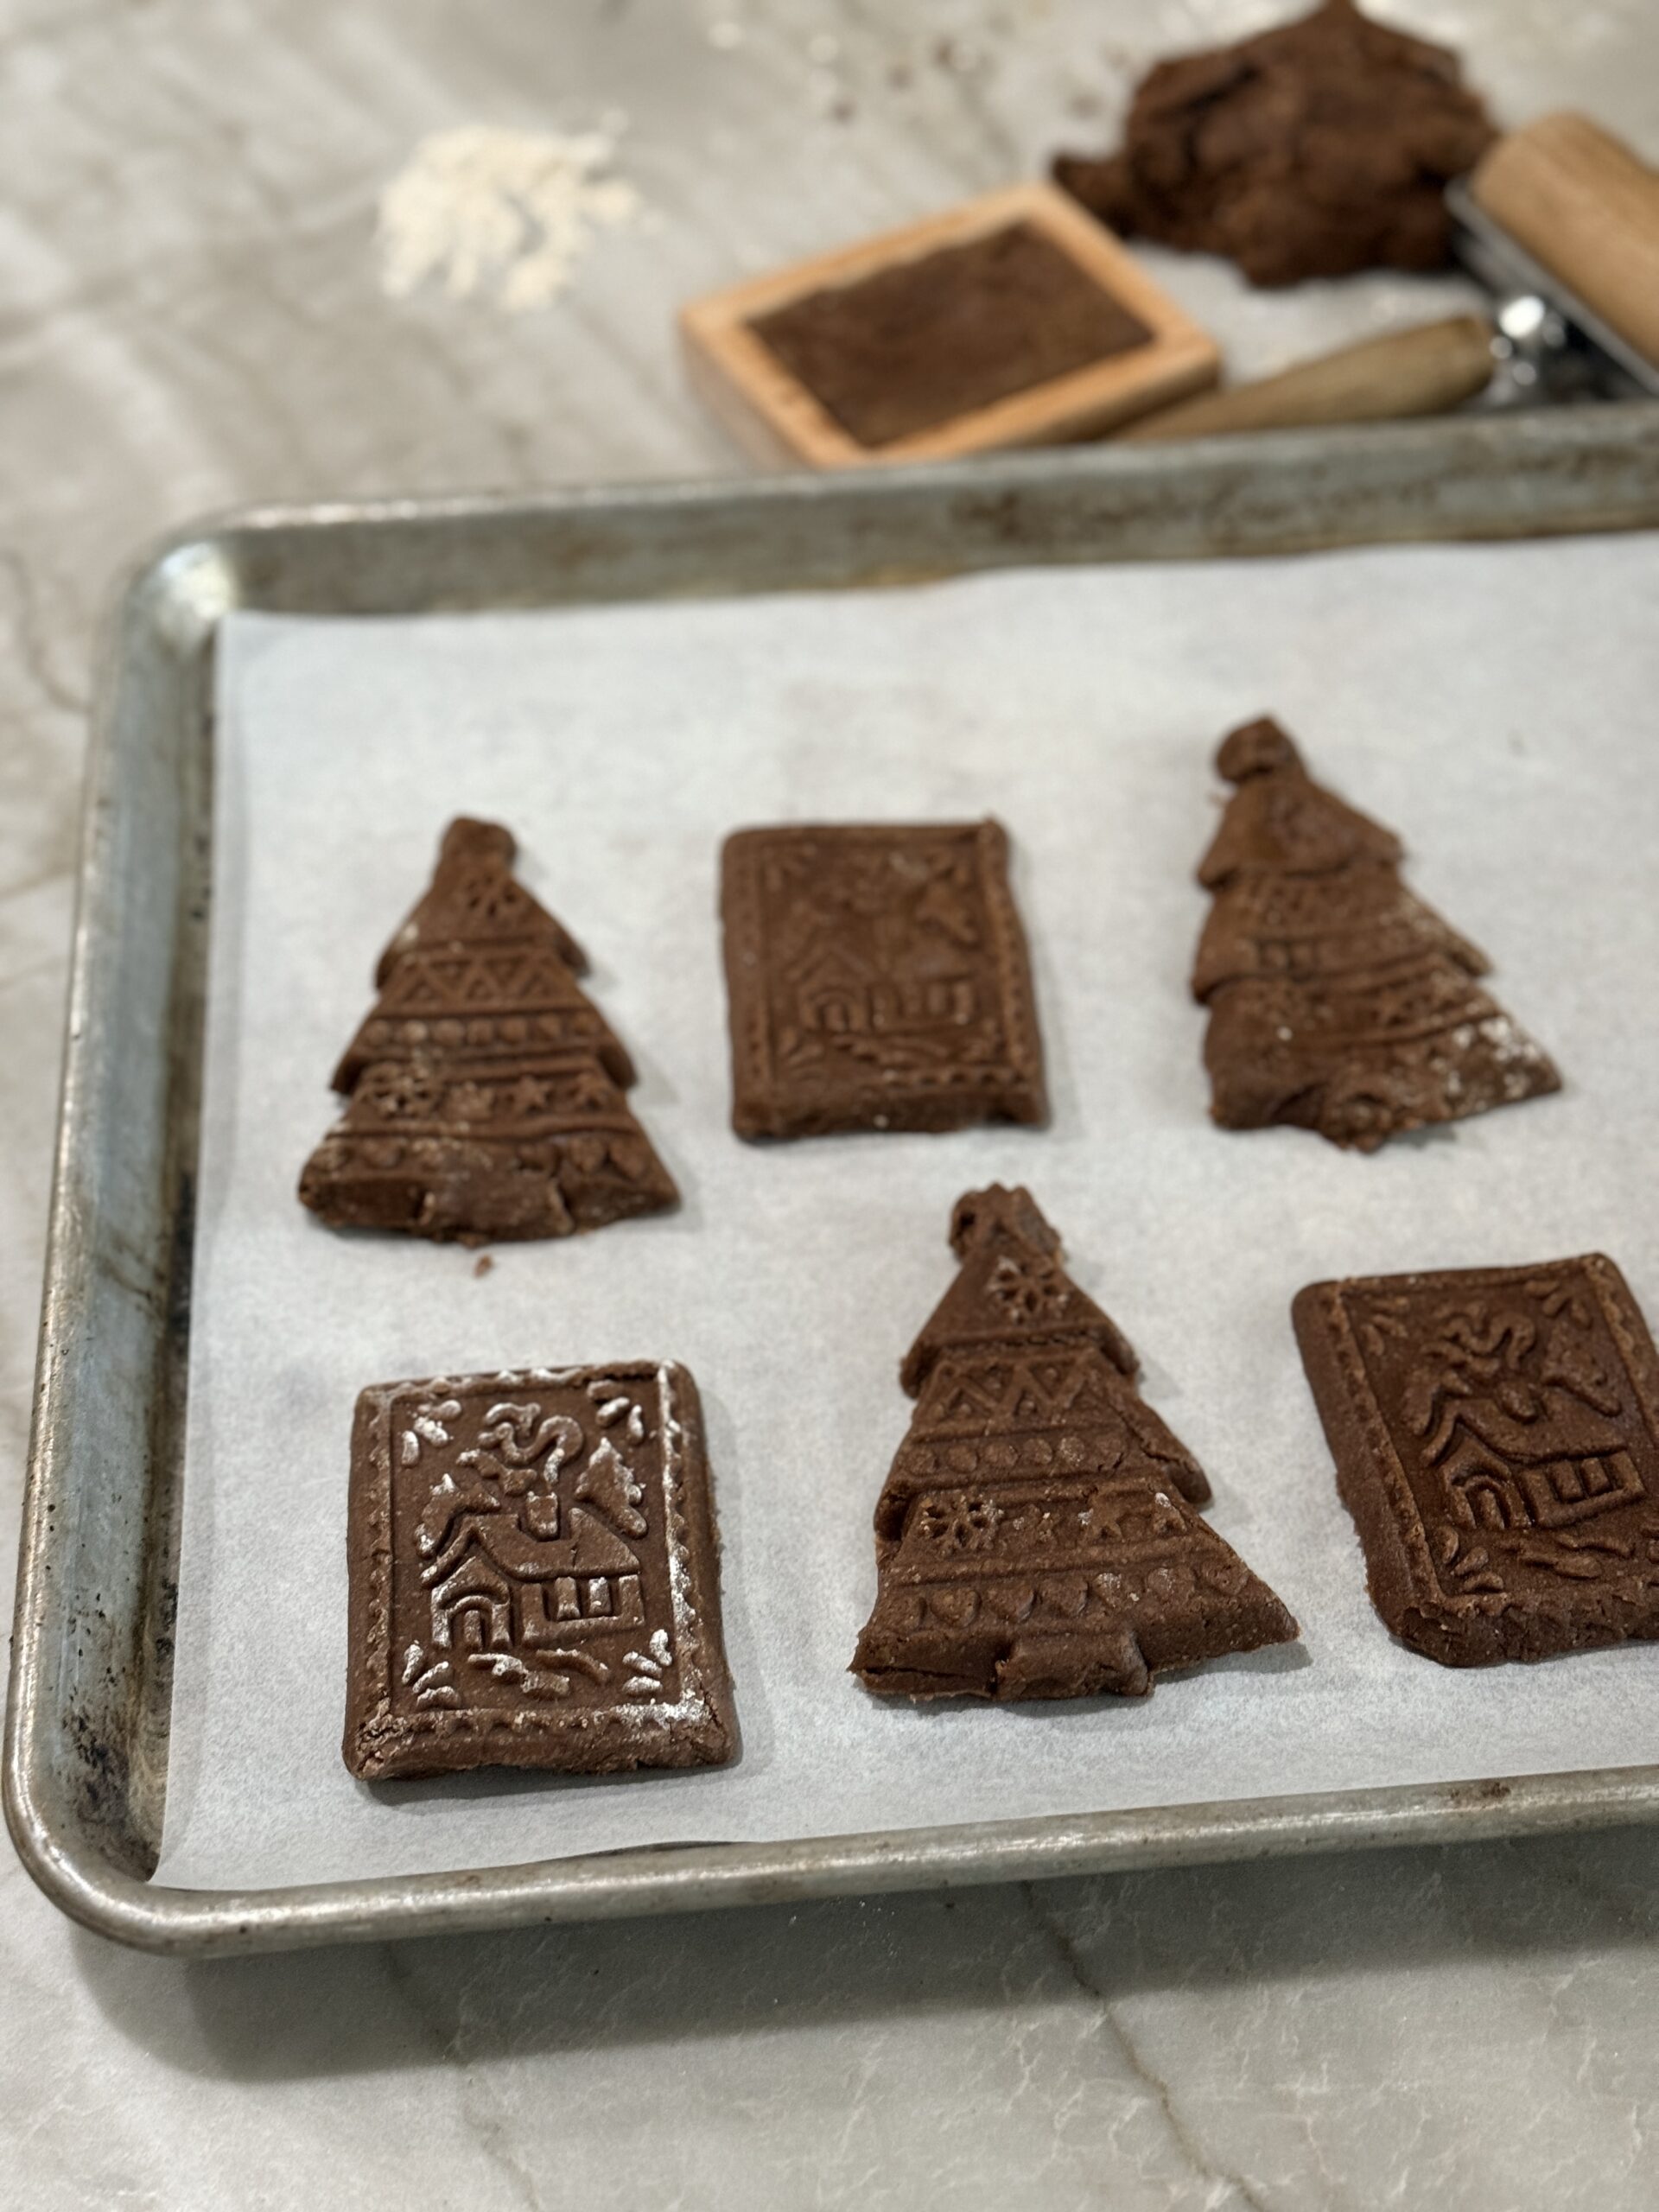
On a clean surface, roll the dough out. Grab a few of your wood molds. Cut pieces of the dough and start pushing it in the mold.
An easy tip: With a mini roller, roll the dough on the cookie mold. This will help push them into the mold impression.
Using your finger or really tiny spatula, start popping out the cookie. Be very careful not to break it. If for some reason it does break, roll the dough back up into a ball. Then press the dough back into the mold.
Place all your cookies on a baking sheet lined with parchment paper. Pop the sheet in the fridge for about 15 minutes. This will allow the cookies to not spread and enlarge when baking in the oven. I learned this after I did a batch haha.
Preheat your oven to 350 degrees. Bake for 8-10 minutes.
Allow to cool. The cookies can be eaten at this point or packaged up for gift giving.
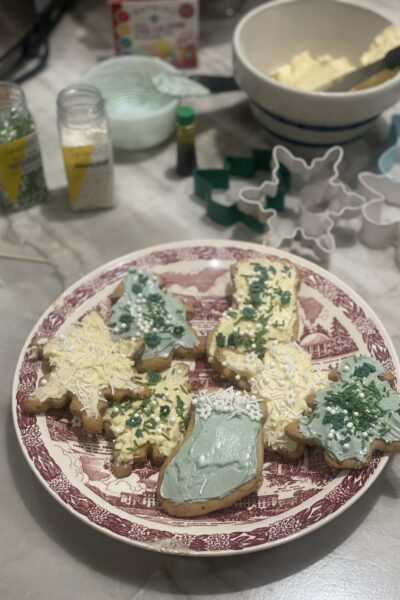
These nostalgia gingerbread cookies using wood molds look even prettier with a glaze on top of them. See recipe for that below.


Join Our Simple Living Community


Where I Found My Cookie Molds
These wood molds remind me of a vintage cottage bakery. I seek out quality molds that are crafted with pretty nostalgic designs.
When I originally made these cookies, I only used the little house and the tree. Since then, I’ve added to my collection. I now have 2 deer’s and a pine cone. Another one is on its way from Ukraine. It’s a cute gingerbread shaped house. I’ll update this post when it arrives.
Pin For Later

Tools You May Need
Mixing Bowl
Mini Rolling Pin
Baking Sheet


Shop My Pantry and Baking List
Nostalgia Gingerbread Cookies
Ingredients
Method
- Cream together the butter and the honey.
- Next, beat the molasses, vanilla and egg together.
- Gradually add the flour to the wet ingredients. Now, combine the baking soda, salt, cocoa and spices. Blend all the ingredients until you start seeing the shape of cookie dough.
- Pull the dough from the bowl and form into a ball. Wrap in plastic wrap and place in the fridge for 20 minutes.
- On a clean surface, roll the dough out. Grab a few of your wood molds. Cut pieces of the dough and start pushing it in the mold.
- An easy tip: With a mini roller, roll the dough on the cookie mold. This will help push them into the mold impression.
- Using your finger or really tiny spatula, start popping out the cookie. Be very careful not to break it. If for some reason it does, just roll the dough back up into a ball and press the dough back into the mold.
- Place all your cookies on a baking sheet lined with parchment paper. Pop the sheet in the fridge for about 15 minutes. This will allow the cookies to not spread when baking. I learned this after I did a batch haha.
- Preheat your oven to 350 degrees. Bake for 8-10 minutes.
- Allow to cool. The cookies can be eaten at this point or packaged up for gift giving.
- These gingerbread cookies using wood molds look even prettier with a glaze on top of them.
- Sift the arrowroot powder and place in a bowl.
- Combine the remaining ingredients with the arrowroot. Using your hand or stand up mixer, whip it all together. It should be nice and runny.
- Take a pastry or paint brush, and coast the brush really well.
- Start painting all over the front of the cookie. Be careful not to over saturate the cookie with the icing. You should be able to see a subtle impression of the cookie’s design.
Notes
- Feel free to substitute the flour to either all soft white wheat or any flour you choose. I’ve only made these with soft white and einkorn. You might have to play around with the butter/oil measurements as different flours require different hydration measures.
- The quantity of cookies you receive from this recipe will be determined based off what size cookie molds/cutters you use.
- Try making my Homemade Vanilla Extract.
- You can replace the Arrowroot Powder for Powdered Sugar if you like. I don’t eat a lot of sugar and the Arrowroot doesn’t have a flavor. Therefore, I enjoy sprinkling it on anything that can be replaced with powder sugar.
I hope you enjoy making these Nostalgia Gingerbread Cookies. They really do remind me of a simpler time and days gone by. Tag me on Instagram if you make them. I’d love to see what cookie cutters and shapes you use.

Leave a Reply