

There’s just something about biting into a slice of Sourdough Bread. It’s light, airy, and oh, so good for us! Do you know what I mean?
It seems as though there has been a huge increase in making Sourdough Bread over the past few years. I seriously am seeing a shift in families wanting to do more for themselves and become self-reliant. Making my Simple Sourdough Bread is a great place to start!

What is Sourdough?
It’s the combination of water and flour fermenting over a period of time. The longer it ferments, the more sour tang you will get. It’s been around for thousands of years. Sourdough is truly old-fashioned unlike using the packets of yeast to make modern-day bread. There’s nothing wrong with instant yeast. I still use it too when I just want a good sandwich loaf bread.
Once Sourdough fermentation takes place, you will receive beneficial yeast and lactobacillus, making the bread much more digestible.
How to Make Sourdough Bread
There are so many recipes out there to make Sourdough Bread. I have a lot of books I’ve collected over the years on making Sourdough Bread and honestly, they can all be overwhelming and confusing, especially if you’re new to it.
Most of the recipes make 2 loaves of bread. That can be a bit much for a residential baker to keep on hand so I am giving you my recipe for 1 loaf. Fresh bread doesn’t last for weeks on the counter so it’s better just to make it when you are ready to eat a loaf. You can easily double my recipe should you want to make 2 loaves. They freeze well too.
I’m using fresh-milled flour but feel free to use either a combination of others or just straight all-purpose flour.
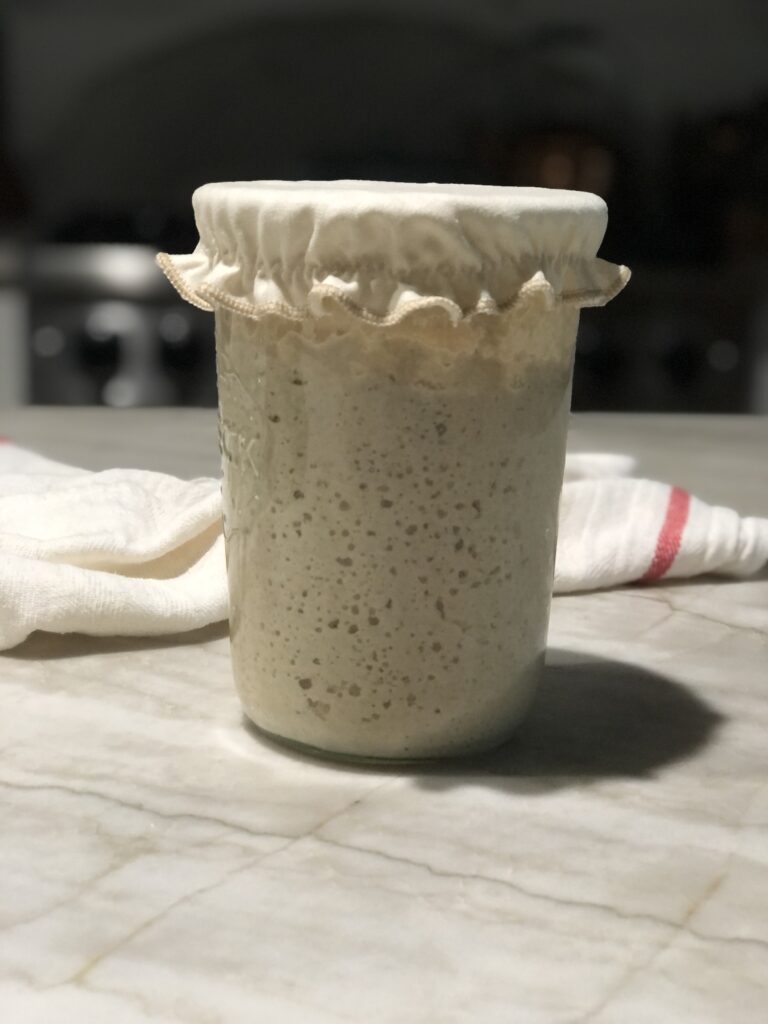
- First, make sure your Sourdough Starter is active. If you don’t have one, here’s my Sourdough Starter using simple ingredients. It needs to be really bubbly prior to making this Sourdough Bread recipe.
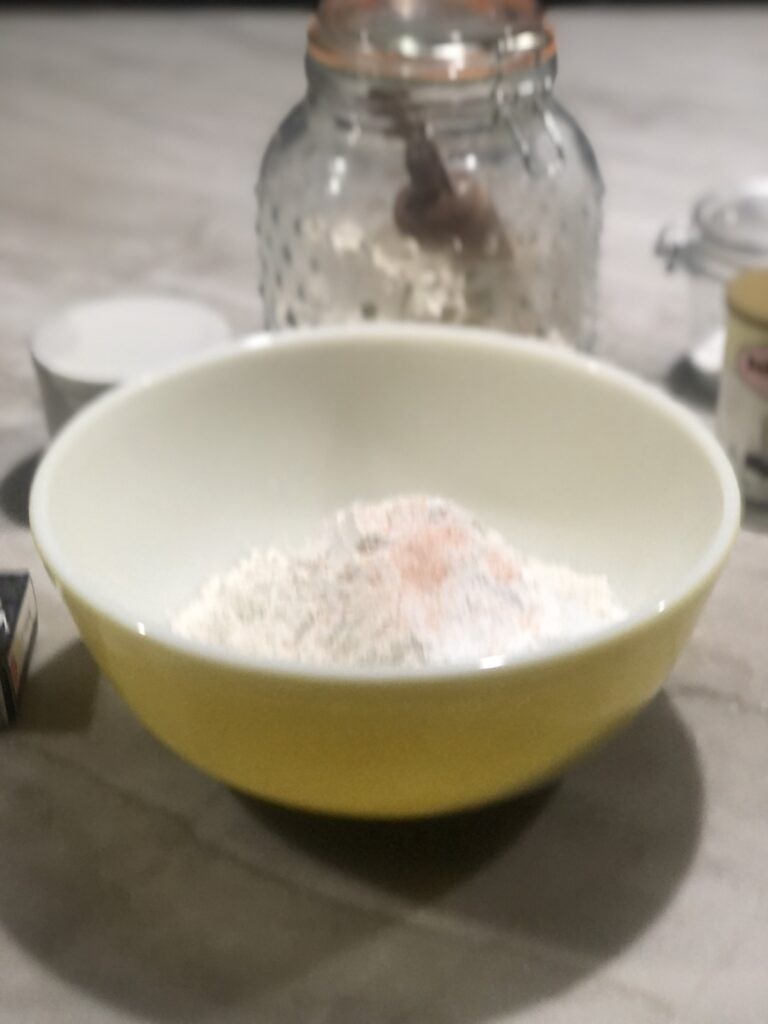
- Stir together the flour and water. Cover with a damp towel and rest for 15-20 minutes.
- Next, add the Sourdough Starter and sprinkle the salt on top.
- Mix together the flour mixture to form the dough. Cover with a damp towel and allow to rest for 30 minutes.
- Now, stretch and fold the dough for roughly 20-25 minutes. It’s just a matter of pulling the dough back and forth in the bowel. The dough will start off very sticky and the more you stretch it, the dough will get stiffer.
- Cover again with the damp towel and allow for the dough to rise until double.
- Sprinkle flour onto a clean surface. Start shaping the dough into a ball. You’ll pull and spin it towards your body. Shape the dough and transfer it to a banneton bowl (floured). You can also use a floured tea towel. Cove the bowl with plastic wrap and allow it to proof in the refrigerator for 12 hours. I’ve gone 18 hours before and that’s ok. The longer you let it ferment, the more beneficial the Sourdough will be.
- Prior to pulling the bowl out of the fridge, preheat your oven.
- Take the refrigerated dough and place it on a piece of parchment paper.
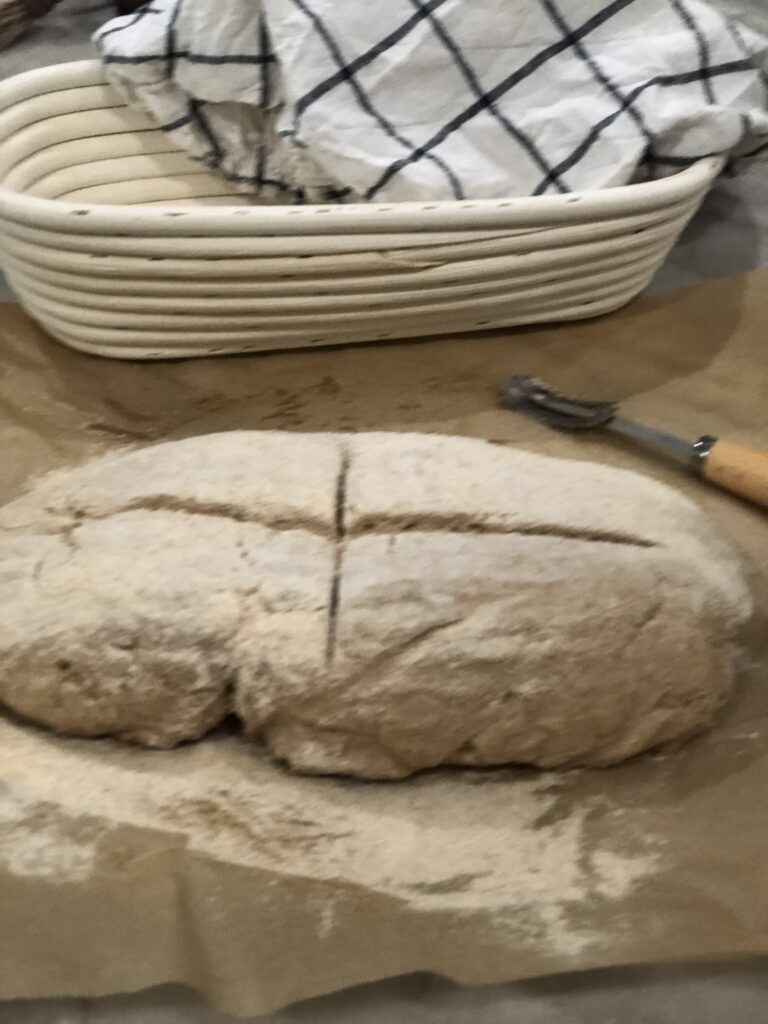
- Shake some excessive flour on top of the dough, smooth with your hands, and start scoring. You can use a lame or a plain ‘ole razor blade.
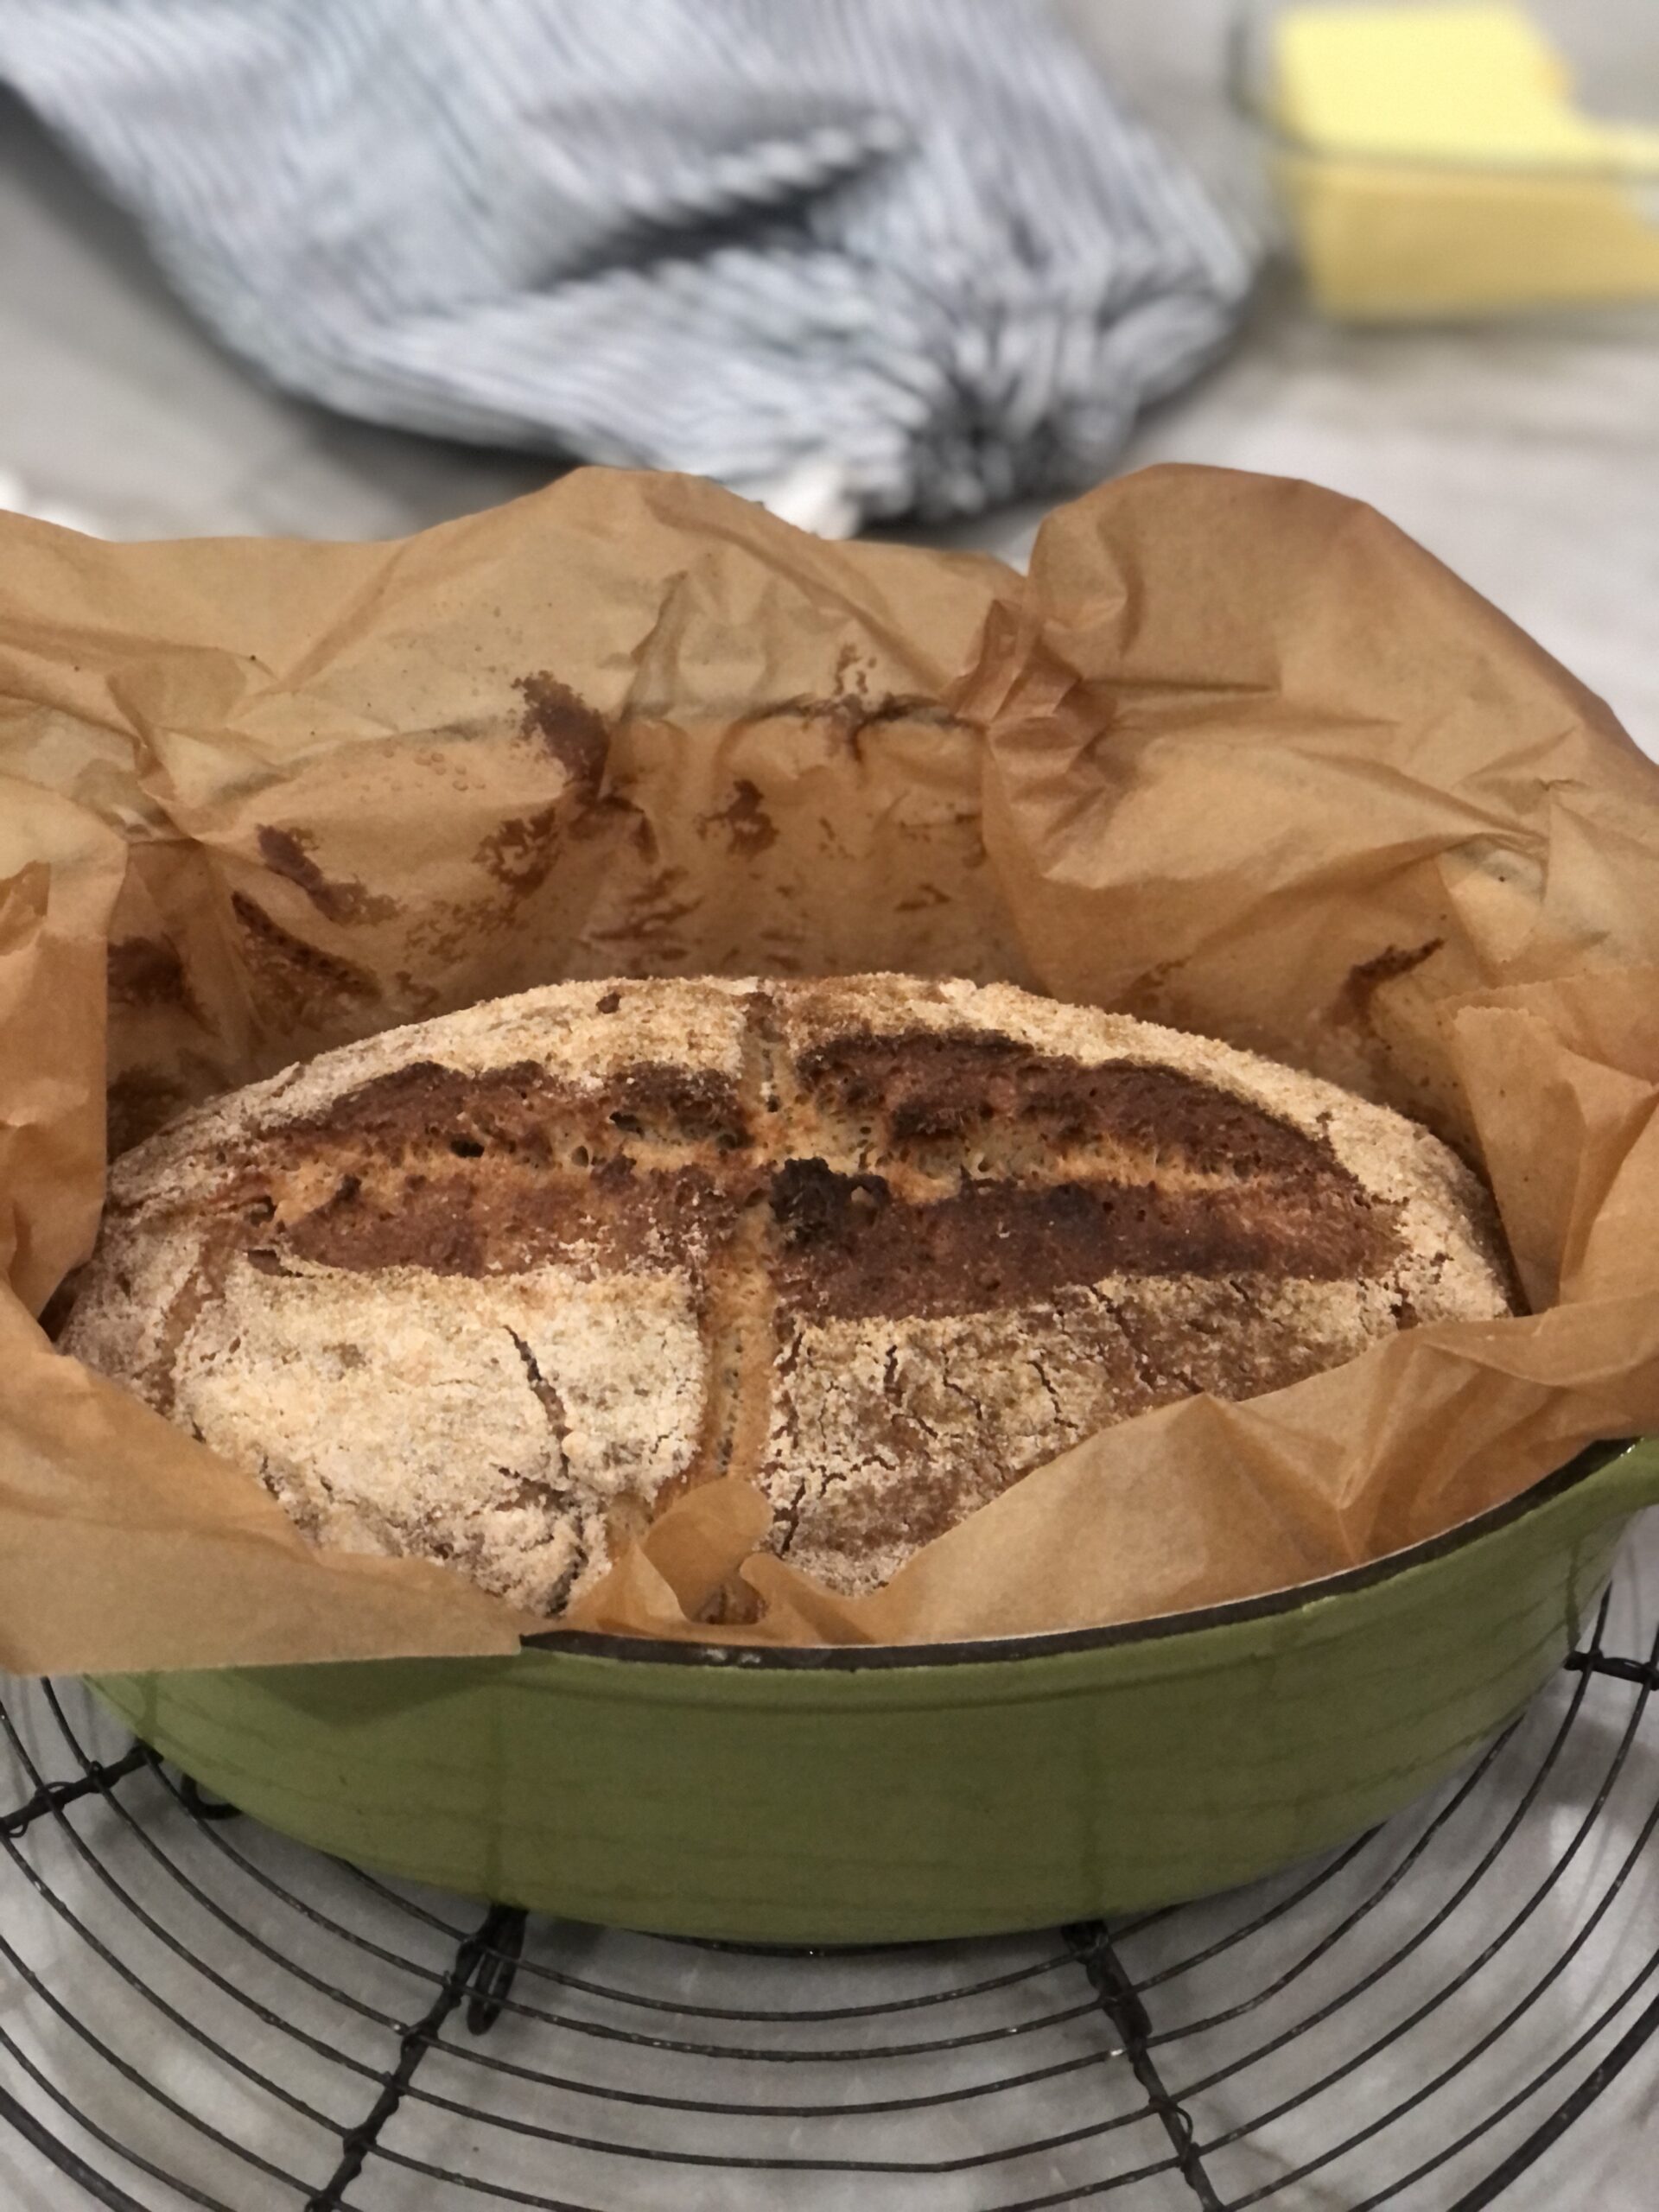
- Bake in the oven with the lid on for 20 minutes and then remove the lid and back for an additional 20 minutes. Your bread should be nice and brown when it’s finished baking.
Key Steps to Simple Sourdough Bread
Autolyse
This is a pausing and resting of the water and flour when it’s combined. You will usually combine the two in a bowl, cover with a damp towel and then let it rest for 30-60 minutes. This allows the flour to hydrate the flour; therefore, making the dough even more stretchy. This is especially important because if you’re using whole grains as I do, the bran will soften as it hydrates. By delaying the addition of the yeast (Sourdough Starter), two enzymes, protease, and amylase, go to work. Once you add the starter and the salt, this will develop a beautifully smooth dough ball.
Bulk Fermentation
You might read about this in other recipes or blogs. It’s the step when you allow the dough to double in size (approx. 3-4 hours) after the stretch and folding method. Beneficial yeast and bacteria start developing in this process which will turn your bread into that yummy sour tang taste.

Tips for Making Sourdough Bread
- The first step is to have an active Sourdough Starter. It needs to be all nice and bubbly,
- When covering the dough, using plastic wrap or something air-tight will make sure the dough doesn’t start to develop a somewhat hard crust.
- Whole grains such as Hard-White wheat, Einkorn, or Rye really produce a lovely texture when making Sourdough Bread.
- When you’re at the proofing stage, the longer you leave it in the fridge, the stronger the fermentation will become.
Simple Sourdough Bread
Ingredients
Method
- Make sure your Sourdough Starter is active and all nice and bubbly.
- Stir together the flour and water. Cover with a damp towel and allow to rest for 15-20 minutes.
- Next, add the Sourdough Starter and sprinkle the salt on top.
- Mix together the flour mixture to form the dough. Cover with a damp towel and allow to rest for 30 minutes.
- Now, stretch and fold the dough for roughly 25 minutes. It's just a matter of pulling the dough back and forth in the bowel.
- Cover again with the damp towel and allow for the dough to rise until double.
- Sprinkle flour onto a clean surface. Start shaping the dough into a ball. You'll pull and spin it towards your body. Shape the dough and transfer it to a banneton bowl (floured). You can also use a floured tea towel inside a bowl. The smooth side is going to be on the bottom and the bottom of the bread is going to be on the top. Cover the bowl with plastic wrap and allow to proof in the refrigerator for 12 hours. I've gone 18 hours before and that's ok. The longer you let it ferment, the more beneficial the Sourdough will be for digestion.
- Prior to pulling the bowl out of the fridge, preheat your oven to 500 degrees.
- Take the refrigerated dough, flip it over and place on a piece of parchment paper.
- Shake some excessive flour on top of the dough, smooth it out with your hands and start scoring. You can use a lame or a plain 'ole razor blade will do.
- Bake in the oven with the lid on for 20 minutes and then remove the lid and back the temperature down to 450 for an additional 20 minutes. Your bread should be nice and brown when it’s finished baking.
Notes
- Make sure you cover the dough tightly when in the proofing stages so the top of your dough doesn’t develop a hard crust.
- If you have a gluten sensitivity, allow the dough to do a longer fermentation. I’ve let mine sit for 18 hours before.
- You can certainly use all-purpose flour if you like. The whole grain flours just have more nutrients in them.
- Make sure you have enough flour on the top of the dough when you get ready to score a pretty pattern. It will show through a lot better and go pretty deep with your cut.
- You may need to adjust your baking according to the elevation where you live. Please see High Altitude Baking on how to make those adjustments.
Tools You May Need
Resources
Pin For Later

Leave a Reply