

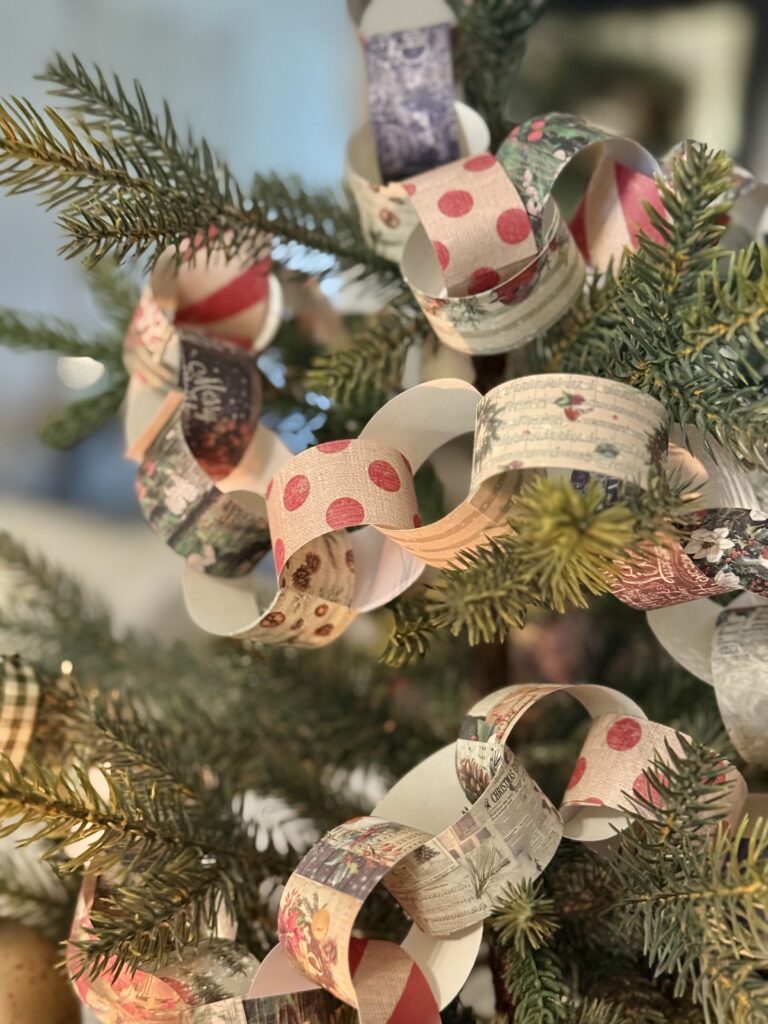
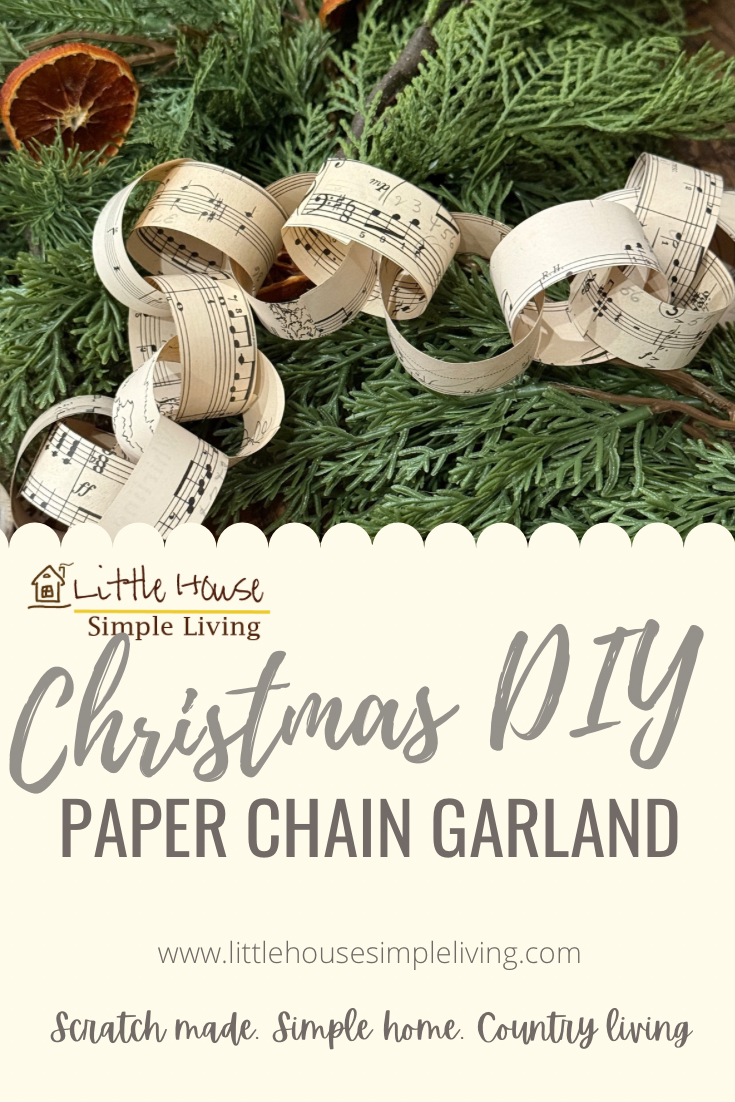
Do something nostalgic this year and make a classic Christmas DIY Paper Chain Garland. I remember making these out of construction paper. Solid colors were all we had back when I was a child. I used to love making these and I’m sure your kids will too.
Supplies
- Colored paper or cardstock (traditional Christmas colors: red, green, white, gold, or mix in patterned scrapbook paper)
- Ruler (optional, for measuring strips)
- Glue sticks, tape, or a stapler
- Pencil (if you’re marking strips)
- Twine
Join Our Simple Living Community


Instructions
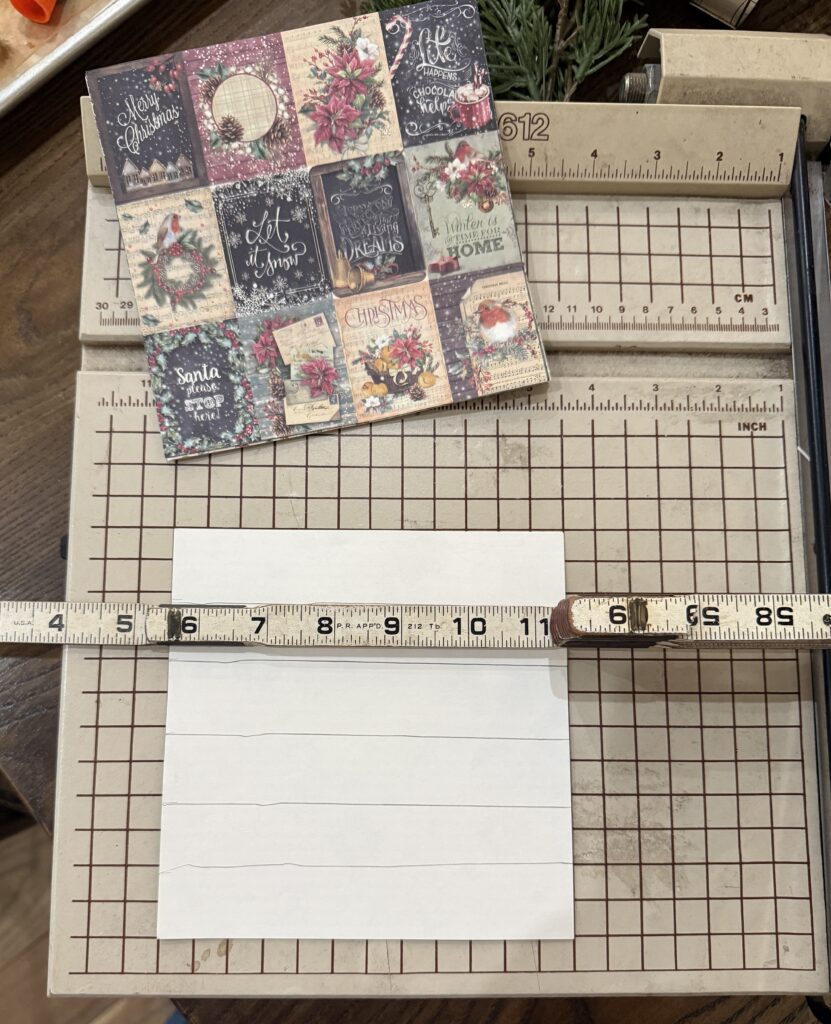
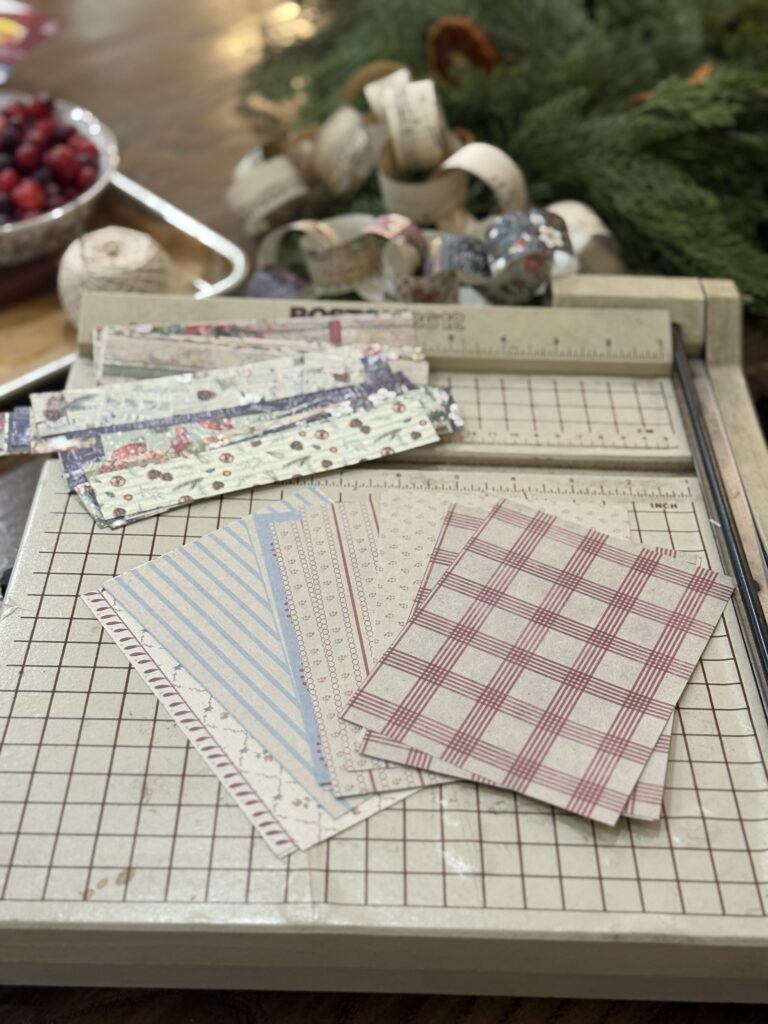
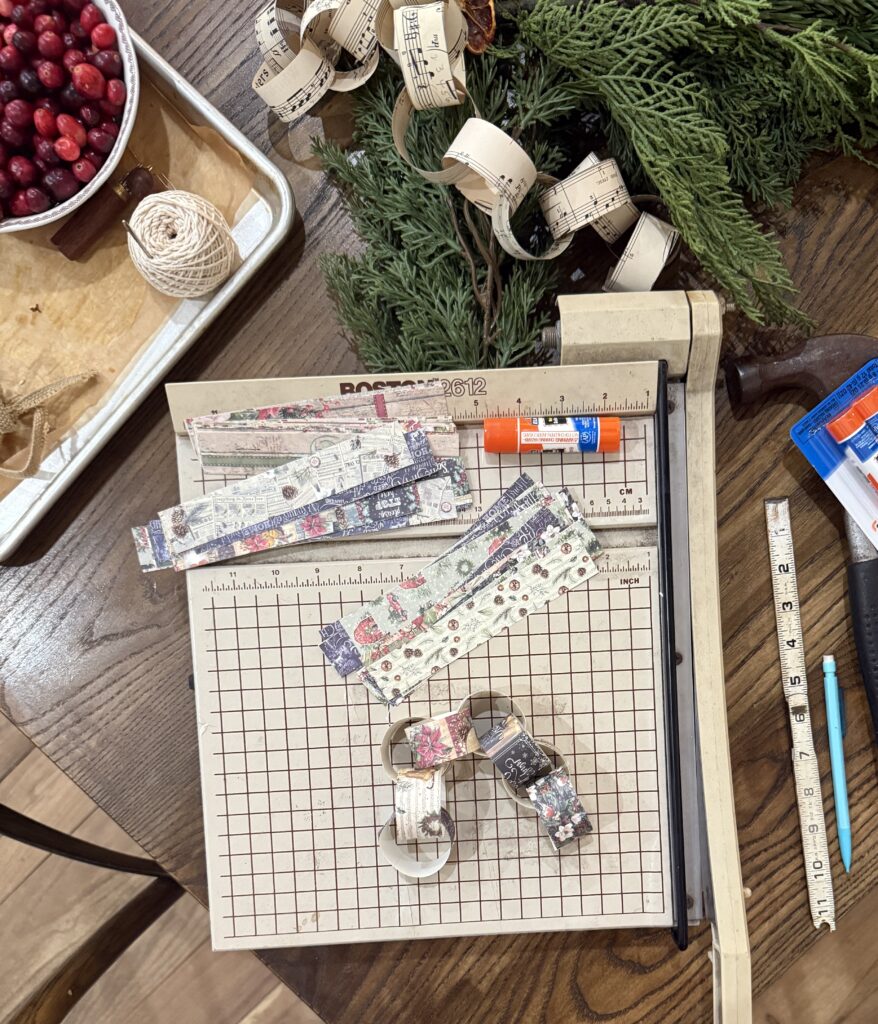
1. Cut the paper into strips
- Standard size: 1 inch wide × 6 inches long (Letter paper works perfectly as well as scrapbook paper).
- For bigger chains, cut your paper strips into 1½–2 inches wide x 6 inches long.
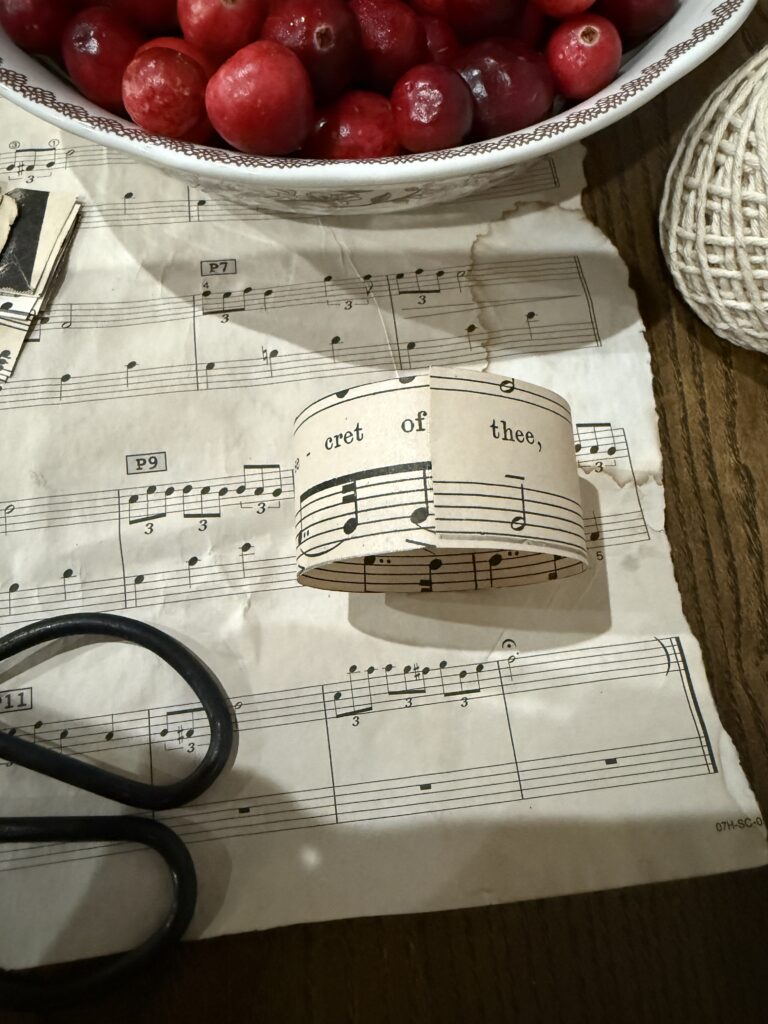
2. Make your first ring
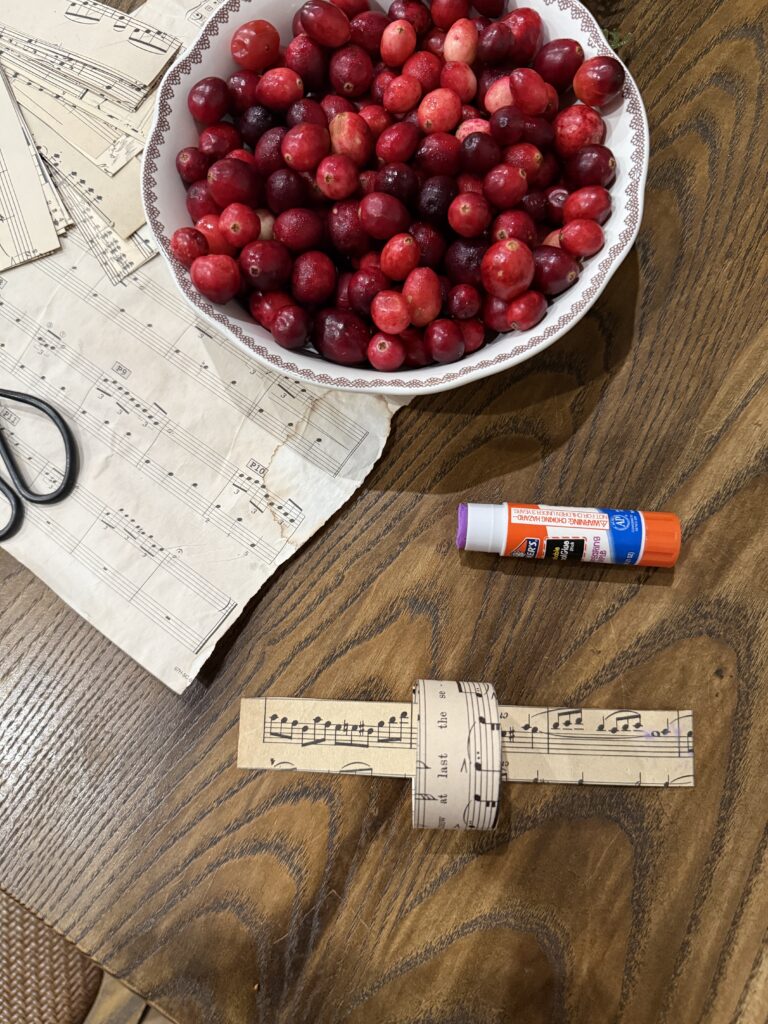
- Take one strip and form a circle.
- Overlap the ends by about ½ inch and glue, tape, or staple them together.
3. Link the next strip
• Take a second strip (preferably a different color for the classic look).
• Thread it through the first ring, then glue/staple the ends together to form the second link.
4. Keep the chain going
- Repeat, alternating colors as you go, until the garland is as long as you want it.
- 50–70 links makes approx. a 15–20 foot garland.
5. Finish it
• When you like the length, you’re all finished. You can use twine to tie the ends to the mantle or wherever you plan on hanging your paper chain garland.
Tips
- Stack 3–4 sheets and cut multiple strips at once to save time.
- Use a paper cutter for faster cuts.
- Stapling is fastest and strongest, if the kids are helping.
Variations
1. Add glitter or metallic paper for sparkle under Christmas lights.
2. Write messages on the strips before linking (e.g., Bible verses, “Merry Christmas and the year”).
3. Make a Mini-Garland: Cut ½-inch strips for a table top tree or to hang off a small mirror or frame.
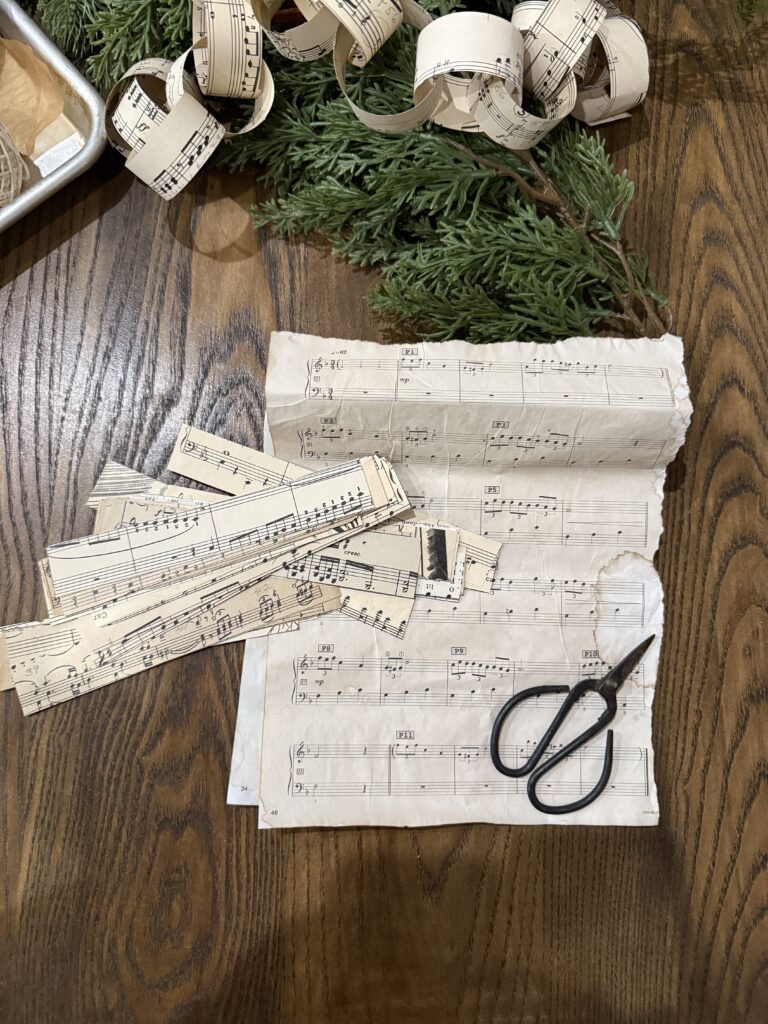
4. Fancy version: Use wrapping paper, sheet music, or old Christmas cards.
Pin For Later
See my full disclosure here.
Types of Paper To Use
Since each individual chain is 6 inches long, I have these scrapbook paper packs that are the same length. That way, all you have to do is cut the strips longwise. You can still use 8 1/2 x 11 paper but you’ll need to cut them to 6 inches long.
Vintage Christmas Scrapbook Paper Pack
Vintage Stripe Scrapbook Paper Pack
Wrapping Paper
Construction Paper
Vintage Christmas Music Sheet Pack
Make Dried Orange Slices
Enjoy making these dried orange slices. There’s just something about the nostalgia feel of them and need I not say how amazing your kitchen will smell. Add the oranges in between your circles. Just loop some twine in the paper circle and thread it through the orange. Repeat every 4 or 5 paper circles.
How Long Does it Take to Make?
A 10 – foot garland takes about an hour for an adult, or a few hours with kids. If you aren’t distracted like I was (a husband and dogs haha) it could take less time. It’s perfect for any homeschool project or afternoons when kids get home from school.
RUN FACT
Just in case you were wondering..I measured one of my chains and it was 3 1/2 feet long. That was 36 circles.

Christmas DIY Paper Chain Garland
Equipment
- 1 Pair of Scissors
- Paper Cutter (optional)
- Stapler (optional)
- Ruler or Tape Measurer
Materials
- Scrapbook, construction or wrapping paper
- Tape or Glue Sticks
- Pencil
- Twine
Instructions
- Cut the paper into strips: Standard size: 1 inch wide X 6 inches long (Letter paper works perfectly as well as scrapbook paper).For bigger chains, cut your paper strips into 1½ – 2 inches wide x 6 inches long.
- Make your first ring: Take one strip and form a circle. Overlap the ends by about ½ inch and glue, tape, or staple them together.
- Link the next strip: Take a second strip (preferably a different color for the classic look).Thread it through the first ring, then glue/staple the ends together to form the second link.
- Keep the chain going: Repeat, alternating colors as you go, until the garland is as long as you want it. 50 – 70 links makes approx. a 15 – 20 foot garland.
- Finish the chain: When you like the length, you're all finished. You can use twine to tie the ends to the mantle or wherever you plan on hanging your paper chain garland.
Notes
- Stack 3 – 4 sheets and cut multiple strips at once to save time.
- Use a paper cutter for faster cuts.
- Stapling is fastest and strongest, if the kids are helping.
I hope you and your kids/grandkids had fun making this. I’d love to see how yours turned out and where you have it decorated in your home. Share on Pinterest or tag me over on Instagram.

Wendy Lea Walker, NTP
Nutritional Therapy Practitioner
I’m Wendy. A wife, empty-nester mama, homemaker, homebaker, gardener and small-time farmer. I love sharing wisdom and mistakes I’ve learned along the way. Anyone can garden or homestead, no matter where you live. It’s a mindset. You just have to start somewhere. I believe food is medicine. Feed the body real whole foods and healing will begin.

Leave a Reply