

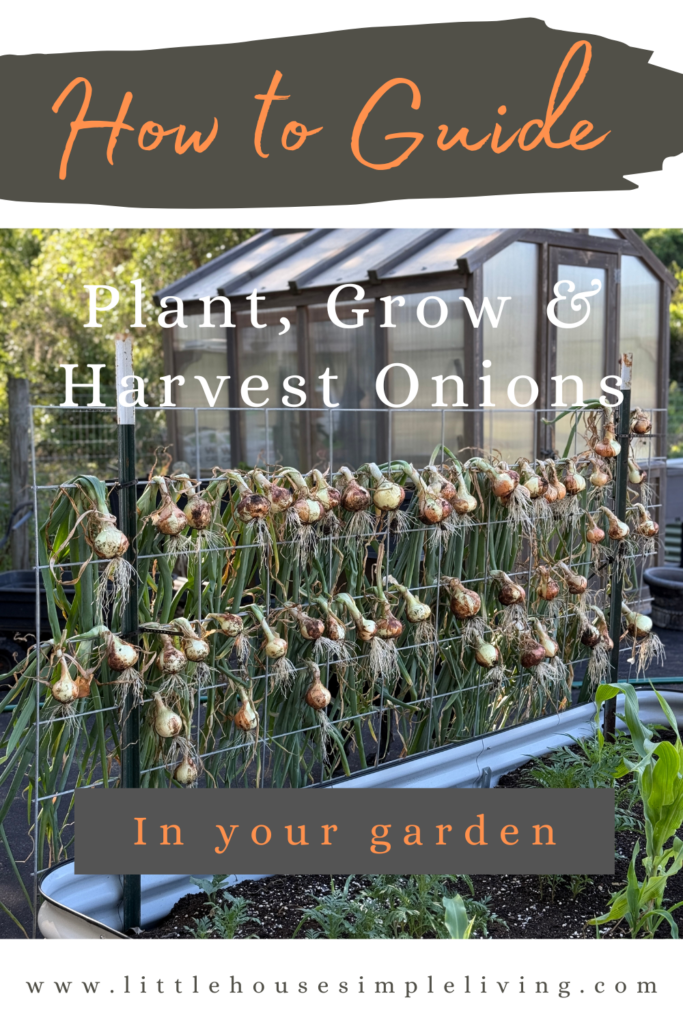
One of my favorite vegetables that I use year round in my kitchen is onions. Onions are a versatile and relatively easy crop to grow, making them a favorite for home gardeners. Learn How To Plant, Grow and Harvest Onions. This guide provides a comprehensive overview of the process.
Choosing the Right Variety
Start by selecting an onion variety suited to your region’s day length, such as long-day types (Red River, Patterson, Walla Walla, etc.) for northern areas or short-day (Southern Belle, Yellow Granex, Texas Sweets, etc.) for southern regions. This ensures better bulb formation.
Pin For Later
Planting and Soil Preparation
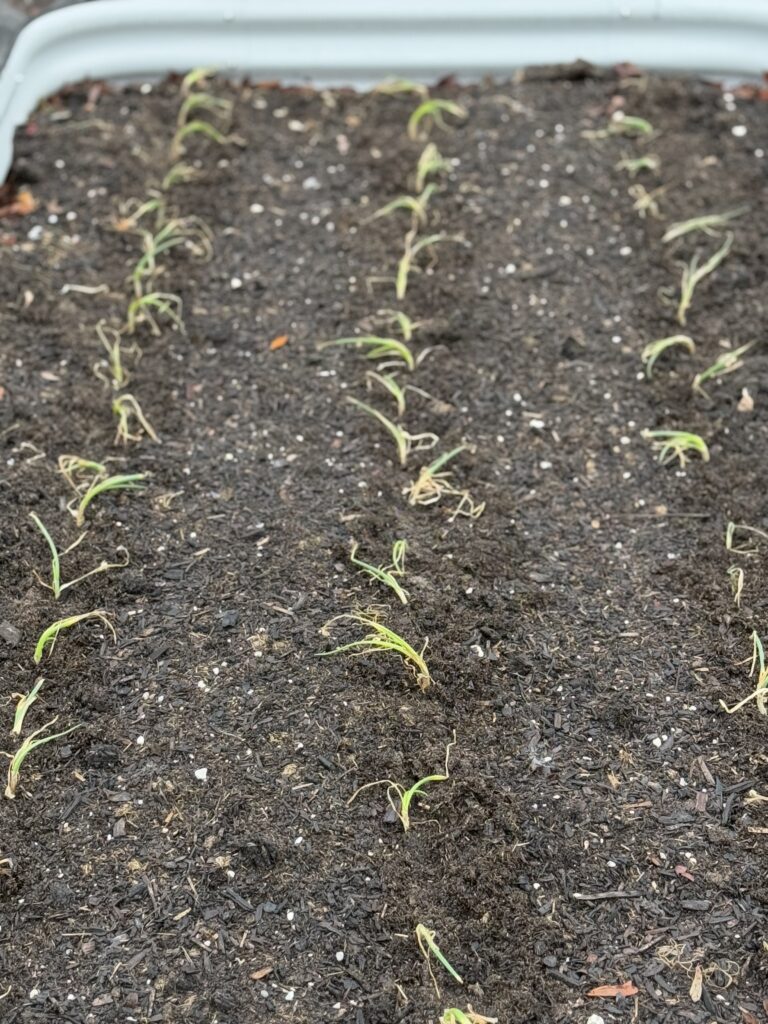
Plant onion sets 1 to 2 inches deep, spaced 4 to 6 inches apart, in early spring (northern states) and December (southern states) when soil is at least 40-50°F. Use well-drained, fertile soil in full sun, enriched with compost.
Care and Maintenance
Water consistently, providing about 1 inch per week, and fertilize with nitrogen until bulbing starts. Use mulch to retain moisture, and watch for pests. Check out why you need Marigolds in Your Garden.
Harvesting and Storage
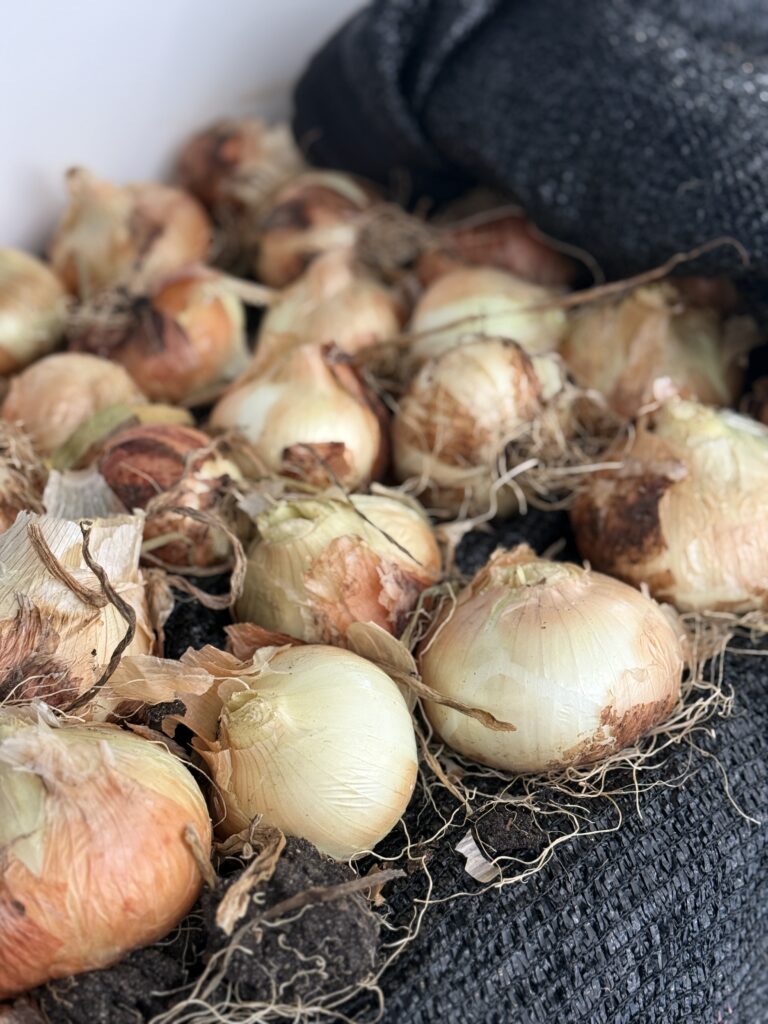
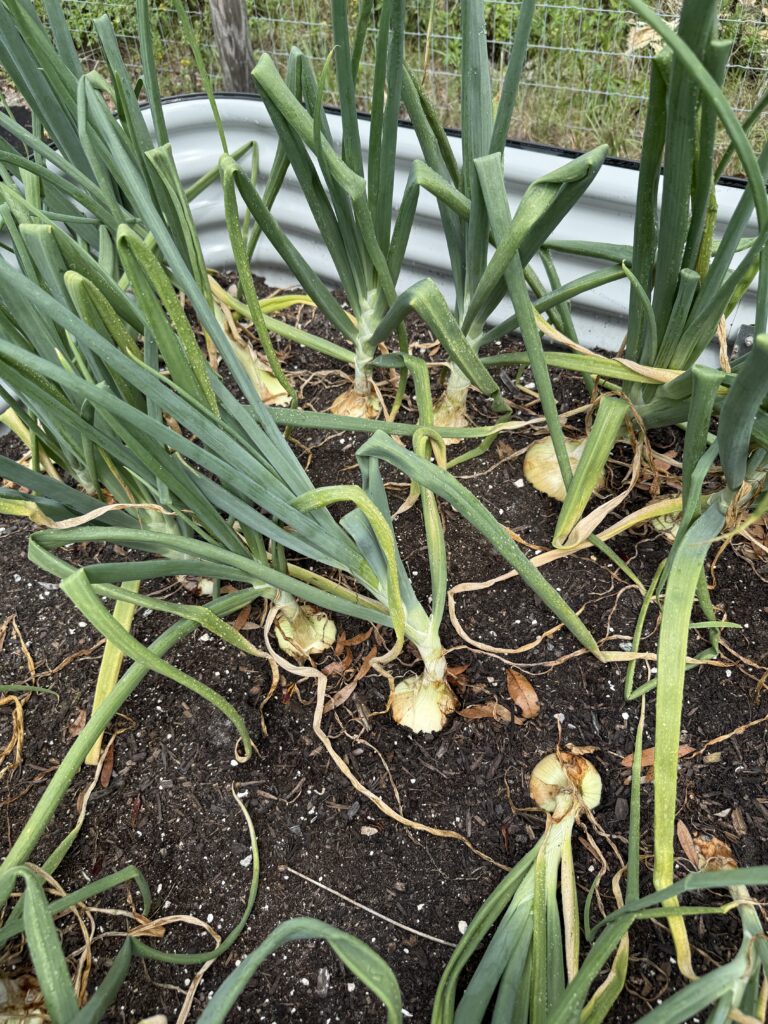
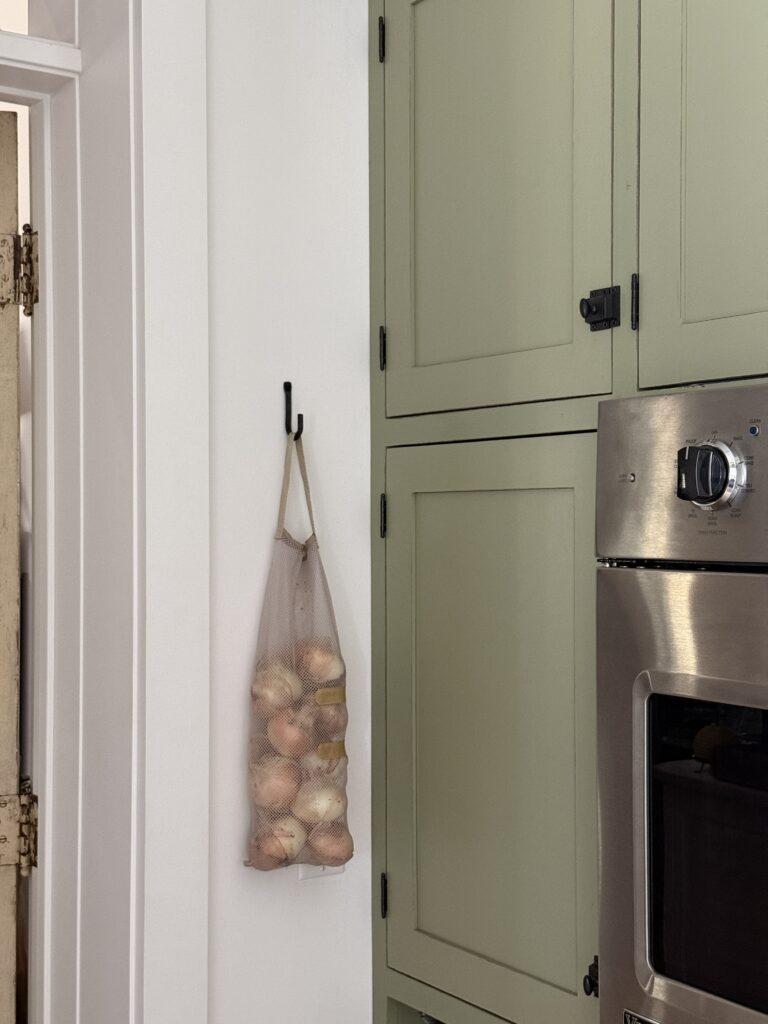
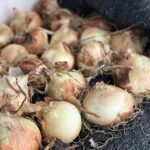
Harvest when the tops turn yellow and fall over, typically mid-April (southern states) and mid-summer (northern states). Cure the onions in a dry, airy place for 7 to 10 days, then store in a cool, dry area. I’ll go into more detail on storage in the guide below.
Join Our Simple Living Community


Tools I Recommend
Where to Buy Onion Seeds/Sets
Here are some great places to buy seeds and sets from. If you can find them local, even better.
Stay Organized in the Garden
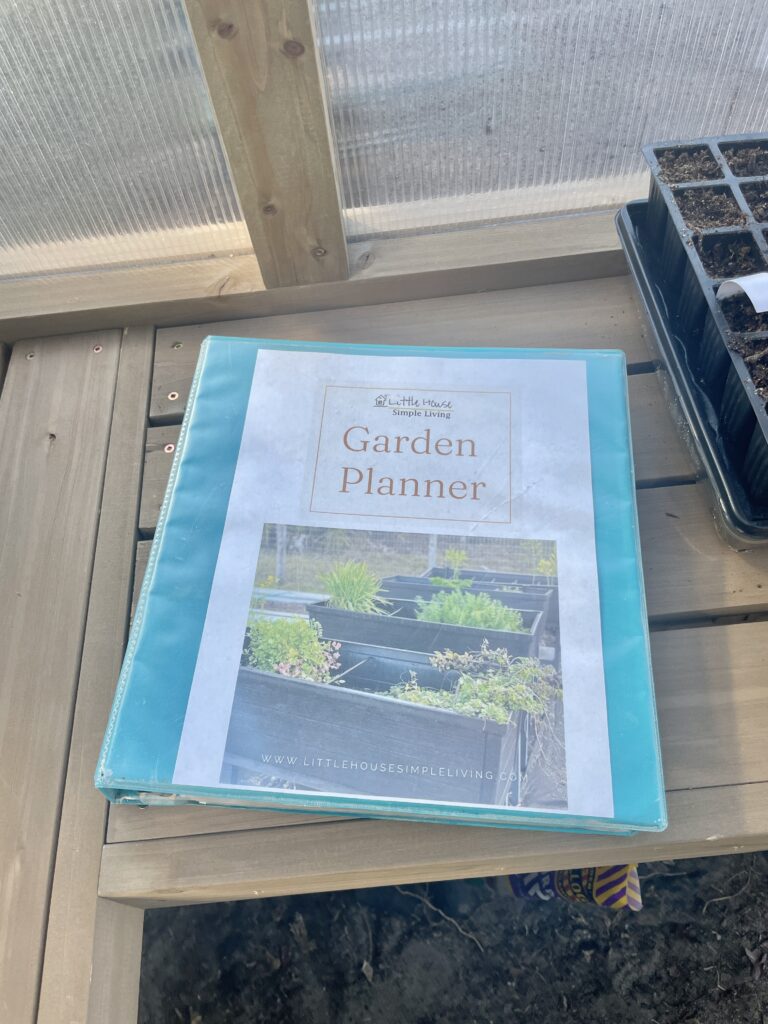
I created this planner because I couldn’t find anything else for what I wanted in my own garden. This Garden Planner is packed with everything you need to have a successful harvest, season after season. You can even place all of the pages in a cute binder like I did.
Here’s what is included:
COVER:
Slide this sheet into the front clear slip of your binder. This will make it easy to know where your Garden Planner is.
CALENDAR:
Print off 12 of this page. You can hand write in the months/days that you are using.
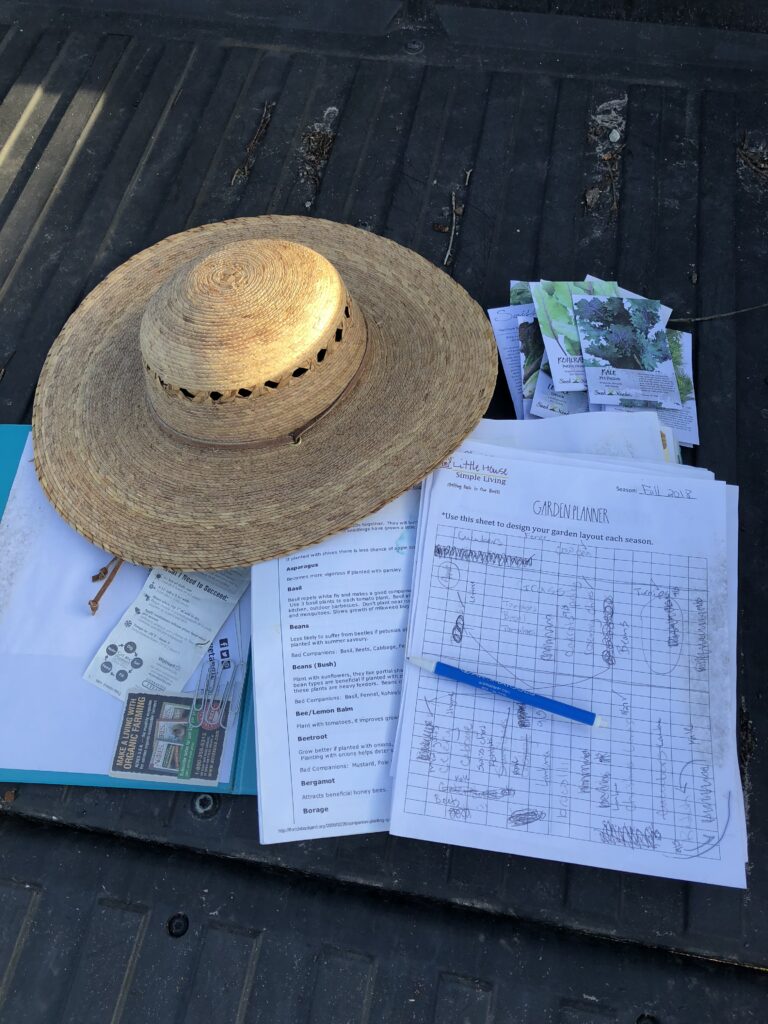
DEISGN LAYOUT:
There are two graph sheets for you to use. 1st one – I have provided a large graph and you can use this one to do an overview of your entire garden space. I always like to see the entire garden space and then break it down into my beds. 2nd one – This sheet has (3) 4×8 beds. I really like this because you can create zones and rows per garden section. I have attached an example for you.
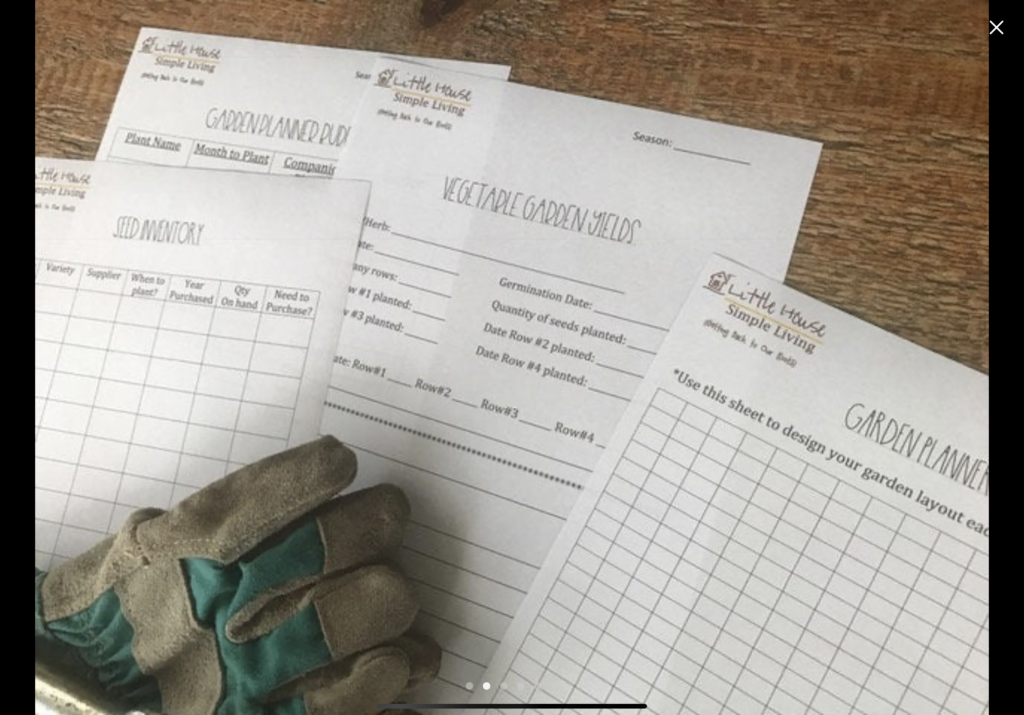
GARDEN PLANNER BUDDY:
This sheet compliments and goes side by side with the Garden Planner. I designed this one so I could see everything at a glance. It’s like you can see everything in your garden and reference back to the planner all at once.
SEED INVENTORY:
This is the sheet that you will keep track of all your seeds. It includes a Vegetable, Herb and Flower sheet. You will definitely want to keep track because you will become a “seed hoarder” if you aren’t already one like me LOL. I order from a few different suppliers and this little sheet will keep you super organized when it’s time to re-order.
A Few More Goodies
VEGETABLE GARDEN YIELDS:
Each plant will need one of these sheets. It’s basically a report card for each plant. You’ll keep track of when you planted, when you harvested, diseases, yields, etc. Super helpful to know all of this. It will help you make an informed decision each year on whether to plant the same supplier and variety, especially if you didn’t receive any yields.
PROJECTS:
Write down your goals for each month in your garden. They can be small or big. Just make sure they are attainable. Keep track of your goals and any projects you are doing in your garden. You can do it!

How To Guide
How to Guide: Plant, Grow and Harvest Onions
Materials
- Onion Sets
- Organic Compost
- Mesh Netting
- Hanging Mesh Bags
- Pruning Shears
Instructions
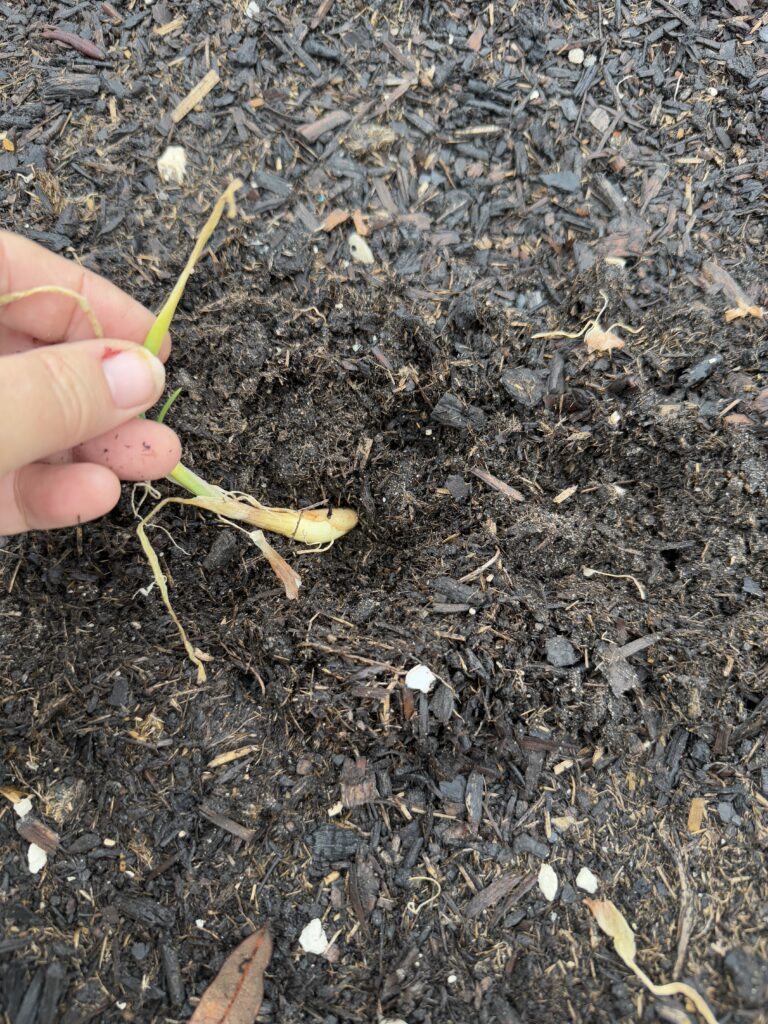
- Below is a detailed breakdown of each stage:1. Choosing the Right Variety • Onions are photoperiod-sensitive, meaning their bulb formation depends on day length. • Long-day varieties (e.g., Walla Walla, Red River) are best for northern regions where summer days are 14-16 hours long, ideal for areas like New Hampshire. • Short-day varieties (e.g., Vidalia, Texas Sweet) suit southern regions with 10-12 hours of daylight, perfect for warmer climates, like Florida. • Intermediate-day varieties (e.g., Yellow Candy, Super Star) work for regions with 12-14 hours of daylight, offering flexibility for mid-latitude gardeners. • Consider whether you prefer sweet onions (milder, shorter storage) or pungent ones (longer storage). For example, Texas Sweet is known for sweetness in southern latitudes, while Walla Walla is popular in the north.2. Starting Method: Sets or Seeds • Onions can be grown from sets (small bulbs) or seeds, with sets being easier for beginners due to higher success rates and quicker maturity (about 14 weeks). • Sets: Plant 1 to 2 inches deep, spacing 4 to 6 inches apart in rows 12 to 18 inches apart. Choose bulbs around ¾ inch in diameter to avoid bolting. • Seeds: More economical and offer more variety, but require starting indoors 8 to 12 weeks before the last frost. Sow seeds ¼ to ½ inch deep, initially spacing 1 to 2 inches apart, then thin to 3 to 4 inches. • For northern zones (e.g., Zone 5 and colder), sets are preferred, while seeds allow for greater variety selection.3. Soil Preparation and Planting Time • Onions need full sun (6-8 hours daily) and well-draining, loose soil to prevent rot. Mix in several inches of aged compost or manure in fall or early spring to enrich the soil. • Aim for a soil pH of 6.0 to 6.8. Ensure no rocks or compacted areas, as onions have shallow roots. • Plant in early spring, 2 to 4 weeks before the last frost, when soil temperature is at least 50°F (10°C), typically April or early May for northern zones. For fall planting, allow 4 to 6 weeks of warm temperatures before the ground freezes. In Florida, the onion sets get planted in early December. • Practice crop rotation to prevent diseases; avoid planting where other alliums (e.g., garlic) grew recently. Plant Marigolds to deter any pests. 4. Planting Details • For Sets: Bury sets with the pointy end up, 1 to 2 inches deep, spaced 4 to 6 inches apart, in rows 12 to 18 inches apart. Don’t plant deeper than 2 inches to avoid rot. • For Seeds: Use shallow trays with compost for indoor starting. Plant seeds ¼ to ½ inch deep, keep in a warm, well-lit spot (e.g., windowsill), and thin to 3 to 4 inches apart when transplanting outdoors. • For container gardening, use pots at least 10 inches deep, such as a 5-gallon bucket for 4 to 6 onions, with well-draining potting mix and compost.
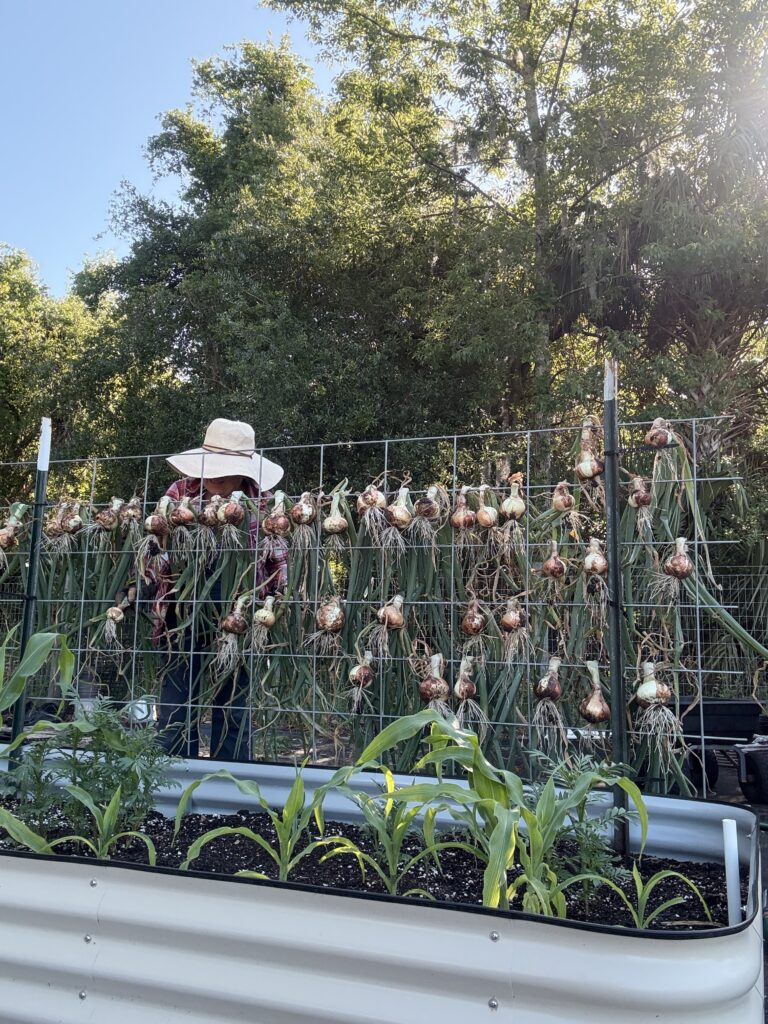
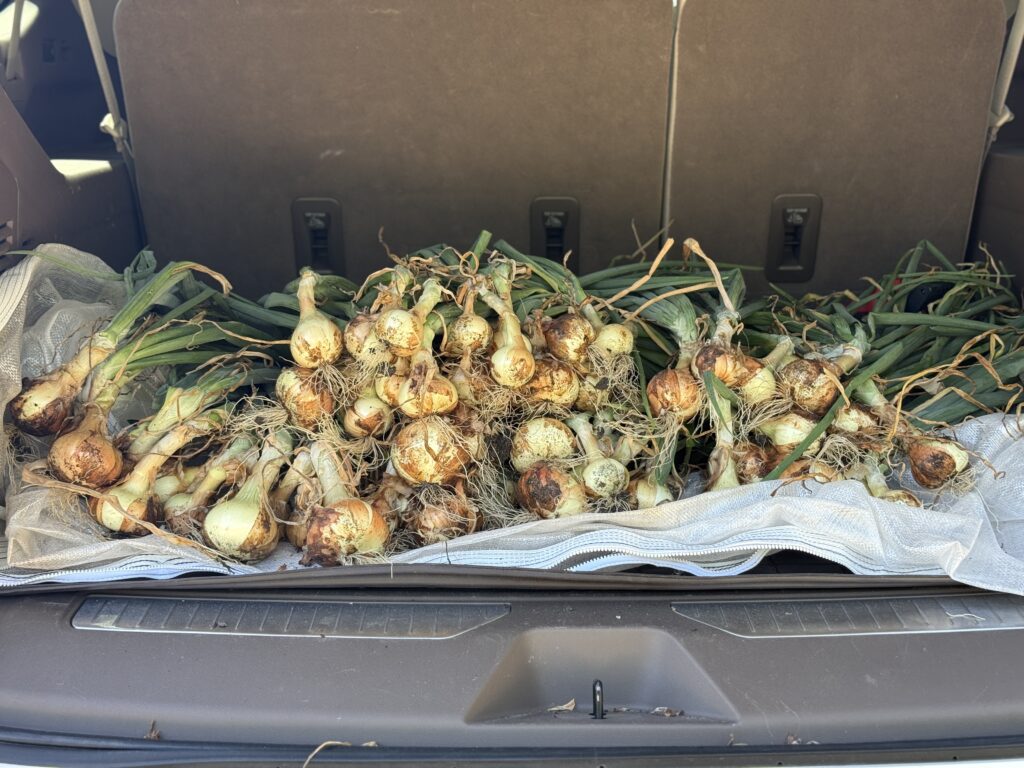
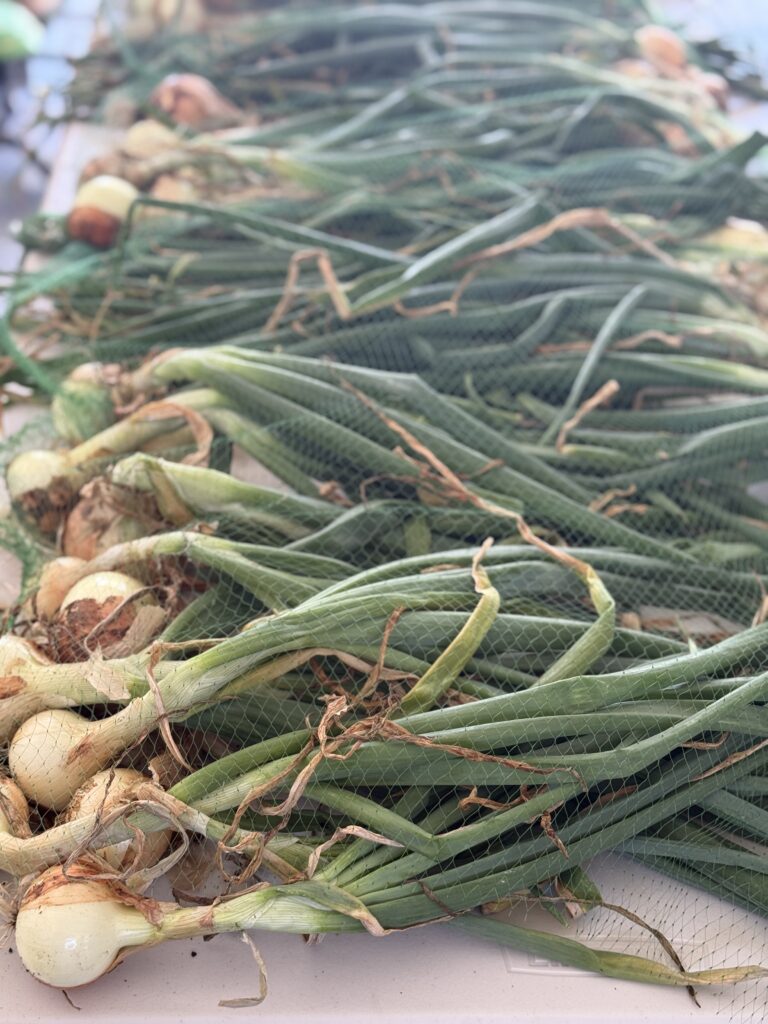
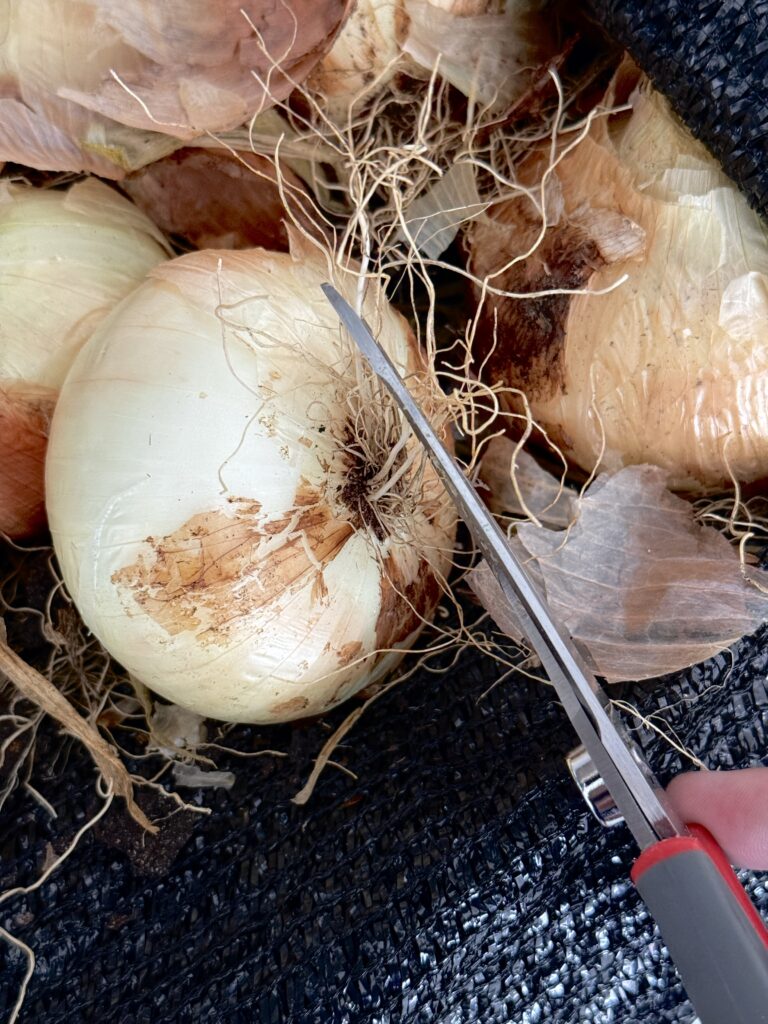
- 5. Care and Maintenance • Treat onions as a leaf crop initially; foster foliage growth for larger bulbs. Cover immature bulbs with light mulch for protection, moisture retention, and weed suppression, but don’t cover emerging bulbs. • Water consistently, providing about 1 inch per week (including rain), more during hot spells to prevent bolting. Onions aren’t great at taking up water, so ensure the top inch of soil stays moist. • Fertilize every few weeks with nitrogen until bulbing starts, then stop to avoid excessive leaf growth. Use continuous-release plant food for best results. • Intercrop with marigolds, tomatoes or carrots to deter pests. Use mesh row covers for protection against onion maggots, especially in rainy periods.6. Harvesting and Storage • Harvest when the tops turn yellow and fall over, typically Fall/Winter planted onions, it will be mid-spring. Onions take a little over four months to grow here in Florida. I harvest mine in mid-April. For northern states, typically mid-summer for spring-planted onions. Get with your local agricultural extension office for more on your zone for growing times. • Loosen soil around bulbs with a fork, pull carefully, and cure in a warm, dry, airy place (e.g., garage) for 7 to 10 days. For southern states, hang to dry outside in the sun for 1-2 days. Cover the onions at night with netting to deter anything from getting the onions like a small animal. Once dry, bring into the garage for further curing. Ensure good air circulation during curing to prevent rot. I like to use a green netting. • After curing, trim tops to 1-2 inches and store in a cool (40-60°F), dry area with good ventilation. Make sure the onions are completely dry. Use mesh bags, boxes (no more than 2 layers), or braid for storage. Check regularly for rot or sprouting, and don’t store with apples or pears. • Sweet onions have high water content and shorter storage life; eat them first, while pungent onions last longer. For longer storage, dice the onions up and freeze for later use in dishes like spaghetti, taco meat, etc.
I hope this guide is helpful in growing onions where you live. You don’t need a lot of space. This is one vegetable that can go along way. Tag me over on Instagram if you start planting onions in your garden. I’d love to see yours!
Wendy Lea Walker, NTP
Nutritional Therapy Practitioner

Leave a Reply