

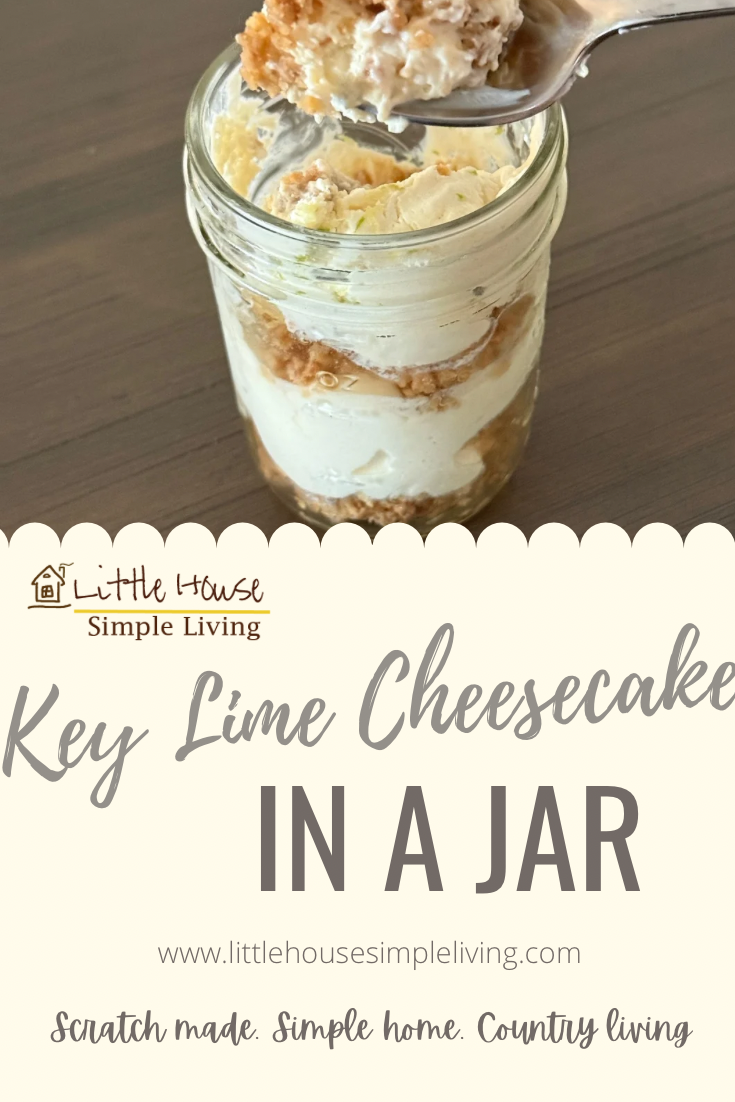
One thing living here in Florida is that we are known for our key limes. This no-bake Key Lime Cheesecake in a Jar is the perfect dessert for a big gathering. The recipe is quick and simple. Your friends and family are going to love the combination of the tart and sweet.
{Jump to Recipe}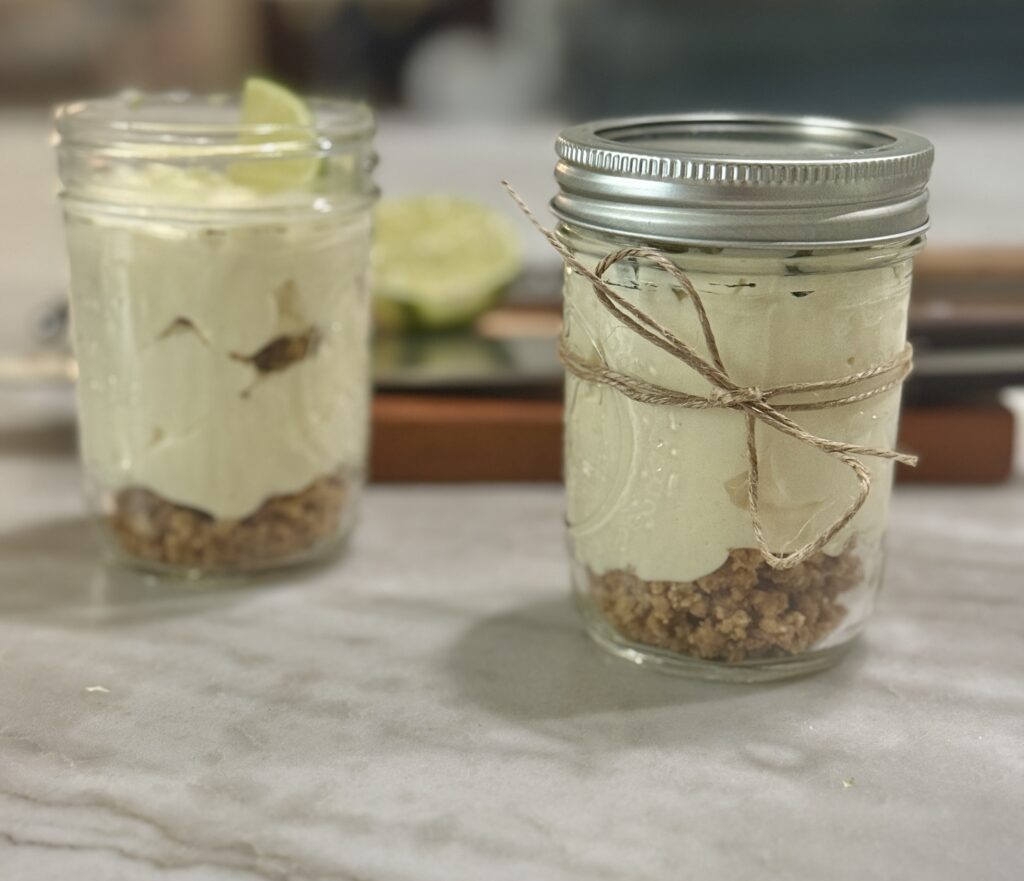
Ingredients
For the Crust:
2 1/2 cups graham cracker crumbs
2/3 cup unsalted grass-fed butter, melted
For the Filling:
16 oz cream cheese, softened (full-fat)
1 can sweetened condensed milk (I used this one)
1/2 cup key lime juice (fresh or bottled, fresh: 12-14 key limes squeezed)
1 cup heavy cream (I use raw cream)
1 tsp vanilla extract (make your own)
For the Topping:
Lime Zest
Slice of Lime
• Optional: extra lime zest, lime slices, or graham cracker crumbs for garnish
Join Our Simple Living Community


How to Make Key Lime Cheesecake in a Jar
1. Prepare the Crust:
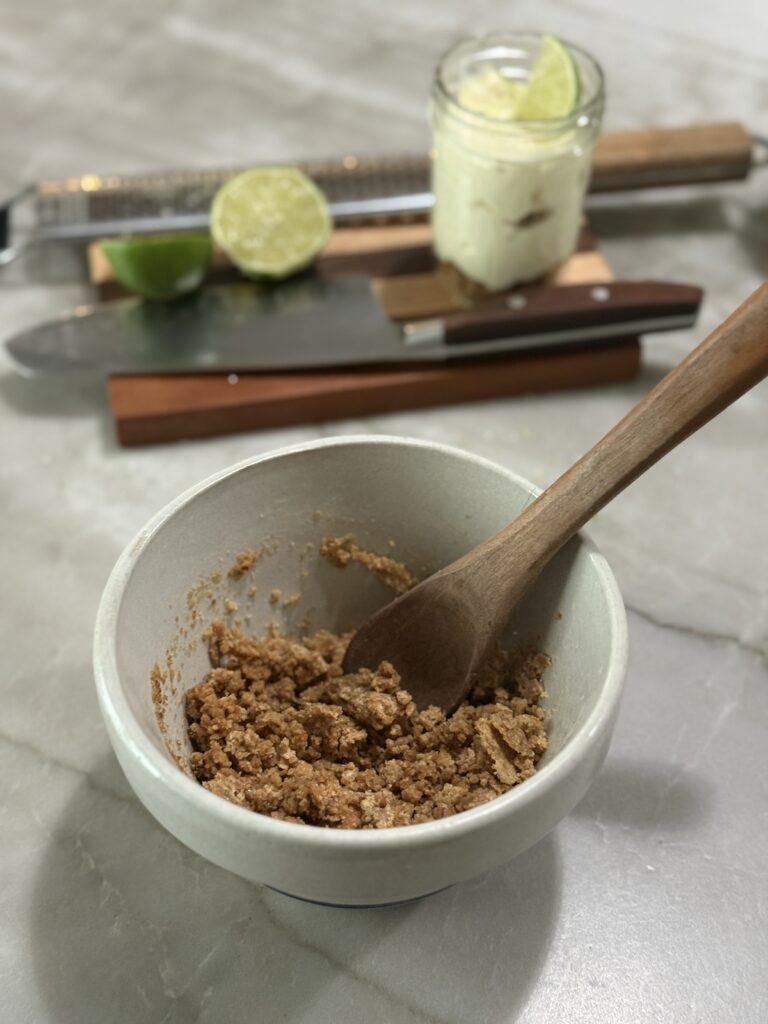
In a bowl, mix graham cracker crumbs and melted butter until moistened.
Divide mixture evenly among (8) 1/2 pint mason jars. Save 1/2 of the crust mixture for the middle layer in the jar. Press down lightly with a spoon or fingers to form a compact crust (optional). You can also take a spoon and just drop the crust in the jar. No baking required.
2. Make the Filling:
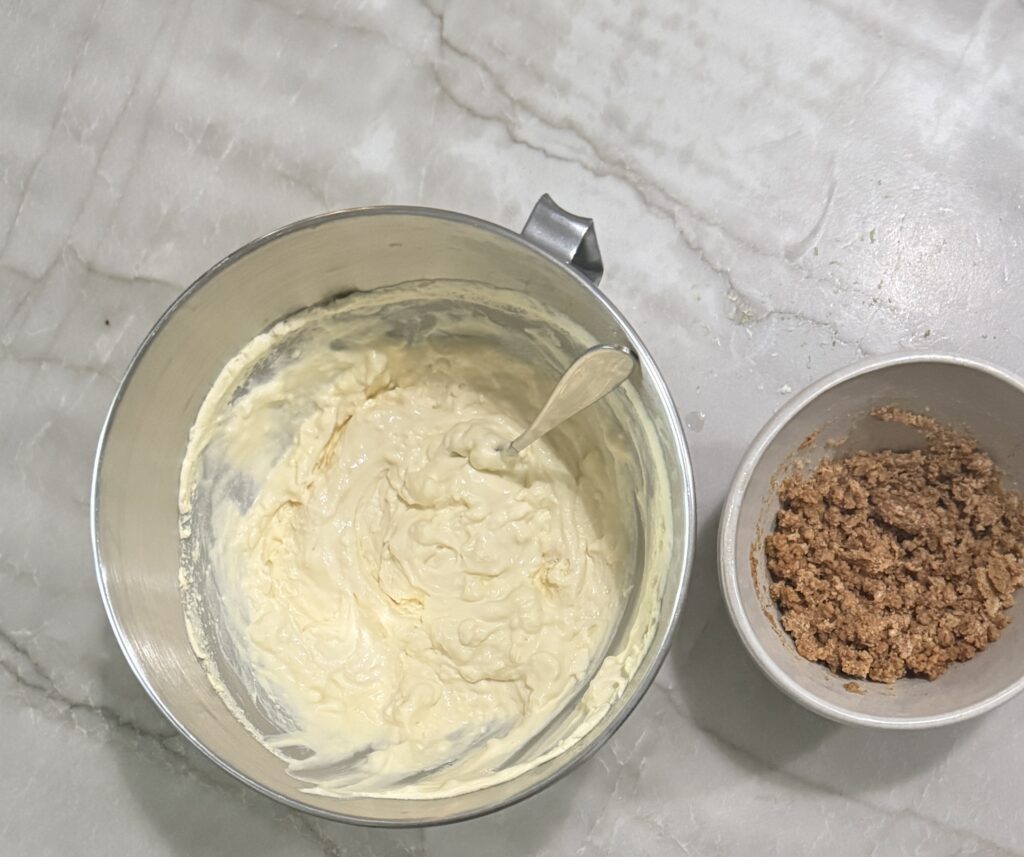
In a large bowl, place cream cheese, sweetened condensed milk, key lime juice, and vanilla extract. Beat until creamy and well combined, about 2–3 minutes. Scrape down the bowl to ensure no lumps.
Next, pour the heavy cream into a separate bowl and whip until you see fluffy peaks (about 5 minutes). Gently fold this into the cheesecake mixture.
3. Assemble the Jars:
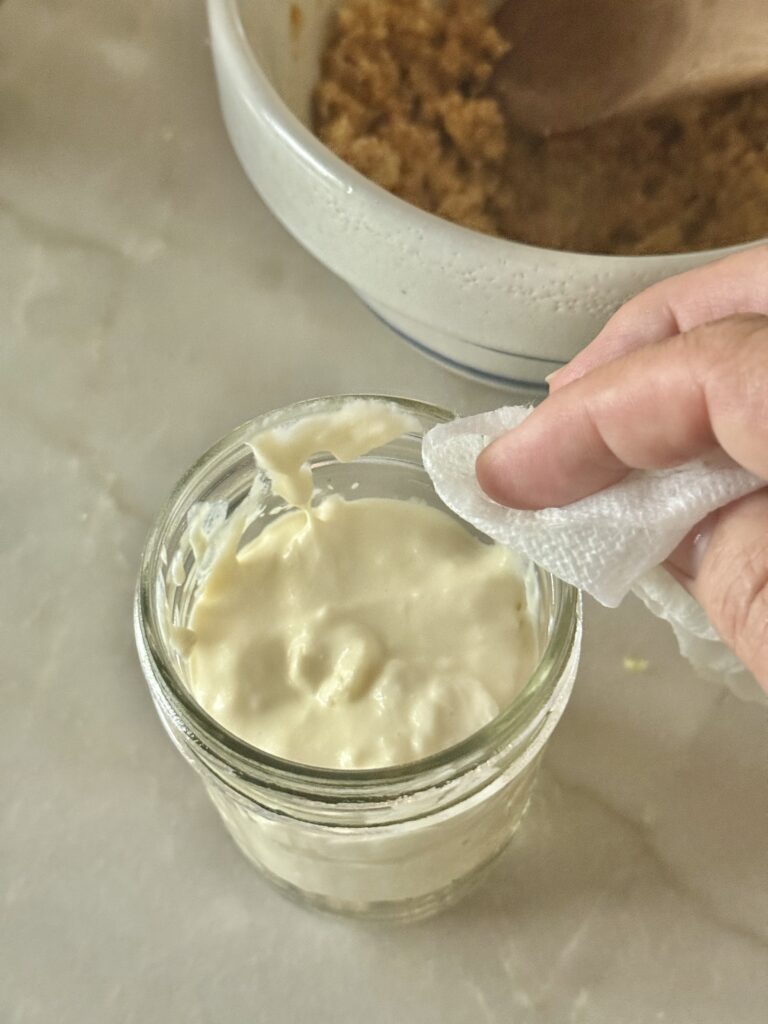
Spoon or pipe the filling evenly into the jars. You’ll save 1/2 the filling mixture for the top layer of the jar. Smooth the tops with a spatula. Use a wet paper towel to wipe off any excess filling from the rim of the jar.
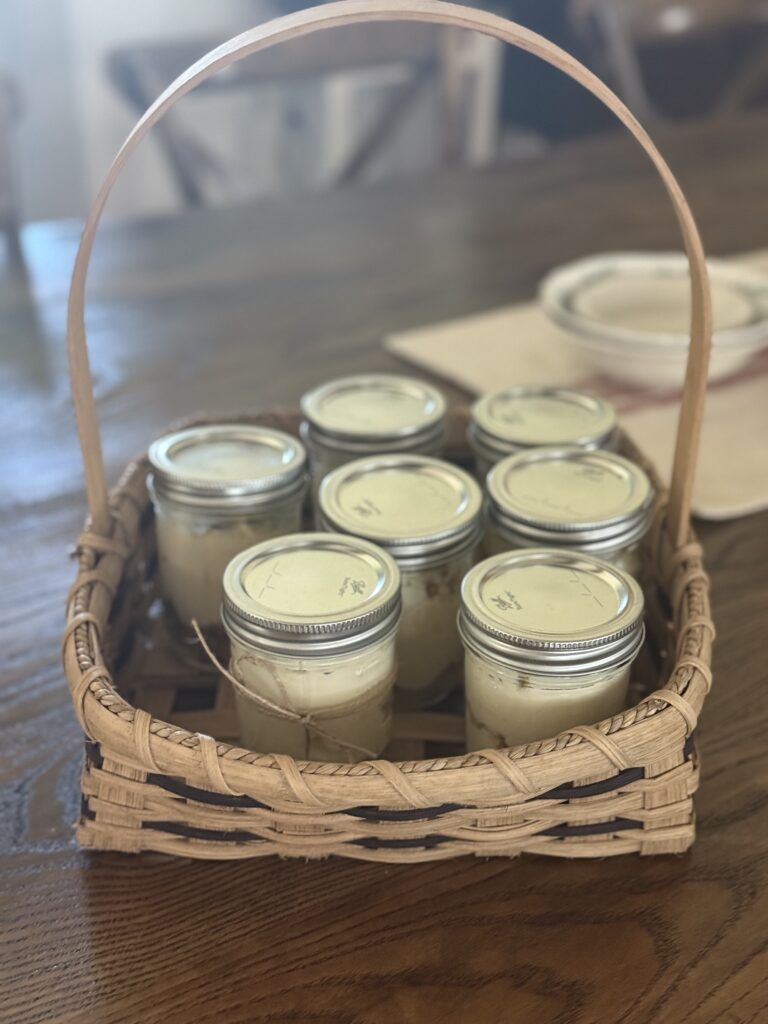
Cover jars with lids or plastic wrap and refrigerate for at least 4 hours (or overnight) to set.
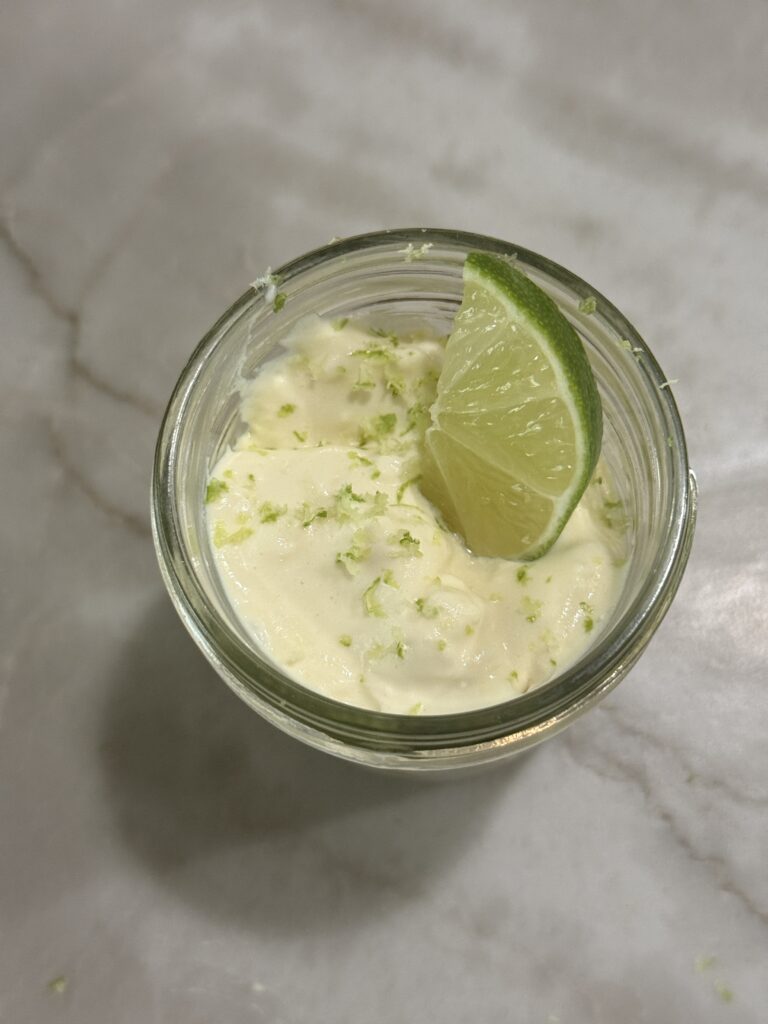
4. Garnish and Serve:
Sprinkle with lime zest, graham cracker crumbs, or top with a small lime slice for presentation. Serve chilled with spoons.
TIPS
Key Lime vs. Regular Lime: Fresh key limes provide the best flavor but are tart; bottled key lime juice (e.g., Nellie & Joe’s) works well and saves time. Start with ¼ cup, if you prefer a milder flavor. Regular lime juice can be used but may be slightly less tangy.
Make Your Own Graham Crackers/Crust: Ditch the store bought ones and make your own Graham Crackers Using Fresh Milled Flour. It takes 30 crackers to make 2 1/4 cups of graham cracker crumbs. This is perfect for this recipe. Pulse them in a blender or food processor. Follow the directions in the recipe card from there.
Storage: Store jars in the fridge for up to 5-7 days.
Variations: For a gluten-free option, use gluten-free graham crackers. For a less tart filling, reduce key lime juice to ¼ cup and add 1–2 tbsp sour cream for extra creaminess.
Jars: Use 1/2 pint mason jars for perfect portion control. If you can find wide mouth jars, even better.
Pin For Later
Where is the Best Place to Grow Key Limes?
The Florida Keys are famously known for key limes, which are named after the region. The small, tart citrus fruit (Citrus aurantiifolia) became associated with the Keys due to their historical cultivation there in the 19th and early 20th centuries. The tropical climate of the Florida Keys, with its warm temperatures, high humidity, and sandy, limestone-rich soils, provided ideal conditions for growing key limes, which were used in local cuisine, most notably in Key lime pie, a dessert synonymous with the region.
However, commercial key lime production in the Florida Keys largely declined by the early 20th century due to hurricanes (notably the 1926 and 1935 storms) that damaged groves, combined with the rise of Persian limes and citrus greening disease, which shifted production to Mexico and other regions. Today, key limes are grown on a smaller scale in the Keys, mostly by home gardeners or small farms, but the cultural legacy remains strong, with Key lime pie as a regional icon.
Regular Limes vs. Key Limes
Key limes (Citrus aurantiifolia) and regular limes (typically Persian limes, Citrus latifolia) differ in several ways, from appearance to flavor and culinary use. Here’s a concise comparison based on their characteristics:
1. Appearance
Key Limes:
Smaller, about 1–2 inches in diameter, rounder shape.
Thin, smooth, yellowish-green skin when ripe (green when unripe).
More seeds than Persian limes.
Regular Limes:
Larger, about 2–3 inches, more oval or elongated.
Thicker, glossy green skin, even when ripe.
Typically seedless or fewer seeds.
2. Flavor and Aroma
Key Limes:
More tart and bitter, with a distinct, intense citrusy flavor.
Stronger, more floral aroma, often described as more complex.
Regular Limes:
Milder, less tart, with a straightforward, fresh citrus taste.
Less intense aroma, more neutral and clean.
5. Growing Conditions
Key Limes:
Thrive in tropical climates (e.g., Florida Keys, Mexico, Caribbean), sensitive to cold (USDA Zones 9–11).
Smaller trees (6–13 feet), more cold-sensitive, often grown in containers outside ideal zones.
Regular Limes:
Also prefer warm climates but are slightly hardier; Persian limes dominate commercial production.
Larger trees (15–20 feet), better suited for mass cultivation due to thicker skin and longer shelf life.
7. Nutritional Profile
Both are similar in nutrition (vitamin C, antioxidants), but key limes may have slightly higher citric acid content, contributing to their tartness. Exact differences depend on growing conditions (e.g., soil, sunlight), with key limes from nutrient-rich soils (like in the Florida Keys) potentially offering marginally more vitamins.
Tools Used in This Recipe
Made From Scratch
(recipe ingredients)
Learn to start making general staples homemade instead of buying them from the store. With just a few simple ingredients, your food will taste so much better and be better for you and your family.
Key Lime Cheesecake in a Jar
Ingredients
Method
- Place graham cracker crumbs in a bowl. Pour the melted butter on top and mix together.
- Divide into the bottom layer of the jars. Save 1/2 for the middle layer. (See step 4.)
- Add the cream cheese, milk, key lime juice and vanilla to a mixer bowl. Cream together on a low setting using your paddle attachment.
- In a separate bowl, whip the heavy cream until peaks form.
- Gently fold in the whipped cream into the cream cheese mixture.
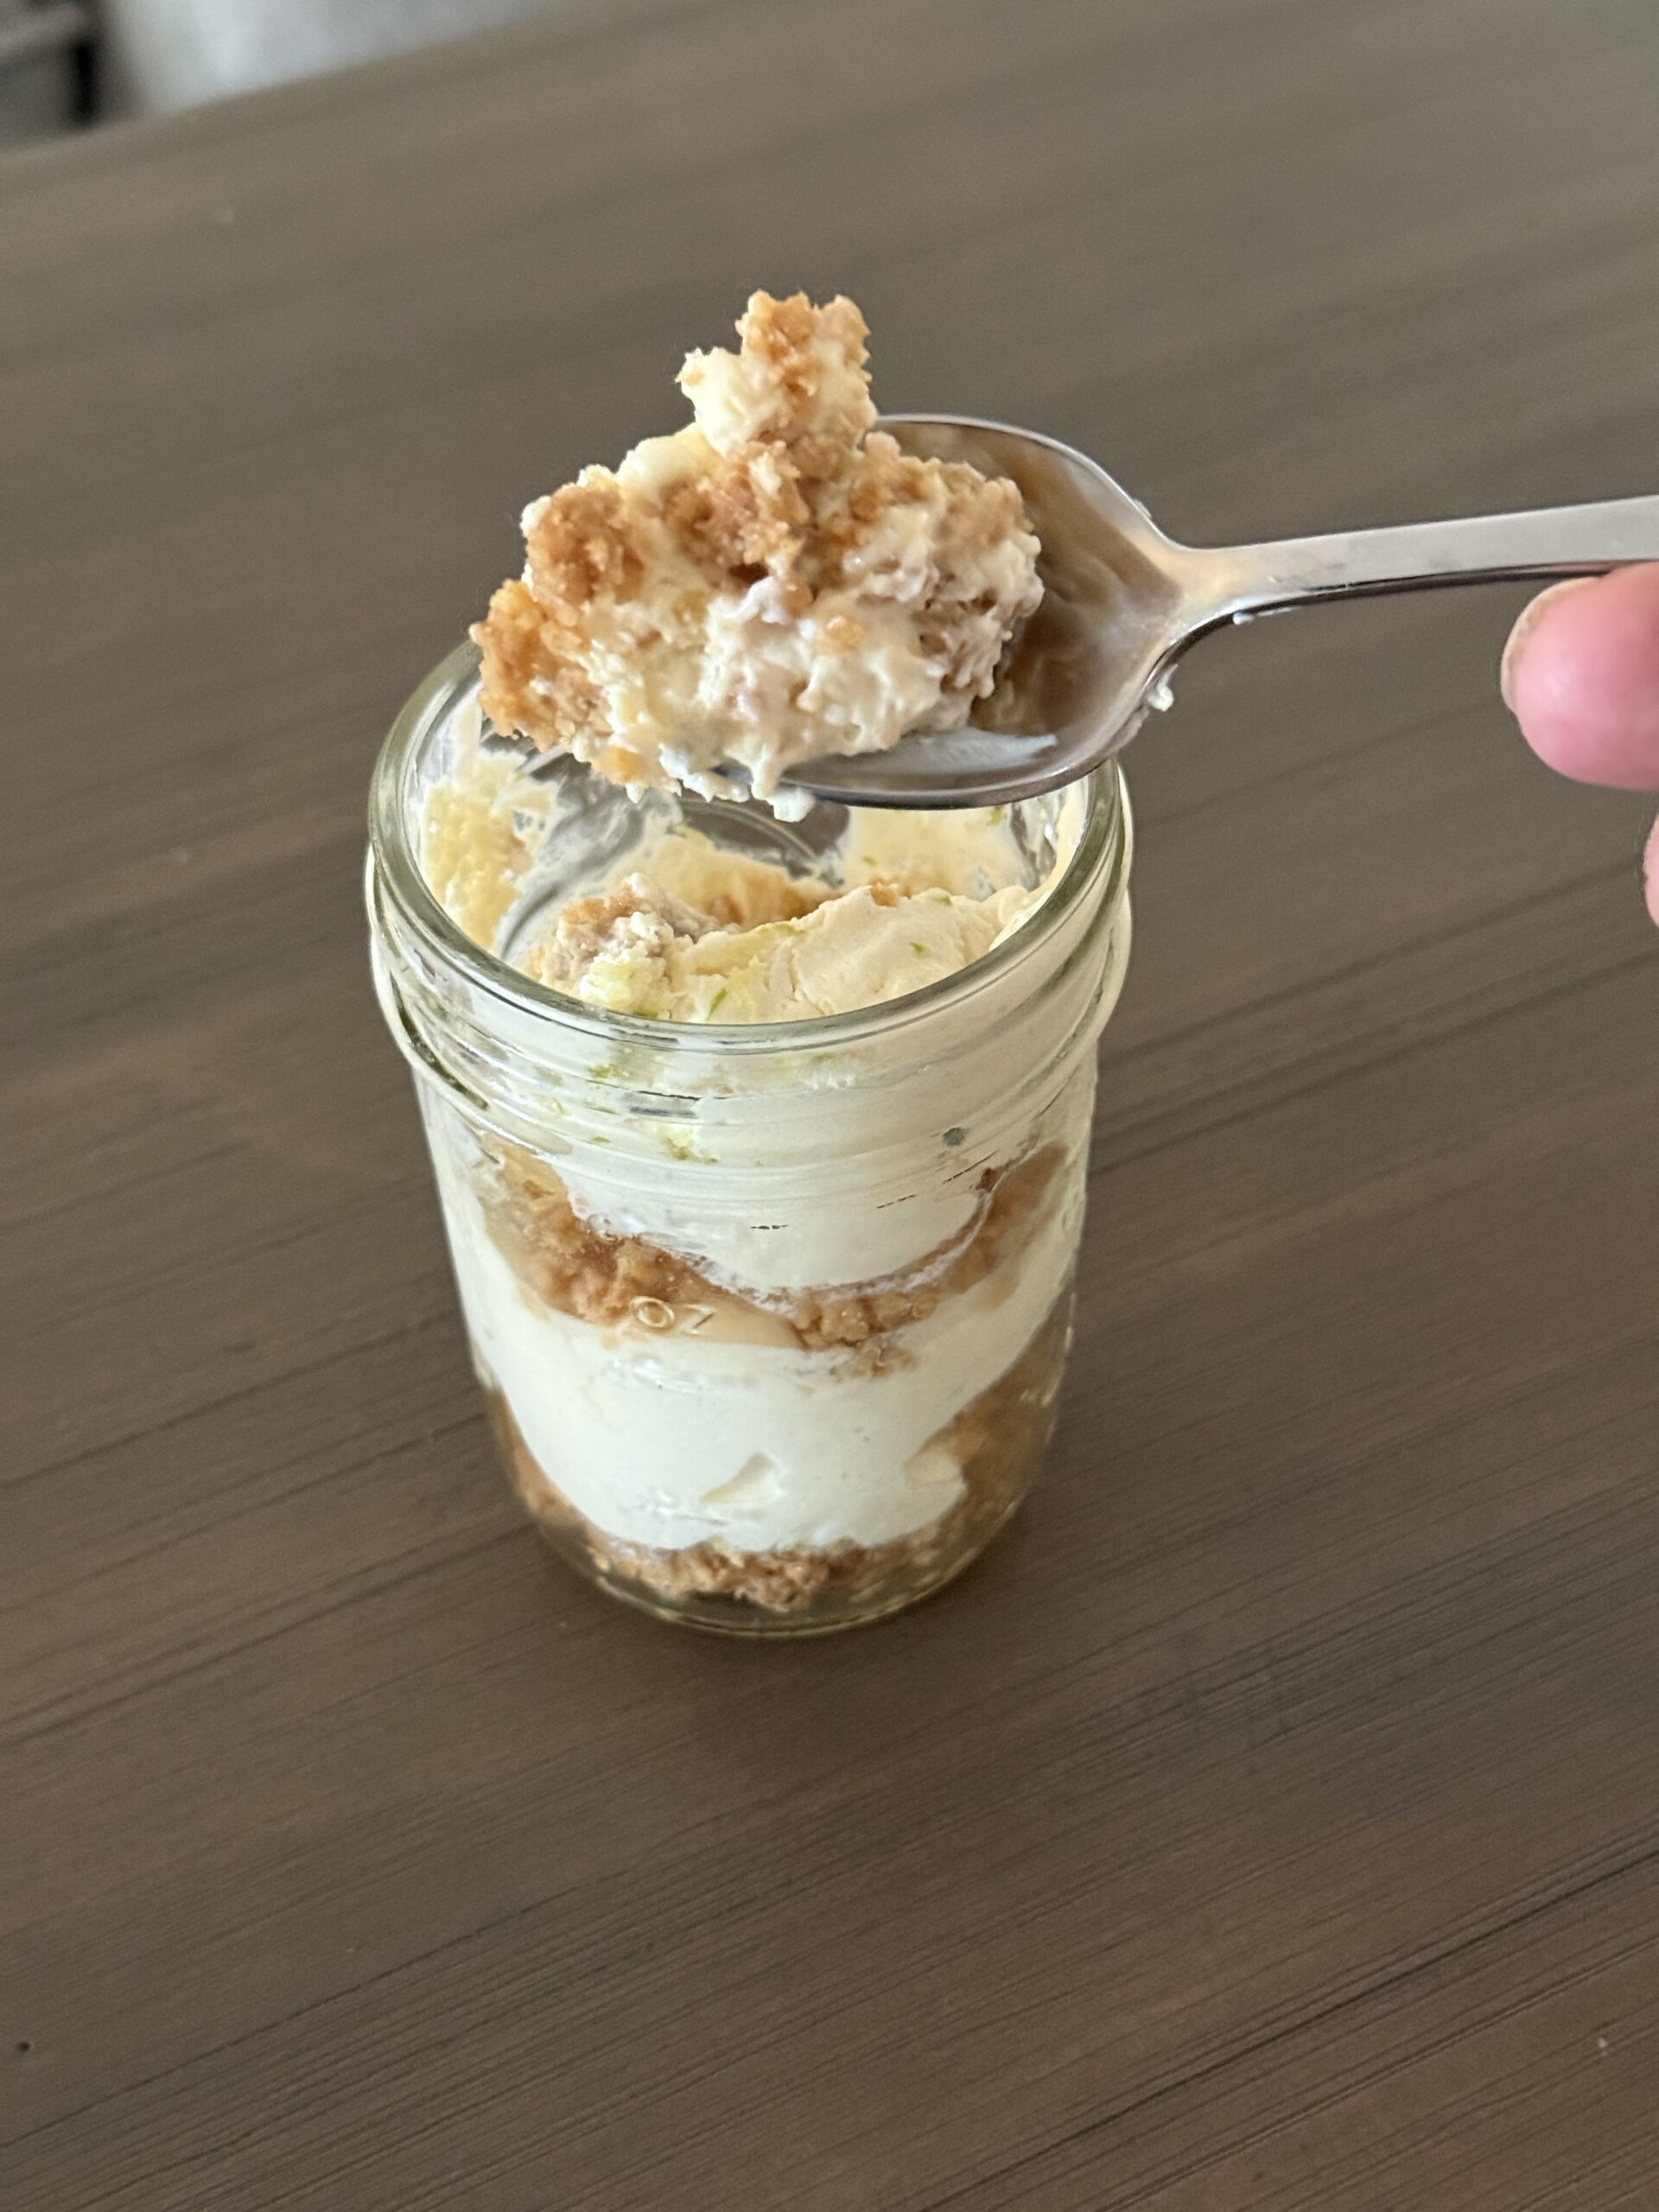
- Next, fill your jars with a 1/2 layer of the cheesecake filling. After this, you’ll layer the graham crackers on top of that. Then, you’ll add another layer of the cheesecake filling. So, it will be like this: bottom of jar – graham cracker crust, next – cheesecake filling, next – graham cracker crust, top – cheesecake filling.
- Allow to chill in the fridge for 4 hours or preferably, overnight.
- Now, add lime zest and a slice of a lime on top for a pretty presentation. Serve with a spoon.
Notes
- A hand mixer can be used instead of a stand up mixer. Just be aware that your hand may get tired when making the whipped cream. You can always have family members take turns.
- For less tartness, back down the key lime juice to 1/4 cup. You can also use regular limes. They aren’t as tart.
- Use a spoon to fill the jars or one of those fancy decorators for a pretty presentation.
- Store in the fridge for 5-7 days.
I hope you and your family enjoy this perfect bite size Key Lime Cheesecake in a Jar! Tag me over on Instagram if you make them. I want to see how yours turned out!

Wendy Lea Walker, NTP
Nutritional Therapy Practitioner

Leave a Reply