Water Bath Canning is one of the easiest method’s to use. If you are just starting out, this is the best place to begin. This method is great for foods that are high in acid. It’s perfect for jams, jellies, pickles and butters.
I have fond memories of going to both of my grandparent’s home when I was little and seeing jars of vegetables lined up in their cupboard. Both of my grandpa’s had big gardens so my grandma’s “jarred” most of their harvest up for the winter.

High Acid Foods
Foods with a pH level of 4.6 or lower can use the water bath canning method. This is also called the boiling water canner method. The jars of food are heated completely covered with boiling water (212 degrees F at sea level). The following are ideas of some high acid foods:
- Pickles
- Apples
- Cherries
- Peaches
- Pears
- Tomatoes
- Figs
- Blueberries
- Rhubarb
Examples of Low Acid Foods
If you are planning on canning foods like meats, pumpkin, squash, beans, potatoes, okra or corn, you’ll need to use the pressure canner method. These foods have a pH level from 5-14 and are only safe when put under pressure.
Join Our Simple Living Community
Equipment to Use
Water Bath Canning requires little equipment. You really just need a water bath canner or a large cooking pot with a rack will do just fine. Just make sure to put an empty jar in the pot and cover it with water to make sure there will be 1 inch of water to boil over the jars. If you are using a large cooking pot, you’ll need a trivet to set the jars on or they will crack if placed directly on the bottom of the surface. A water bath canner usually comes as a set or just make sure you have a canning rack to se the jars on.
You will also need a canning funnel, jar lifter and headspace tool. This also comes in a set or you can maybe find them at a local thrift shop. A ladle comes in handy when you are filling the jars but you probably already have one in your kitchen.
Jars and Lids
Make sure you are using quality clear canning jars as well as, lids and and bands. The lids need to make sure they seal properly and they are only a one-time use. The bands you can use over and over. Over time, the bands might get a little rusty so, I just throw them away.
Jars – I like using Ball, Azure and Weck jars for my canning. They are high quality and all three companies have a great reputation. They come in both pint and quart size along with regular and wide mount openings. I use both for when I am canning.
Lids and Bands – This is definitely something you don’t want to skimp on. If you have a faulty seal, that could be bad if it’s been sitting on your shelves for months and you never caught it. If you do catch a jar of food that didn’t seal, you can easily use it right away or place it in the fridge to be used later that week. My favorite lids and bands right now are from Superb. I still use my Ball lids but I like that extra blue layer of security of the Superb lids.
Pin For Later
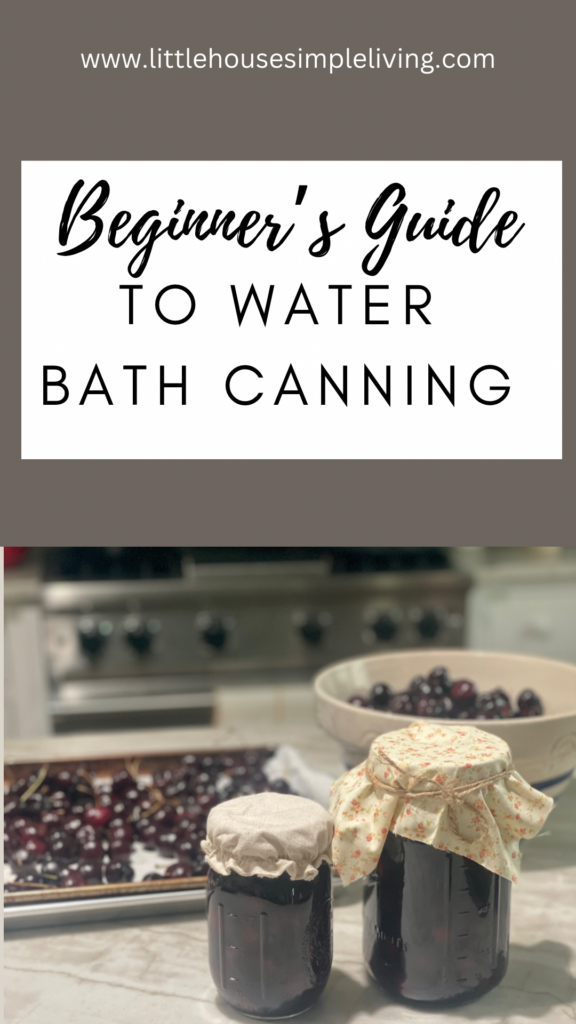
The Canning Process
Wash all your equipment along with your jars ahead of time. They have to be sterile. This assures you are using safe food preservation practices. Make sure there are no cracks in the jars. If there are, you will not get a proper seal. I put all of my jars in the dishwasher and sterilize that way. You can also just fill your sink up with really hot soapy water and give them a good cleaning. The jars will need to be kept hot if you are filling them with a hot food. This will alleviate glass breakage. The first thing I do is fill my water bath canner up with water and turn to hi heat. My stove takes a while to bring it to a boil. This allows me to start prepping my food and it’s usually perfect timing when the water starts to boil.
Methods of Pack
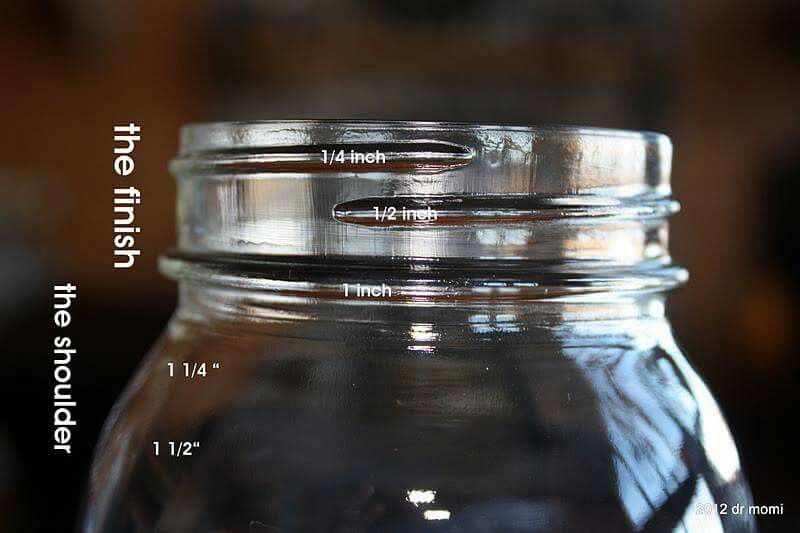
There are two ways you can pack your jars. Raw and Hot packed. For both methods, there should be enough syrup, water or juice to fill in around the solid food in the jar and to cover the food. It takes from 1/2 to 1 1/2 cups of liquid for a quart jar.
Raw pack means putting raw, unheated food directly in the jar. Boiling hot water, juice or syrup is then poured over the food to obtain proper headspace. Fruits and most vegetables packed raw should be packed tightly because they will shrink during processing. Corn, potatoes and pecans need to be packed loosely because they expand during processing.
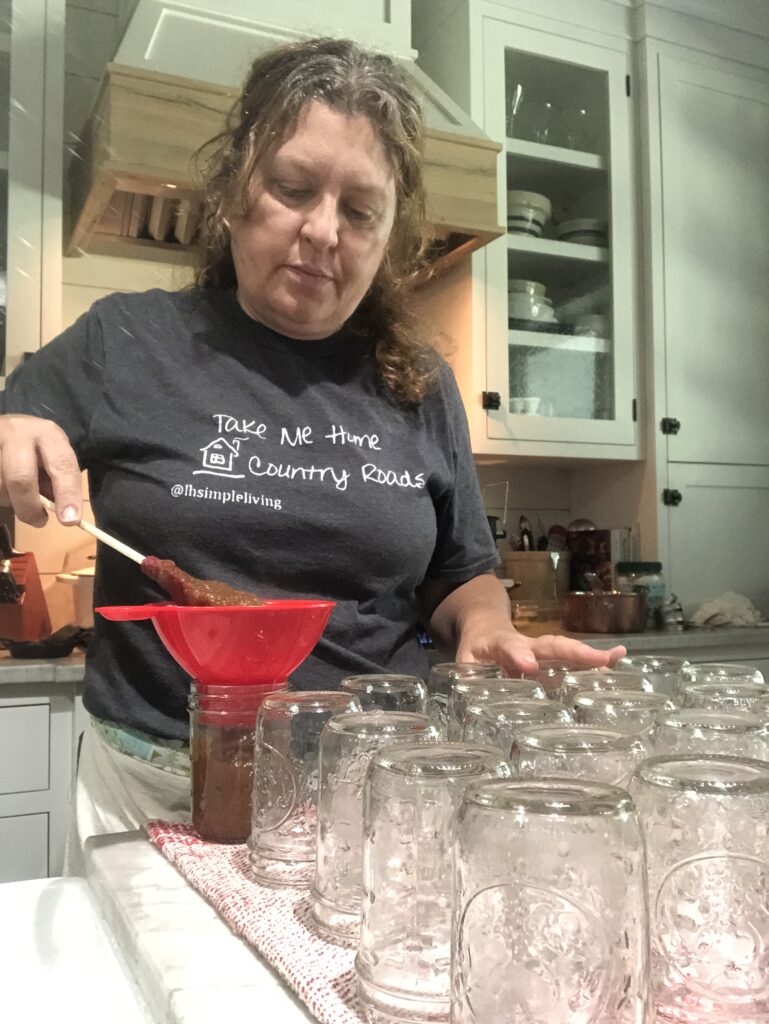
Hot pack means heating the food to boiling and then packing the food and hot liquid into the hot jars. Foods packed hot should be packed loosely, as shrinkage has already taken place. I use this method when I’m making apple sauce and butter. It’s also used more often in the pressure canning method.
Closing the Jars
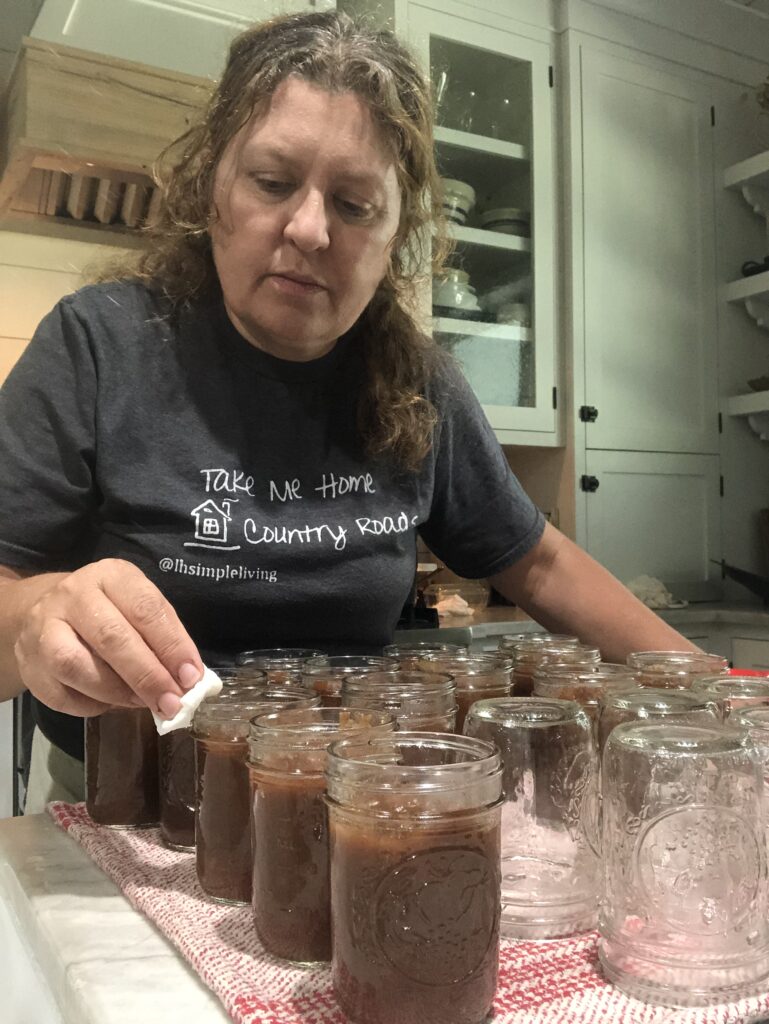
Once you fill the jars, air bubbles may be trapped inside. You’ll need to make sure you use a knife or a headspace tool to go around the inside and remove any of the trapped air. Wipe off the rim of the jars with a clean wet towel. Place your sterile canning lid on top of the jar. While holding it with one hand, use the other hand to screw on the band. Only screw the band on until fingertip tight. This means the first full resistance is felt using your fingertips. Tightening the bands too tight will prevent the air from escaping and that is necessary during processing. Follow the manufacturer’s directions when applying and tightening all types of lids and bands.
Processing the Jars
As mentioned above, make sure your canner or pot is filled with water and it’s at the boiling stage. The water needs to be at least 1 inches higher than the jars. For processing times over 30 minutes, the water level should be 2 inches above the jars. If you add more water, pour it between the jars, not on top of them as this could cause the jars to break.
Set a timer after the water is boiling for the total minutes required for processing the food. (See specific directions in your recipe for each food.) Keep the canner covered during the entire processing time. The heat setting may be lowered as long as the water in the canner boils gently and steadily for the entire processing time. Turn off the heat once the timer goes off and remove the lid. Allow the jars to rest for 5 minutes. Using a jar lifter, remove the jars one at a time and place on a towel. Allow at least 1 inch between each jar placement. Do not cover the jars with a towel. Let the jars sit undisturbed for 12 -24 hours. I know it’s hard to not touch them but it’s safer this way to ensure the lids are sealing properly. You can tell by listening for the “ping” while they are cooling. I usually will listen as I’m cleaning up and just pay attention to how many jars you have so you’ll know how many sounds to hear haha.
Know Your Altitude Level
Before you start processing your jars, the most important thing is to find your altitude level. Different altitudes will require different processing times. With water bath canning, you will increase the time, where pressure canning you will increase the dial/guage. If you accidentally under process a batch of jars, that could be bad. They may develop mold down the road or may not seal properly. Always go with your elevation level. I’ll show you where to look that up below.
As altitude increases, water boils at lower temperatures. Because the lower temperatures are less effective for killing bacteria, the processing time must be increased for boiling water bath canning. For pressure canning, the pressure is increased.
Pressure Canning Altitude Chart: If you are canning at an altitude higher than 1,000 feet above sea level, adjust pressure canner pounds as indicated below.
| Altitude Feet | Weighted Guage | Dial Guage |
| 0-1,000 | 10 | 11 |
| 1,000-2,000 | 15 | 11 |
| 2,001-4,000 | 15 | 12 |
| 4,001-6,000 | 15 | 13 |
| 6,001-8,000 | 15 | 14 |
| 8,001-10,000 | 15 | 15 |
Water Bath Canning Altitude Chart: With this method, you increase the time of the canning process.
| Altitude Feet | Increase Processing Time |
| 0-1,000 | No extra time is required |
| 1,001-3,000 | 5 minutes |
| 3,001-6,000 | 10 minutes |
| 6,001-8,000 | 15 minutes |
| 8,001-10,000 | 20 minutes |
Grab a free printable .pdf version of Altitude Adjustment Levels for Canning Below
Where to Find Your Altitude
You can find your altitude at your local planning commission or zoning office, on a webpage about your town or city, or contact your local Cooperative Extension Office. There are many online tools, and if you search you may want to use the term ‘elevation’ instead of altitude. Here are two suggestions:
- The National Map from USGS: https://viewer.nationalmap.gov/theme/elevation
- A service of the U.S. Geological Survey, U.S. Dept. of the Interior.
- Click on the “search” icon at the upper left; this is the Spot Elevation Tool, words that appear when you hover over the icon
- In the “By Location” box, type your address and hit return
- Your elevation shows up at the bottom of this box
- https://whatismyelevation.com/
- Type in your street address, city and state in the ‘Enter Your Location‘ box.
- Select feet (ft) as the unit of measure to use our processing tables.
Disclaimer: Follow the recommended guidelines provided by sources such as the National Center for Home Food Preservation and Ball Fresh Preserving. When canning food, it is important to follow federally approved guidelines for food safety. Always do your research before following canning recipes that are posted online. Read information on food safety and botulism before water bath canning or pressure canning.
Source: University of Georgia, Cooperative Extension & Ball Mason Jars
Water Bath Canning Recipes
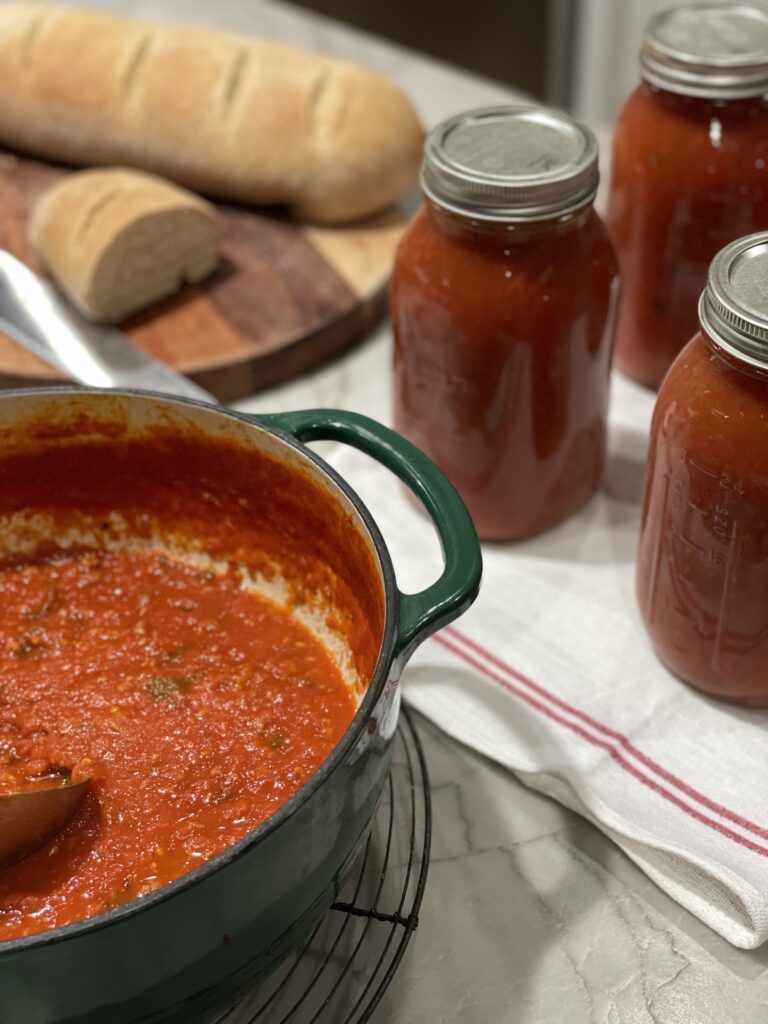
AUTHENTIC ITALIAN SUNDAY SAUCE
I hope this guide was helpful and you will now be able to start preserving some yummy food for you and your family. As always, tag me over on Instagram. I love seeing all things simple living. Feel free to send me a dm over there or email me at [email protected]. You can also leave a comment below if you have a question and I’ll reply to it as soon as possible.







Leave a Reply