Do you find yourself wanting to take control of where your things come from? By “things”, I mean..food, water, electricity, etc. There’s definitely a Homesteading Movement going on right now. I have been feeling a shift for the past few years and seeing more and more families wanting to opt out of the system.
I’ve been homesteading for over 14 years. I started out just doing my normal stuff like canning, processing venison, buying in bulk, learning to sew and so much more. It never really crossed my mind about calling it homesteading. I thought doing all the things I do was just what you were supposed to be doing haha.
I took a trip to Tennessee last month and spent the weekend on Rory Feek’s Farm for the Homesteaders of America Conference. I’m excited to share with y’all everything that I learned. Stay tuned as I’ll be adding more posts as I break things down. Now, let’s dive into my Homesteading: My Simple Beginner’s Guide.
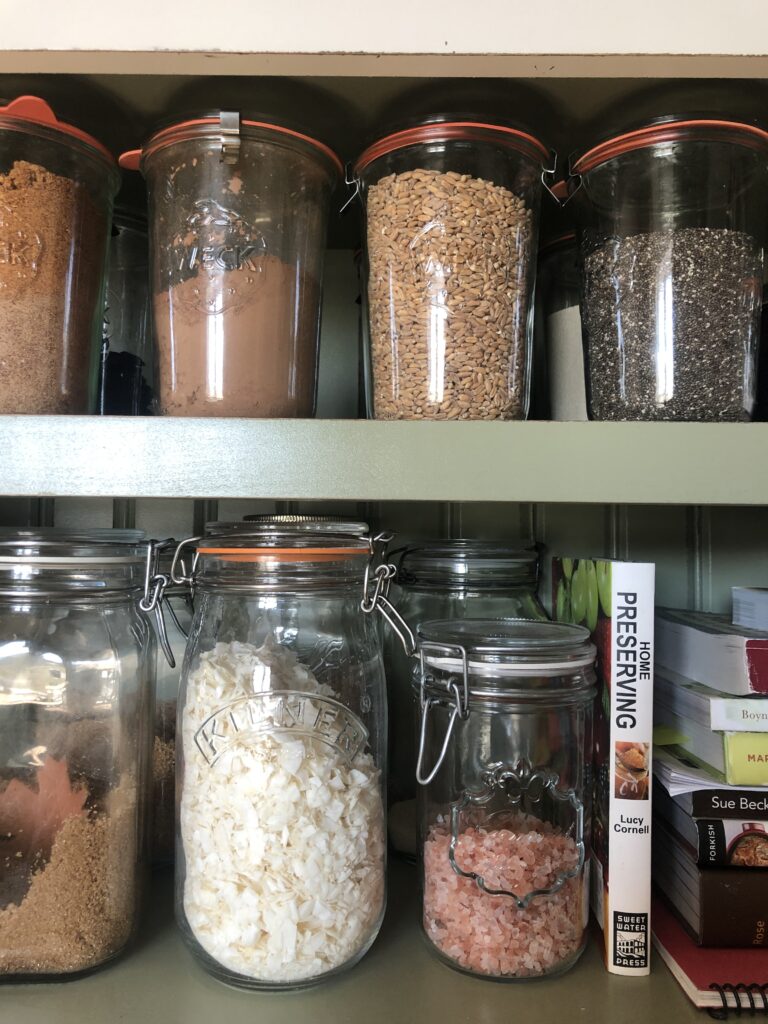
Bulk pantry 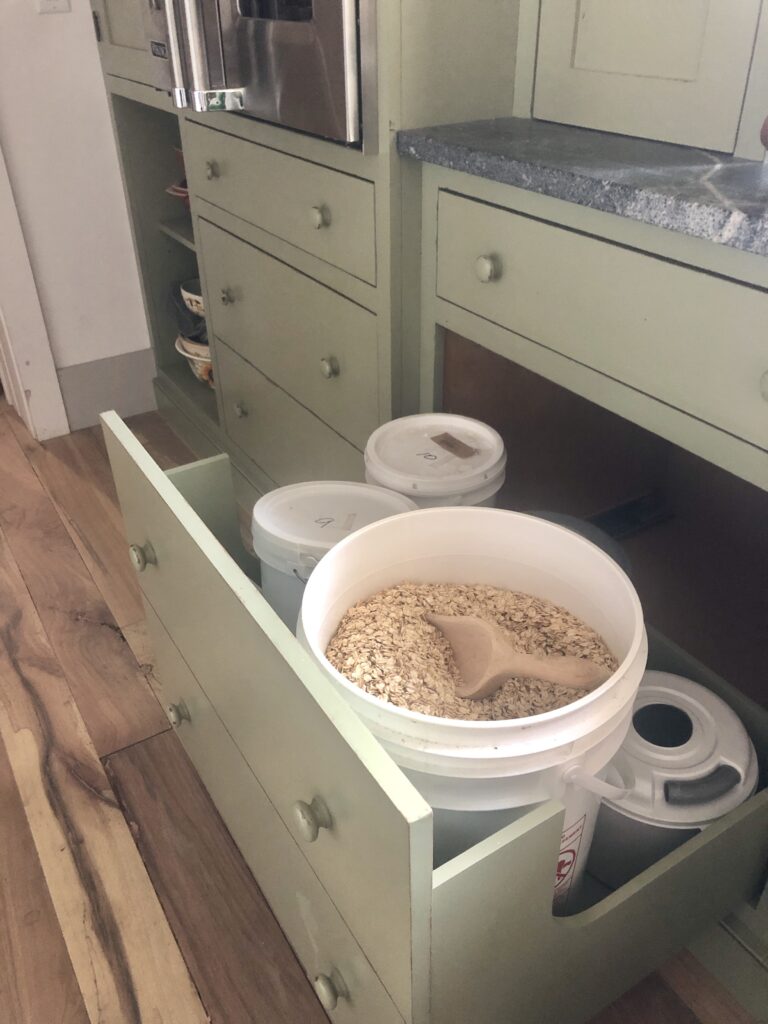
Bulk grains 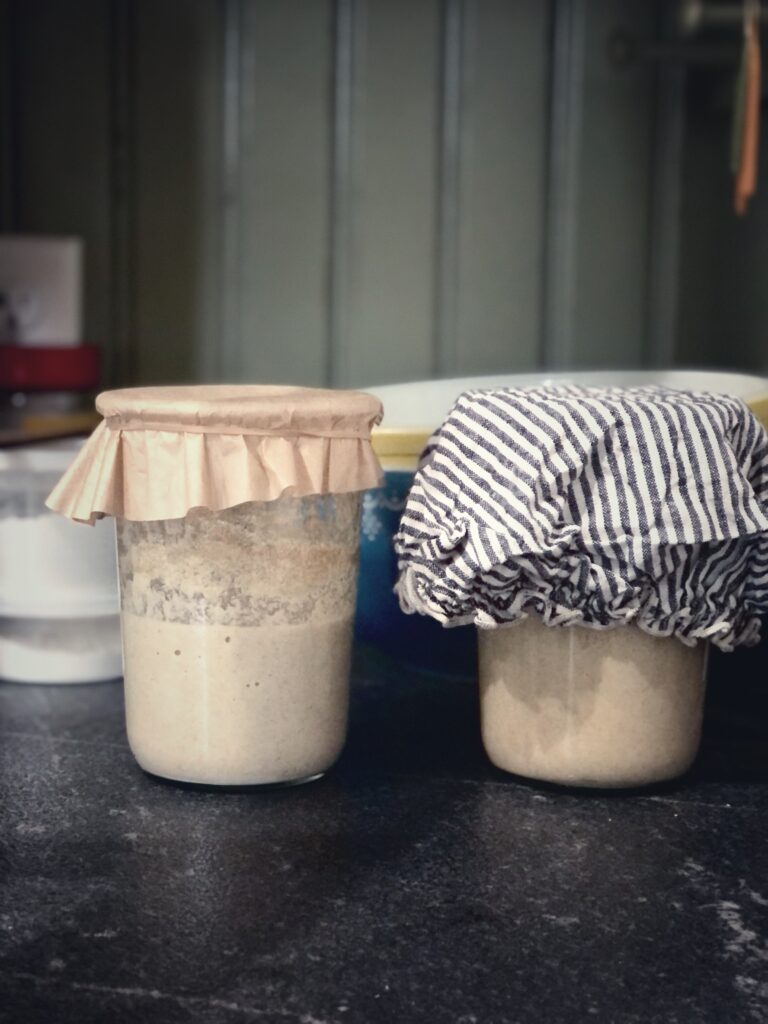
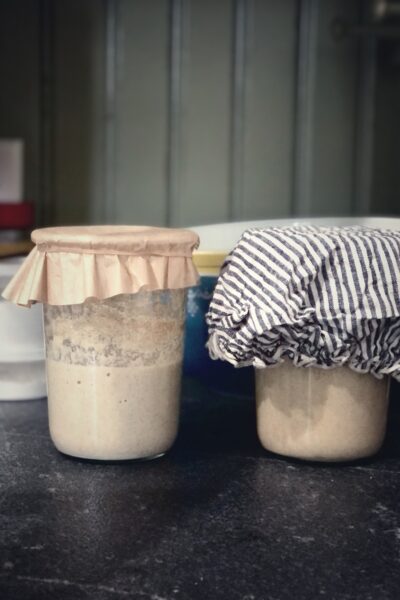
Sourdough starter
What is Homesteading?
Homesteading is a way of life. You don’t have to have a bunch of property or even raise animals. I’m always sharing in my Instagram stories about how you can homestead, even in an apartment or townhome. Yes, you can! Homesteading is about being self-sufficient. Preserve your own food, whether you grew it or not. Learn to sew. Cure your own meat. To be a homesteader, you have to be willing to learn and educate yourself. Do what you can with what you have.
Step 1: Make a Plan
I certainly don’t recommend just diving into this whole homesteading movement without some kind of knowledge. I feel like people have this dream of having property, the farmhouse, cows and chickens, and a white picket fence. Those things are definitely achievable but you have to know where you are going to start.
If you’re wanting to disconnect from the traditional “city lifestyle”, sit down and figure out where you want to live. Look at that county’s taxes and compare them to another county. Look at even the state and property tax amounts. These costs will add up, especially if you’re impacting the property by building a new home. If you are planning on staying where you live currently, write down if you need to make any improvements to your property. Writing it down and drawing your plan out really helps you to visualize the goal. See our most recent homesteading journey HERE.
Figure out if you plan on raising animals. You’ll need to look into how many acres of land you’ll need for those animals. There’s a lot that goes into the infrastructure of starting a homestead. If you plan accordingly, it will be a success. Take your time and start out slow. Homesteaders aren’t here to keep up with the “Joneses” haha.
Step 2: Create a Budget & Get Out of Debt
As I talked about briefly above, you’ll need to figure out the costs involved. If you have the financial means to do it all, then that is great! For most of us, building a homestead will take time. We just took almost six years building our new “old” farmhouse, fencing our property, adding cows, building a barn, putting in a driveway, and landscaping. This year, we are putting in a permanent bigger garden.
Figure out if you want property. That’s going to be your largest financial investment, in addition to building a new home; unless there’s one already on the land. If buying property isn’t feasible, you can always find land to rent. There are farmers that will lease their land. You can keep your cows there and the farmer doesn’t have to mow them. Win win!
Take your time and save your money. Pay off any debt along the way. It is so freeing not to have a mortgage.
Financial Resources That We Use
Step 3: Grow Your Own Food
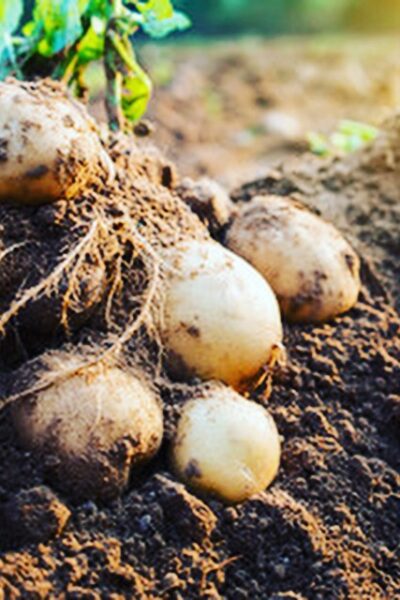
Whether you have your own property or not, start taking control and not depending on the grocery stores is a great place to start. As long as you have a sunny place and water, you can grow vegetables anywhere.
You can grow in pots or there are these really convenient grow towers. Have you ever seen them? They are great for a porch or apartment patio. I just ordered one and I’ll share with y’all mine when it arrives. They are perfect for lettuce, tomatoes, strawberries, squash, or whatever you want to grow.
No matter what size of space you have, start growing something. I definitely encourage you to grow things that you and your family are actually going to eat. I know Kohlrabi looks fun to grow, but if you aren’t going to eat it, what’s the point haha. If you focus on the vegetables that you like, then you can allow that extra time to focus on those plants that you will consume.
Step 4: Food Preservation
Now that you’ve grown all of these yummy vegetables, you’ll need somehow to keep them fresh for the year. If you have a cellar or basement, then you will love storing all your root crops in there. Food preservation consists of a lot more than just canning though. Here in Florida, we do not have root cellars. I found a way at the conference to create something that can help me keep my root crops cold and stretch my harvest out for months. I’m going to try it and I’ll let ya’ll know how it turns out.
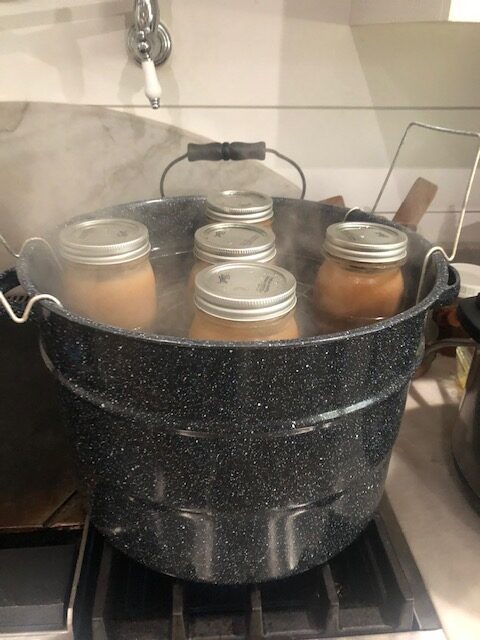
I learned so much at the conference on Food Preservation. This was worth every penny that I paid for the conference. There’s of course the most traditional way, and that’s canning. With canning, you can use a water bath canner or a pressure canner. A water bath canner is for low-acidic foods such as pickles, apples, tomatoes, fruits, etc. A pressure canner is good to process foods like beans, homemade broth, meats, etc.
Salt curing meat has been around for thousands of years and even with all of our modern technology, it’s such an easy and safe way to keep our meat lasting longer without having to freeze or refrigerate it.
Fermenting foods is the preservation in the process that produces lactic acid found in such sour foods as pickled cucumbers, sauerkraut, kombucha, beets, garlic, etc. Fermented foods are rich in probiotics, beneficial microorganisms that help maintain a healthy gut so they can extract nutrients from the food.
Dehydrating is another way to preserve your food. It’s one of the oldest preservation methods used by our ancestors. Using low heat, dehydrating removes enough moisture from food through evaporation to inhibit the growth of bacteria, yeast, and mold.
Freeze drying is the process of freezing food at the coldest temperature. The food will last up to 25 years in the bag and it will retain all the nutrition.
Step 5: Using Herbs on the Homestead
Over the past several years while we were building our new “old” farmhouse, I had extra time on my hands. We were tiny living so in the evenings I would study and learn all about using herbs for medicinal purposes. I’ve actually become very intrigued and excited about all of their possibilities. I’m definitely going to be focusing more on using herbs on the homestead.
When I was at the Homesteaders of America Conference, I had the pleasure to sit in on a class taught by Darryl Patton, The Southern Herbalist. Mr. Patton has been hunting and gathering medicinal plants for over 30 years. He is a Master Herbalist and brings so much knowledge in the field of alternative medicine.
I was a total sponge just soaking up all of his knowledge. Did you know that you probably have medicinal plants in your yard? Most homeowners don’t even realize that they are spraying roundup on things they think are weeds.
I encourage you to get started in learning about medicinal herbs. I make my own oils out of dried leaves and then turn them into salves and butters. My medicine cabinet has been turned into an alternative apothecary and I love it. It’s so nice when someone is at my house (or just my family haha) and they were bit by a spider. I whip out my Black Drawing Salve that I make. It helps pull out the stinger and soothes the skin. If you’ve had a fire ant or mosquito bite, then my Simply Restored Salve will do the trick. The Calendula oil will soothe the bite in no time at all.
I also enjoy making herbal teas from all the medicinal plants. Here are some great ones to try and their benefits:
- Pau d’Arco – Arthritis, Pain, Prostate, Fever
- Mullien – Fights infection and inflammation. Great for all lung ailments.
- Chamomile- Sip on a cup of tea for anxiety or depression. It’s also great for digestion.
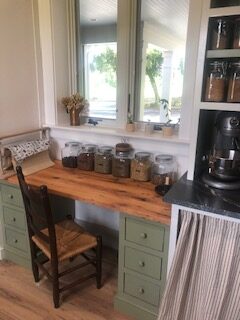
Step 6: Go Off-Grid
Now, this may not be for everyone, but going off-grid can have its benefits. We are not there but I often wonder what it would be like to seriously not have to rely on the electric or water company to run my home. This goes back to the Amish lifestyle. I’m not sure if I could survive here in the South without A/C haha but if I had to, I certainly would make do. We are always in the view of a possible hurricane so being prepared is just a normal part of living here. You just never know!
You can use solar, batteries, generators, and flashlights. Way out the pros and cons and see if this is the right fit for your family.
Check with your town’s municipality to make sure you are not breaking any laws. The control is what has brought us to this homesteading life. I met Doug and Stacy from Off-Grid with Doug and Stacy at the conference too. They are totally off-grid and are a wealth of information.
Step 7: Grind Your Own Wheat
This is not only a money saver but you are going to be putting so much nutrition into your family. Ditch the all-purpose flour from the store. It’s been stripped of the bran and the germ and has very little nutritional value.
I’ve been grinding my own flour now for over 12 years. I started off by going over to my friend’s house to use her grain mill until I could afford one of my own. It was the best Christmas gift from my husband that year! I don’t grind every day. You can grind let’s say on Sunday and your fresh flour will keep in the freezer for two weeks.
There are endless possibilities with fresh-milled flour. I also grind my own corn and make cornmeal. You’ll never go back to store-bought once you start grinding. A hot pan of cornbread for Sunday supper is always good!
Recipes Using Fresh-Milled Flour
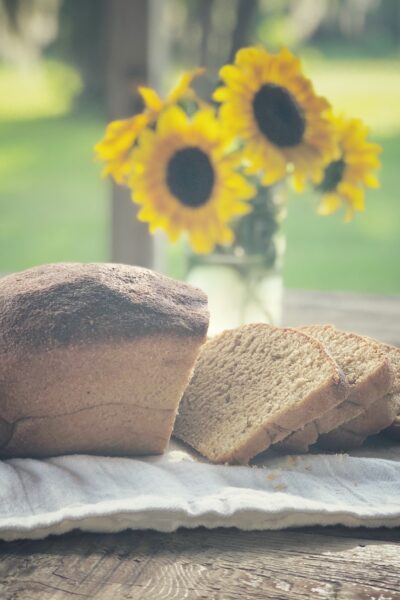
- Simple Sourdough Bread
- Homemade Blueberry Muffins
- Easy Pizza Dough
- Pot Pie
- Buttermilk Sourdough Biscuits
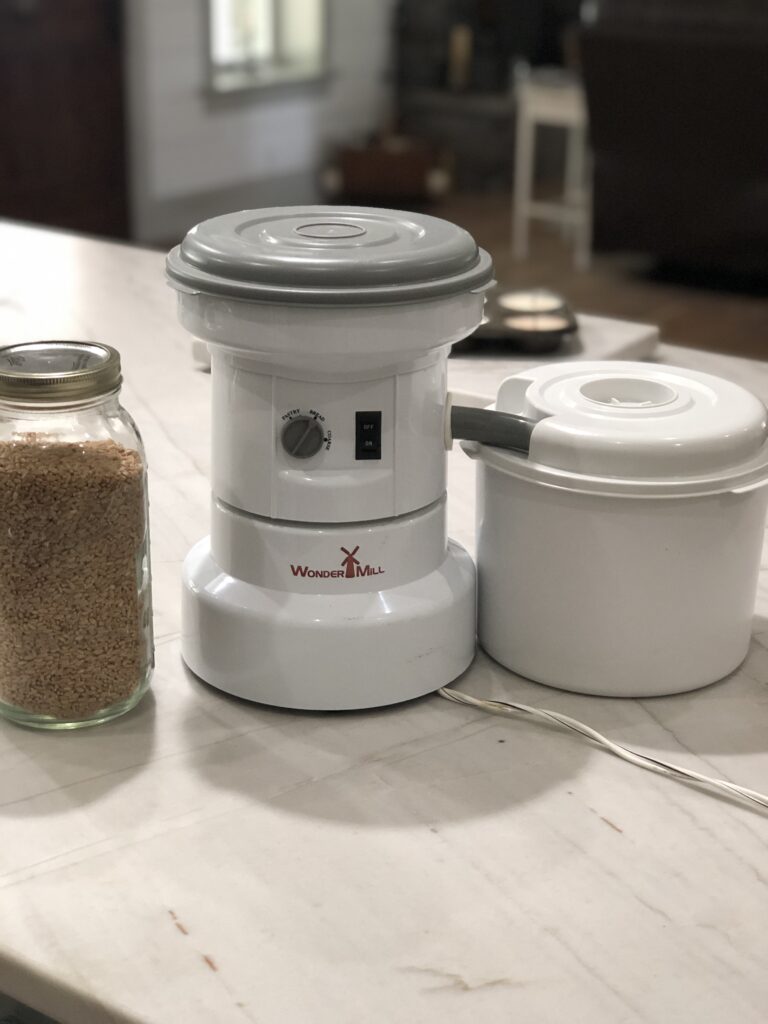
My grain mill 
Freshly milled flour
You can find my grain mill HERE.
Step 8: Learn a New Skill or Trade
Homesteading is all about learning and educating ourselves. I’m the type of person that is always wanted to learn. About eight years ago, I took a blacksmithing class. I made the cutest twisted hook. I want to take more classes in the future and learn new techniques.
I’m always taking classes, both online and in-person, to educate myself in all levels of homesteading. I’ve messed up so many times. It’s the fact that I keep on doing. Failing makes me grow and then as I get better and better at it, I can then show someone else how to do that task. Dive into something new and don’t give up! You will eventually get the hang of it!
Step 9: Find Your People
Getting connected in your community with like-minded people is key. We are called to love our neighbors and help one another out. We all have different skills that we are good at so bartering is a great way to help each other out.
This is one of the reasons why I love the Amish. They all help each other out. The men will come together and all build a barn for someone and they think nothing of it. They just do it. The older women show the younger women how to can and grow their own food. The children are involved as well. They take turns having church in their homes. Some meet weekly and make that a day to gather.
Start a Homesteading group in your town. You can meet online on Facebook or at a local coffee shop. See where it goes. It’s always good to bounce ideas off of each other. We shouldn’t be doing life alone.
Click HERE to learn more about becoming a member of the Homesteaders of America.
Support Other Homesteaders
I love supporting other small businesses, especially farmers and homesteaders. Here’s a list of businesses I personally shop at and support.
Toups and Co. – Organic Skincare & Makeup – Enter Code: LHSIMPLELIVING10 for 10% off your order
Lehman’s – Simple living Amish -Made goods
I hope you have enjoyed my Homesteading: Simple Beginner’s Guide. Please feel free to share with your friends and family. Just to recap, you can homestead even in an apartment or suburban neighborhood. Use the space that you do have. Just get you some backyard chickens (if applicable), start a garden, grind your own flour and start drying your herbs. Teach your neighbors to do the same. Stop relying on the grocery store and opt out of the system as much as you can. It feels so good to be a Freedom thinker! Stay tuned as I’ll be sharing more individual posts and break down these tips as I can.





Leave a Reply