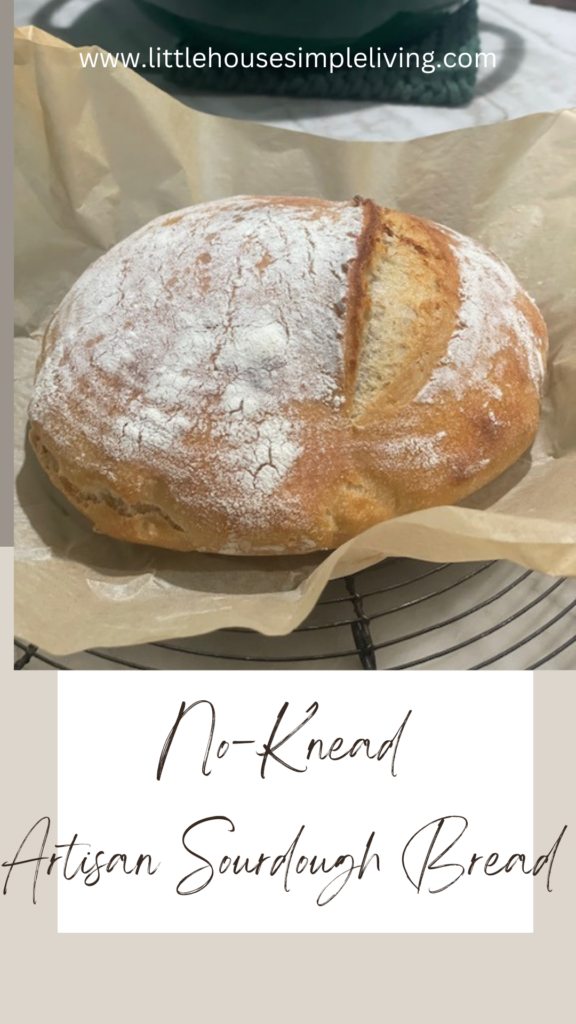
The smell of warm bread baking in my kitchen just brings a smile to my face. I’ve been known over the years that if you are coming over to my house, I better have bread made haha. If you are new to sourdough bread making, this No-Knead Artisan Sourdough Bread recipe is perfect at any level.
Basically, I don’t believe in making any fussy recipes, especially when it comes to bread. There’s so many out there and it can become overwhelming and confusing. Let’s see how simple my recipe is.
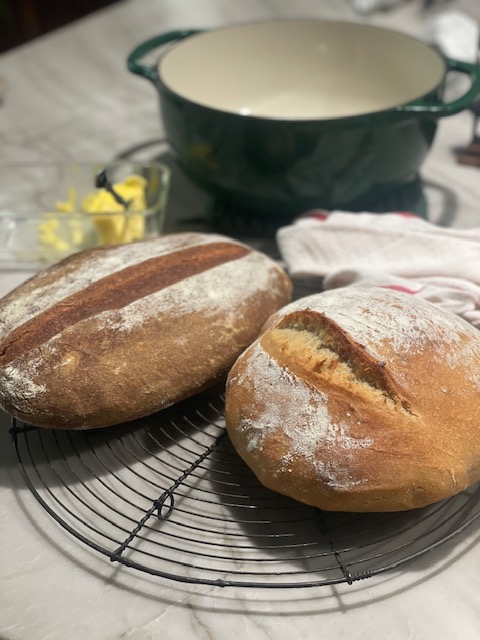
What Is Artisan Bread
Artisan Bread is just a fancy name for using quality ingredients. There’s no preservatives and it is made with just a few simple ingredients. It’s made by hand. That means no mixers are involved.
The Health Benefits of Sourdough Bread
You can easily make your own Sourdough Starter in as little as a week. It’s the combination of flour and water, allowing it to ferment. It provides wild yeast and beneficial bacteria. As a result, Sourdough has been around for thousands of years and is wonderful for gut health. A lot of people who have a hard time digesting store-bought bread, usually can tolerate Sourdough. It’s definitely old-fashioned so it has to be good for us, right? Sourdough is known for its wonderful tang flavor.
How To Make Artisan Sourdough Bread
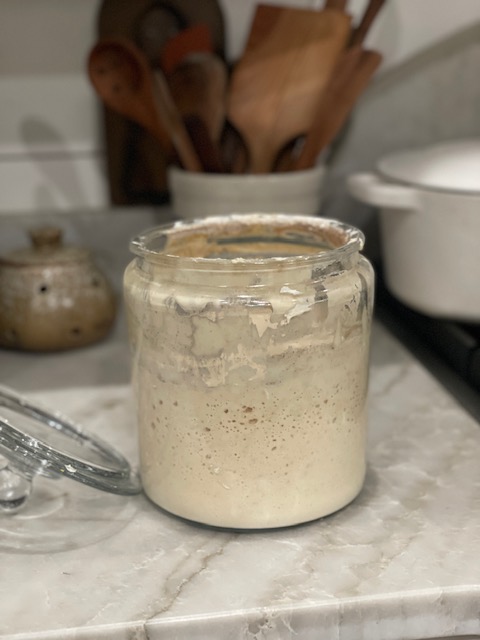
- Make sure your Sourdough Starter is active. It should have lots of bubbles in it and have a great tang smell.
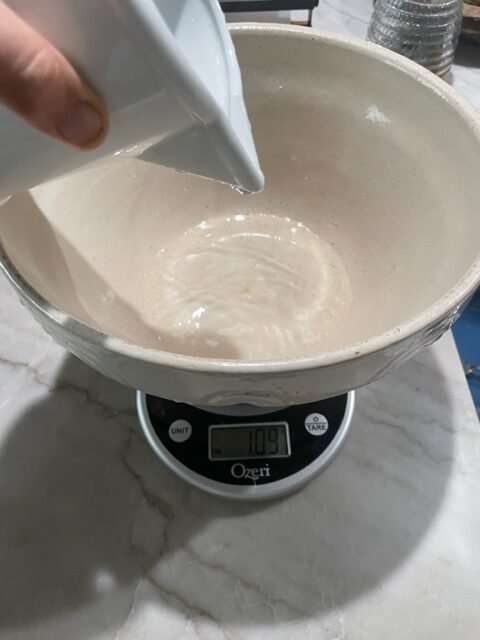
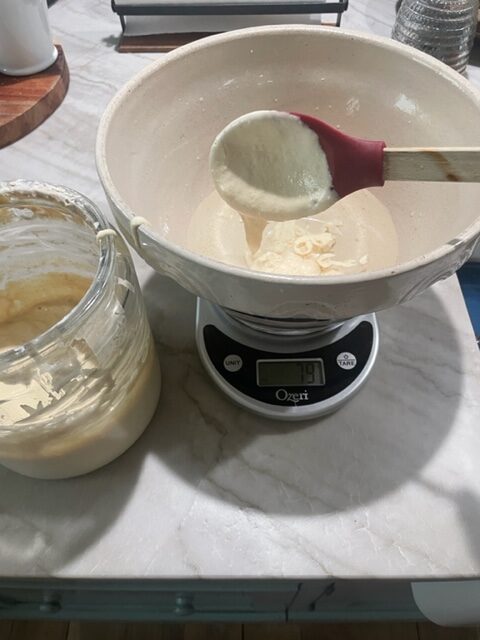
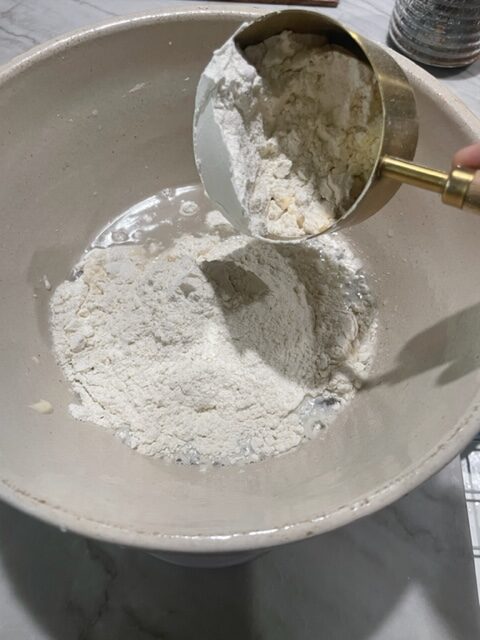
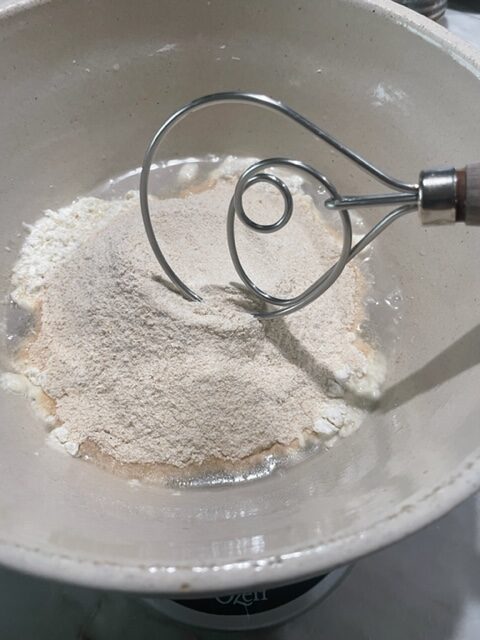
- Mix together the starter, water, AB flour and hard-white wheat flour with a Danish whisk until all ingredients are combined. Cover the bowl with a towel and let rest for 15 minutes.
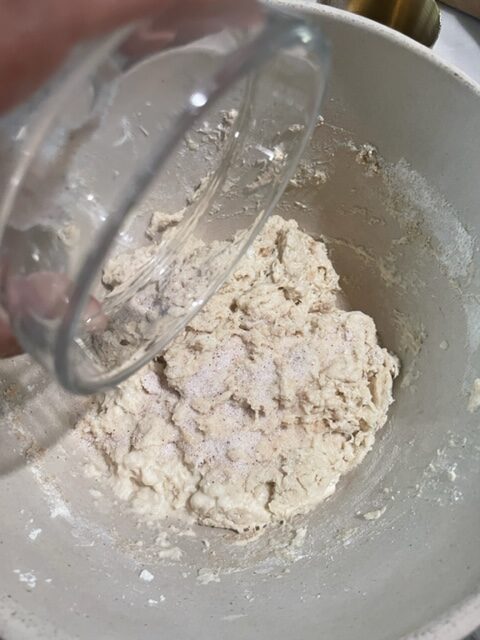
- Sprinkle the salt on top of the dough. Mix together well. The dough should feel sticky.
- Place the bowl of dough, covered with a towel and let it ferment on the counter for 4 hours.
- Now, stretch and fold the dough towards you. Basically, you are lifting a section of the dough about 6-8 inches in the air and pulling it back down. Repeat this all around the bowl, each side every 30 minutes. Wet your hands, if necessary, to prevent the dough from sticking.
- Next step is to shape the dough. The dough should be smooth at this point.
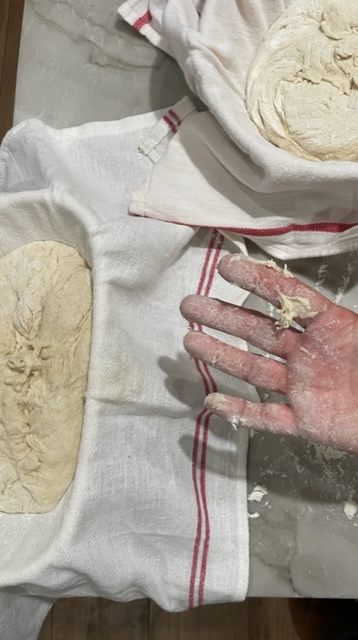
- Sprinkle a little bit of flour on your counter. Place the dough onto the floured surface. Using a bench scraper, place it under the dough ball and start carefully moving the dough back and forth in a circular motion towards you. Try not to handle the dough too much.
Final Proof
- Final Proof: Place a lint-free towel (sprinkled with some flour) in the banneton basket and put the dough in the basket with the seam side up. Pinch the dough to make a seam, if needed. This is actually the bottom of the loaf. Cover the dough with the towel and then place the basket in a tied plastic bag. Put the bag in the refrigerator for 10-15 hours. I lean more towards 15 hours with my loaves but practice what works best for your kitchen.
- Next morning, preheat your dutch oven at 450 degrees for one hour.
- Meanwhile, remove the bag from the fridge.
- Next, grab a piece of parchment paper and place on top of the basket. Take a plate or cookie sheet and now, flip the banneton bowl over on the counter. If you have a steady hand, you can just flip the parchment paper on the basket over and place it on the counter.
- Now is the time to score your bread. You can go as simple or intricate as you like. I love making my sourdough bread a little more rustic. Rub a little flour on top of the loaf for more of a pronounced detail of your design. To get a good ear (that’s the part on the side of the loaf that raises), just go deeper with your razor blade.
- Place your bread on the parchment paper in the dutch oven. Put the lid on and stick it in the oven. Nonetheless, I also fill a pan below with water and a few ice cubes to allow for more steam.
- Bake for 25 minutes with the lid on. Accordingly, your loaf should have expanded while baking with the lid on. Now, remove the lid and bake for 20 minutes.
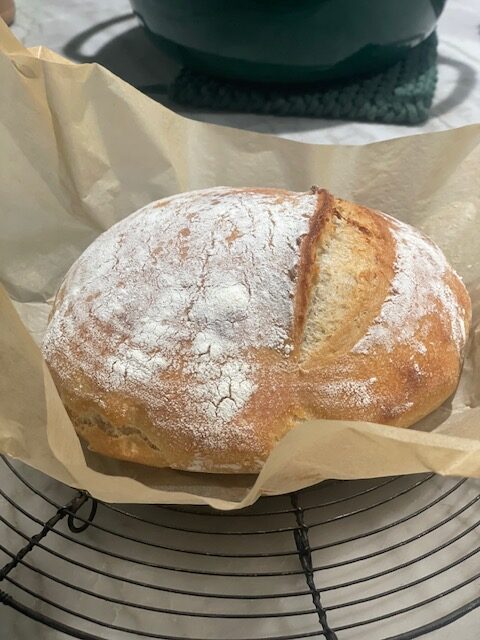
- Your loaf should be golden brown, sometimes even darker. Over time with more practice, you’ll get into your own groove and determine how light or dark you like your bread.
Join Our Simple Living Community
No-Knead Artisan Bread
Ingredients
- 90-100 Grams Active Sourdough Starter
- 150 Grams Hard White Wheat (I use freshly-milled)
- 300 Grams Artisan Bread Flour (high protein, wheat)
- 330 Grams Filtered Water
- 11 Grams Real Salt
Instructions
- Make sure your Sourdough Starter is active. It should have lots of bubbles in it and have a great tang smell.
- Mix together the starter, water, AB flour and hard-white wheat flour with a Danish whisk until all ingredients are combined. Cover the bowl with a towel and let rest for 15 minutes.
- Sprinkle the salt on top of the dough. Mix together well. The dough should feel sticky.
- Place the bowl of dough, covered with a towel and let it ferment on the counter for 4 hours.
- Now, stretch and fold the dough towards you. This is basically lifting a section of the dough about 6-8 inches in the air and pulling it back down. Repeat this all around the bowl, each side every 30 minutes. Wet your hands, if necessary, to prevent the dough from sticking.
- Next step is to shape the dough. The dough should be smooth at this point.
- Sprinkle a little bit of flour on your counter. Place the dough onto the floured surface. Using a bench scraper, place it under the dough ball and start carefully moving the dough back and forth in a circular motion towards you. Try not to handle the dough too much. You should see some bubbles in the dough. Try not to mess with those.
- Final Proof: Place a lint-free towel (sprinkled with some flour) in the banneton basket and put the dough in the basket with the seam side up. Pinch the dough to make a seam, if needed. This is actually the bottom of the loaf. Cover the dough with the towel and then place the basket in a tied plastic bag. Put the bag in the refrigerator for 10-15 hours. My dough is good to go around the 15 hour time but just play around with how your kitchen and refrigerator works.
- Next morning, preheat your dutch oven at 450 degrees for one hour.
- Meanwhile, remove the bag from the fridge.
- Next, grab a piece of parchment paper and lay on top of the basket. Take a plate or cookie sheet and now, flip it over on the counter. If you have a steady hand, you can just flip the paper and basket over on to the counter. Just be gentle.
- Now, you'll remove the bread from the banneton bowl. Basically, you are just lifting the towel and basket up.
- This is the time where you score your bread. You can be as simple or intricate as you like. Just practice. Grab a razor blade and slice the side of your loaf and go deep for that pretty ear. I like to slice at a 30 or 45 degree angle.
- Remove the dutch oven from the oven and place your bread and parchment paper inside. Cover with lid and bake for 25 minutes. Your bread should have expanded at this point. Remove the lid and bake for 20 more minutes. The crust will be golden when done. You can play around with how dark you like your crust. Just adjust your baking time in this step accordingly.
Pin For Later
What Goes With Artisan Sourdough Bread
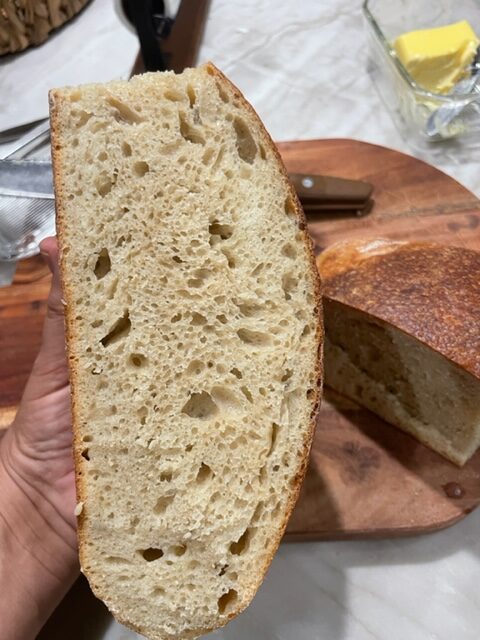
I love Sourdough bread fresh out of the oven. The rule of thumb in bread baking is to let the hot loaf set on the counter and cool prior to cutting. Sometimes, rules are made to be broken haha. In all seriousness, it’s best to let it cool because it could crumble or be gummy in the middle of the loaf, if you cut it too soon.
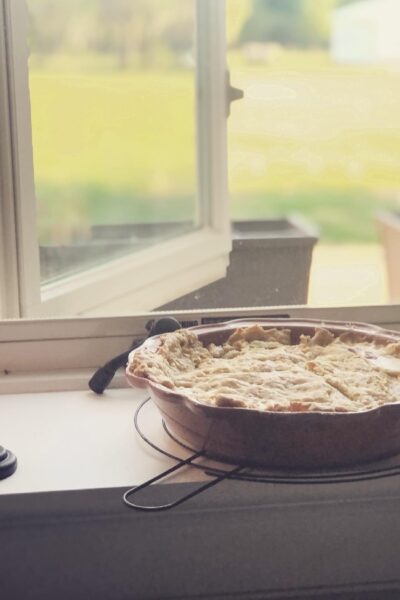
I love putting a slather of real butter on my piece. Artisan Sourdough Bread also makes a great sandwich bread. It also goes really good with pretty much any dinner like Creamy Parmesan Chicken with Bacon, Leftover Turkey Pot Pie or White Chicken Chili.
Tools You May Need
Real Salt – (Enter Discount Code: lhsimpleliving for 15% off)
I hope you enjoy making this No-Knead Artisan Sourdough Bread and find that it’s not too difficult. As always, tag me over on Instagram (@lhsimpleliving). I love seeing what you make! ~ Wendy





Leave a Reply